
Why Does Smoke Blow Back Down a Chimney?
Chimneys are meant to be uncomplicated contraptions! Smoke and noxious gasses go up and away from your house. The only thing that should come down a chimney is Santa Claus. Simple and straightforward, right?
So why is smoke blowing back down your chimney – and what can you do to prevent this from recurring?
Cold Night: Smoky House?
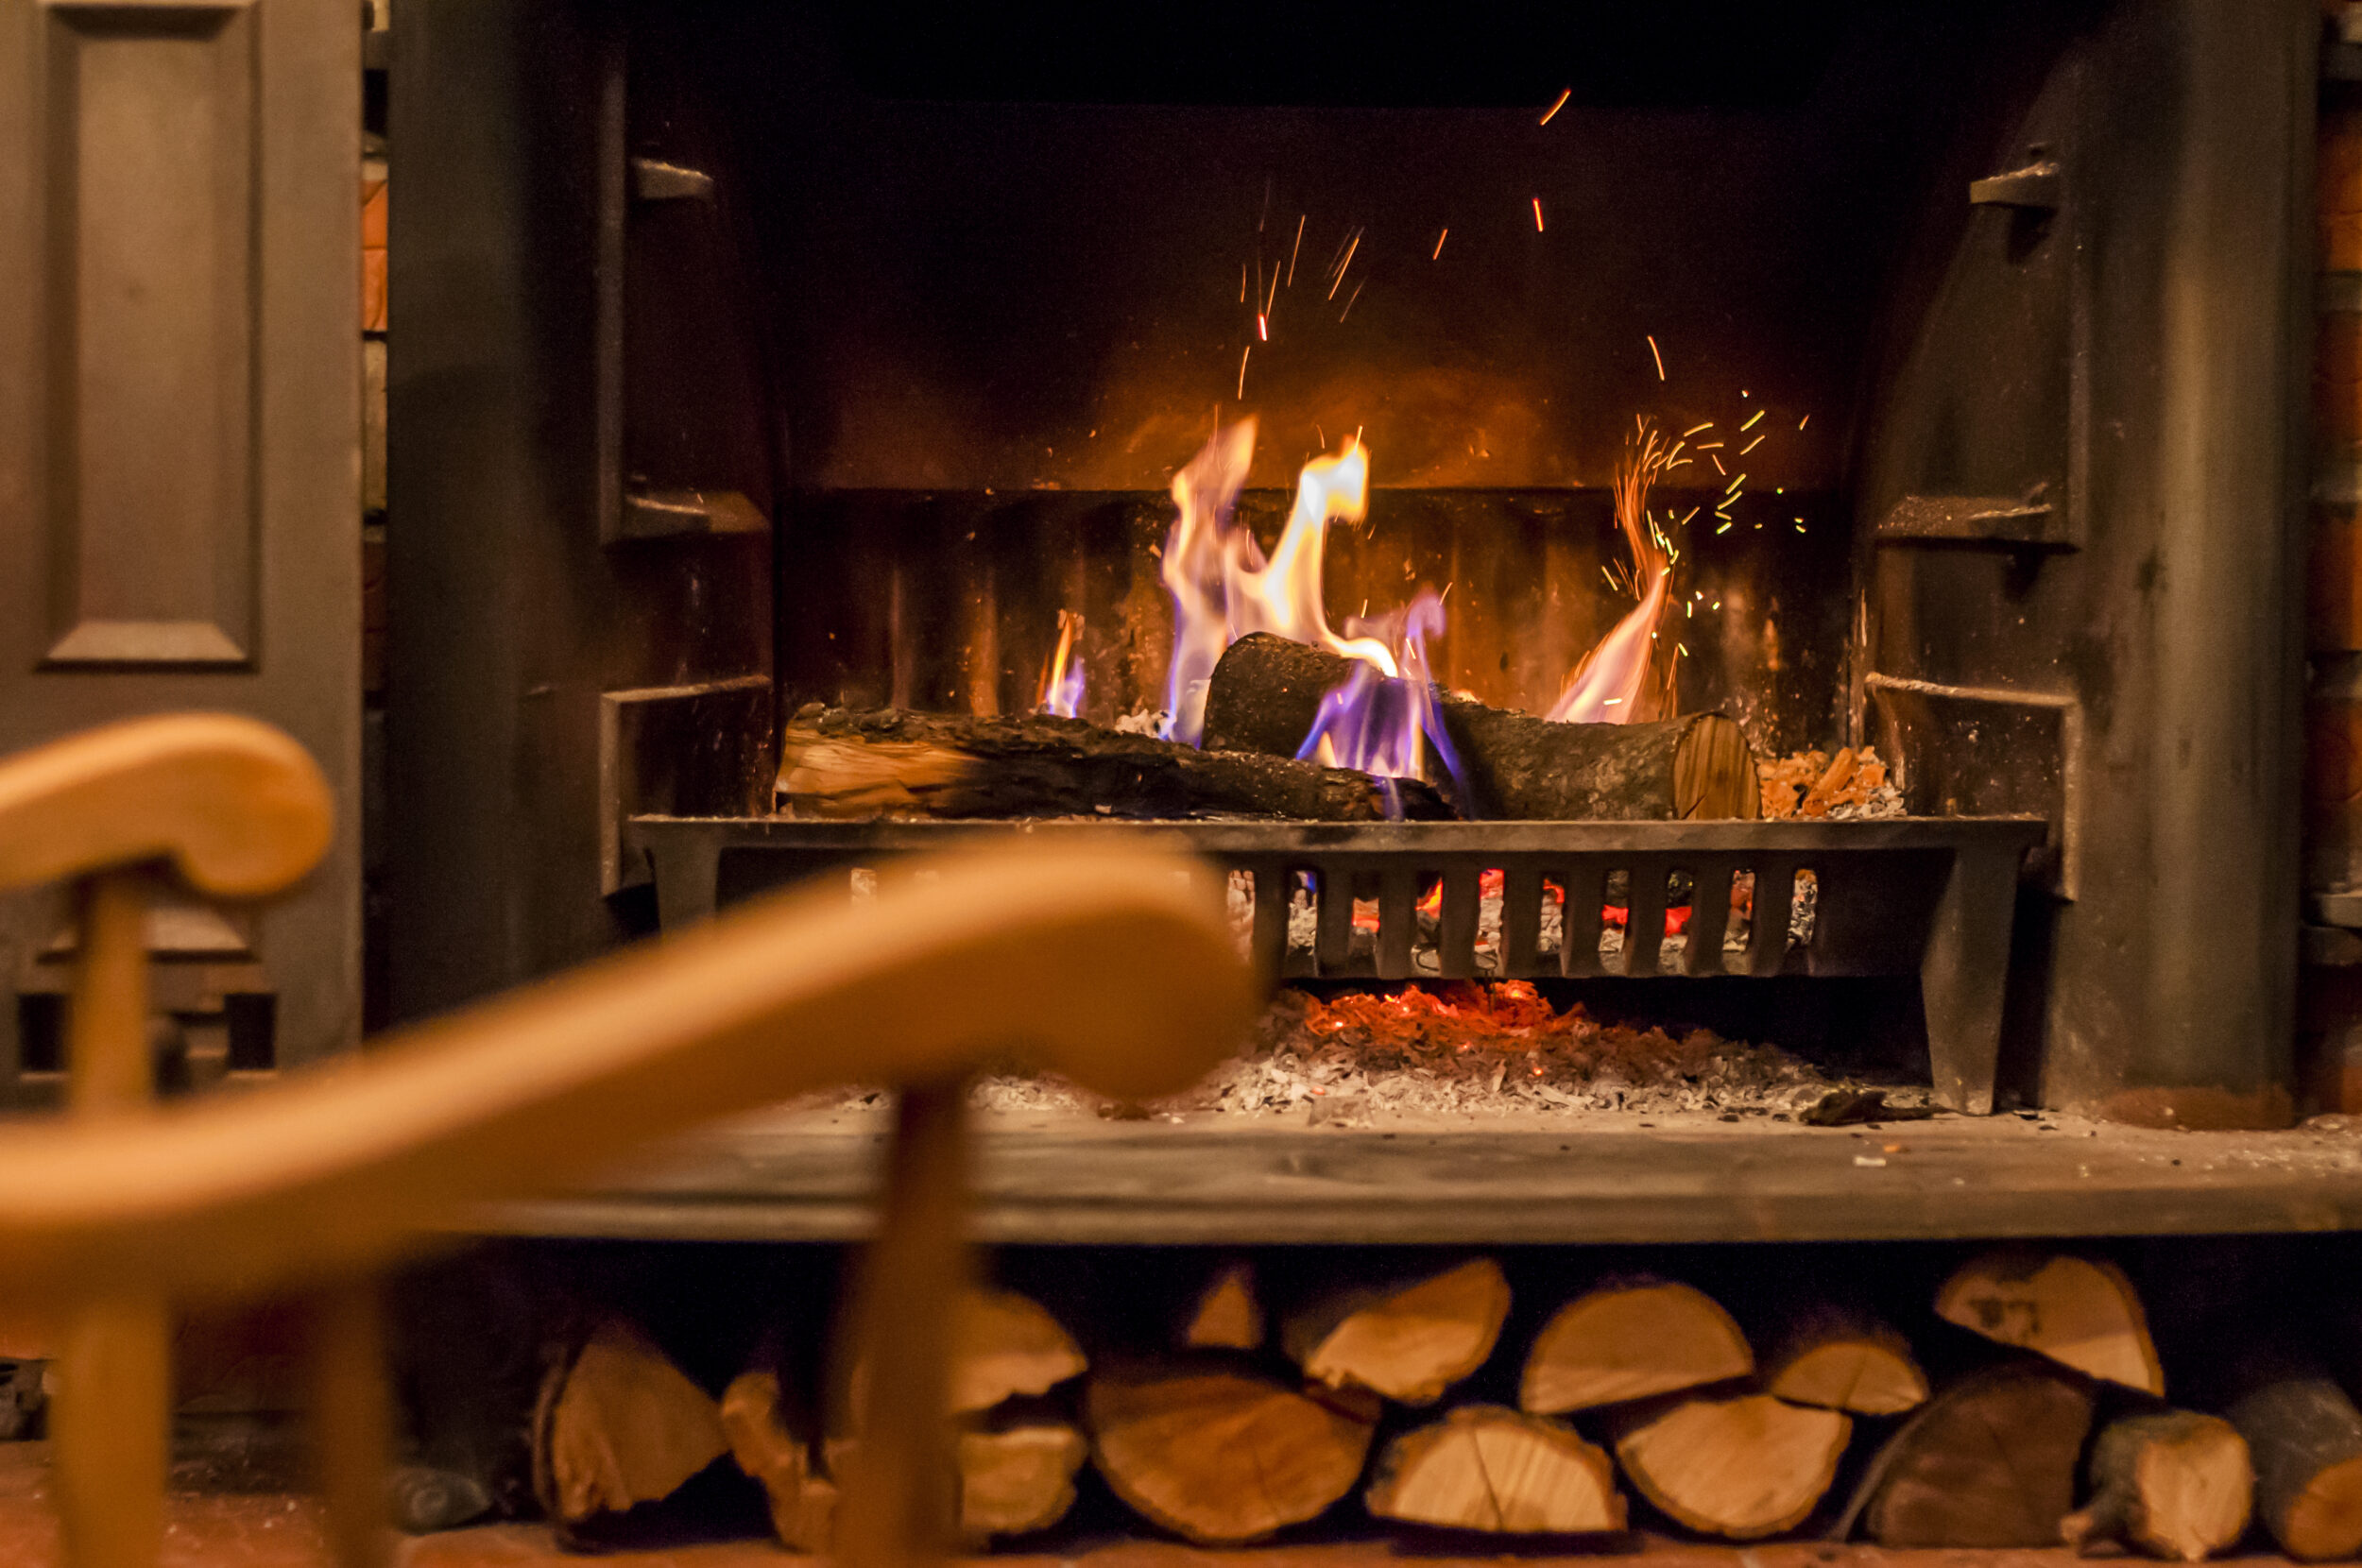
Nothing is more comforting and cozy than a warm fire on a cold day. When chimneys and heating sources are functioning properly, this is exactly what you will enjoy. The simple explanation is that the warm air from the heat source (i.e. the fire in the stove) rises up through the chimney flue. This is called the draft. A good draft pulls smoke and combustion byproducts (e.g. carbon monoxide) up and out of the home while replacing it with cooler air from outside. This creates a cycle that essentially feeds the fire – fire eats oxygen! – while continuing to move smoke and gasses out.
When smoke blows back down the chimney… There is something wrong. You get that smoky effect, which may be fine if you’re into 2000s-era clubs but is not so pleasant in your home. Not only that, it can create a safety and health hazard. If you can smell the smoke, then you are breathing it in – along with carbon monoxide, volatile organic compounds (VOCs), polycyclic aromatic hydrocarbons, and other pollutants and irritants.
Smoke blowing back down the chimney is a risky and potentially very dangerous situation. Why is this happening?
5 Reasons Smoke Blows Back Down a Chimney – and What to Do
1. The Damper Is Closed
The damper controls the airflow to your firebox. While it can take a little experimentation, learning how to operate the damper allows you to control how fast and hot your fire burns. This way, you can optimize how much wood you use and what your ambient temperature is. That said, the damper needs to be wide open when you light a fire. If the damper is closed, it blocks the path smoke and gasses need to exit the chimney. There is nowhere for it to go but back down into your home.
Again, keep your damper completely open when you light a fire and whenever the doors of the stove are open (e.g. when you are putting in more wood). Do not close it completely unless the stove is off and cold. When you want to control temperature and wood burn, you can adjust it to a partially open position.
2. Your Wood is “Green”
Green means your wood hasn’t had a chance to dry properly. Well-seasoned firewood – which has been left to dry for about 12 months to remove virtually all moisture – ensures a good burn. If the wood is green, it may create a thicker, more abundant smoke that your flue may not be able to handle. This will cause “back-puffing,” or smoke coming back down the chimney.
Make sure you purchase well-seasoned wood. You’ll burn less and enjoy a much more consistent, safe heat.
3. You Have a Blockage
Assuming your damper is open when you start a fire or open the doors of your wood burning appliance, smoke blowing back down may mean that your chimney has a blockage. This could be a build up of creosote or a bird’s nest, for example. In either case, smoke and gasses do not have a clear path out of the chimney and will be forced back down. Regular chimney cleaning and maintenance is essential in preventing this problem (and many others!).
4. Your Home Is Too Well Insulated
Who knew that would be a problem! The fact is that today’s houses are much better insulated than those built prior to about the 1970s. Advances such as spray foam insulation, weather sealed windows, and house wrap create very tight homes that are much more efficient. The issue, though, is that there may not be enough makeup air to allow the wood stove/fireplace to draw properly.
Makeup air is the new air that replaces the air that exits through the chimney. It must be balanced so you have neutral indoor air pressure. The point is, your house may be so tight that it isn’t delivering adequate makeup air. To correct this, you could either open a downstairs window… which isn’t appealing in the middle of winter… or install a chimney fan or powered makeup air kit to your HVAC system or exhaust system. Our team is happy to assess the situation and help you find the solution that works for you.
5. The Weather Outside is Frightful
Extreme cold or wind and cross drafting can cause smoke to blow back down your chimney. For example, when it’s frigid and you have a cold, unused flue, it can fill up with high density air that blocks the path smoke needs to travel up the chimney. It is important to preheat your chimney before your first fire of the season. Learn how with our post, “The Right Way to Light a Fire: Surefire Ways to Stay Warm, Cozy, and Safe.”
Strong winds can also cause “dynamic window loading.” Basically, when wind is gusting on one side of the house, it creates a high pressure zone there and a low pressure zone on the other side. Remember, chimneys don’t like unequal pressure! Again, you can open a window on the windy side of your home or install an outside air kit on the negative pressure side.
Ask the Experts
If you are experiencing a smoky house when using your wood-burning appliance, contact the experts. You don’t want to jeopardize the health and wellbeing of your household or put your home at risk. Brick + Ember will discuss your situation, determine the cause(s) of smoke infiltration, and develop a viable strategy to correct the issue.
Don’t wait! Contact Brick + Ember now.

Can Insurance Pay for a Chimney When You’re Replacing a Roof?
Do you ever watch insurance commercials? Companies from Geico and Progressive to AllState and Farmers have perfected the art of the ad; they’re funny, entertaining, and memorable. There’s a good reason for this: insurance is incredibly boring! No one likes to curl up with a good policy or check clauses and conditions when they’re scrolling on their phone. We want insurance to protect us when we need it… and then we want to forget about it.
But when it comes to maintenance, repair, and replacement projects, it is critical that homeowners understand what their policies cover – and what they do not. So does insurance pay for a chimney when you’re replacing a roof?
Can Insurance Pay for a Chimney When You’re Replacing a Roof?
Sure. It can. But does it? That depends.
Confusing answer? That’s because it can be a confusing topic! Let’s start with insurance related to roofs to get a good understanding of what may be covered. Typically, the average lifespan of an asphalt shingle roof (the most common type in the US) is 20 years. Insurance companies typically limit or even exclude replacement coverage when roofs are older than 20 years. If you have an older roof, they may have done an inspection before agreeing to cover you; likely they may allow for actual cash value if it is damaged under certain circumstances.
Actual cash value is different from replacement value. If you have a 2000 square foot house with a relatively simple roof line, for example, you’re looking at between $4700 - $11,000 to replace it. If your roof has steeper slopes, gables, hips, and valleys, though, your costs will increase. You must also factor in the removal of existing materials, as well as replacing roof decking if yours has been damaged or is in poor condition. So let’s say your replacement cost is $11,000.
Depending on the age of your roof (and perhaps other factors outlined in your policy), your insurance company may only offer actual cash value – after your deductible. For a five year old roof, you may have an actual cash value of $8500. Ok, not bad. But you have a $4000 deductible. Your policy would pay $4500, leaving you to come up with the balance of $6500. Insurance will typically pay out $3000 (after deductible) for a 10 year old roof. And for a 20 year old roof, the actual cash value is $4000, less the $4000 deductible… leaving you with $0 covered.
Type of Damage
Now, the type of damage is also important. Your insurance company will likely pay for damage caused by certain natural and/or sudden events, such as a freak hailstorm or windstorm, fire, or a falling tree branch. They will not pay when you need to replace a roof that’s outlasted its lifespan, has a leak that led to water damage, has not been maintained, etc.
To recap: If you need to file a claim because your roof was damaged due to a chimney fire or a storm knocked a tree into it, you should be covered – if your roof is less than 20 years old. If your roof is not maintained adequately or wear and tear has caused issues, you will not be covered.
So what about the chimney?
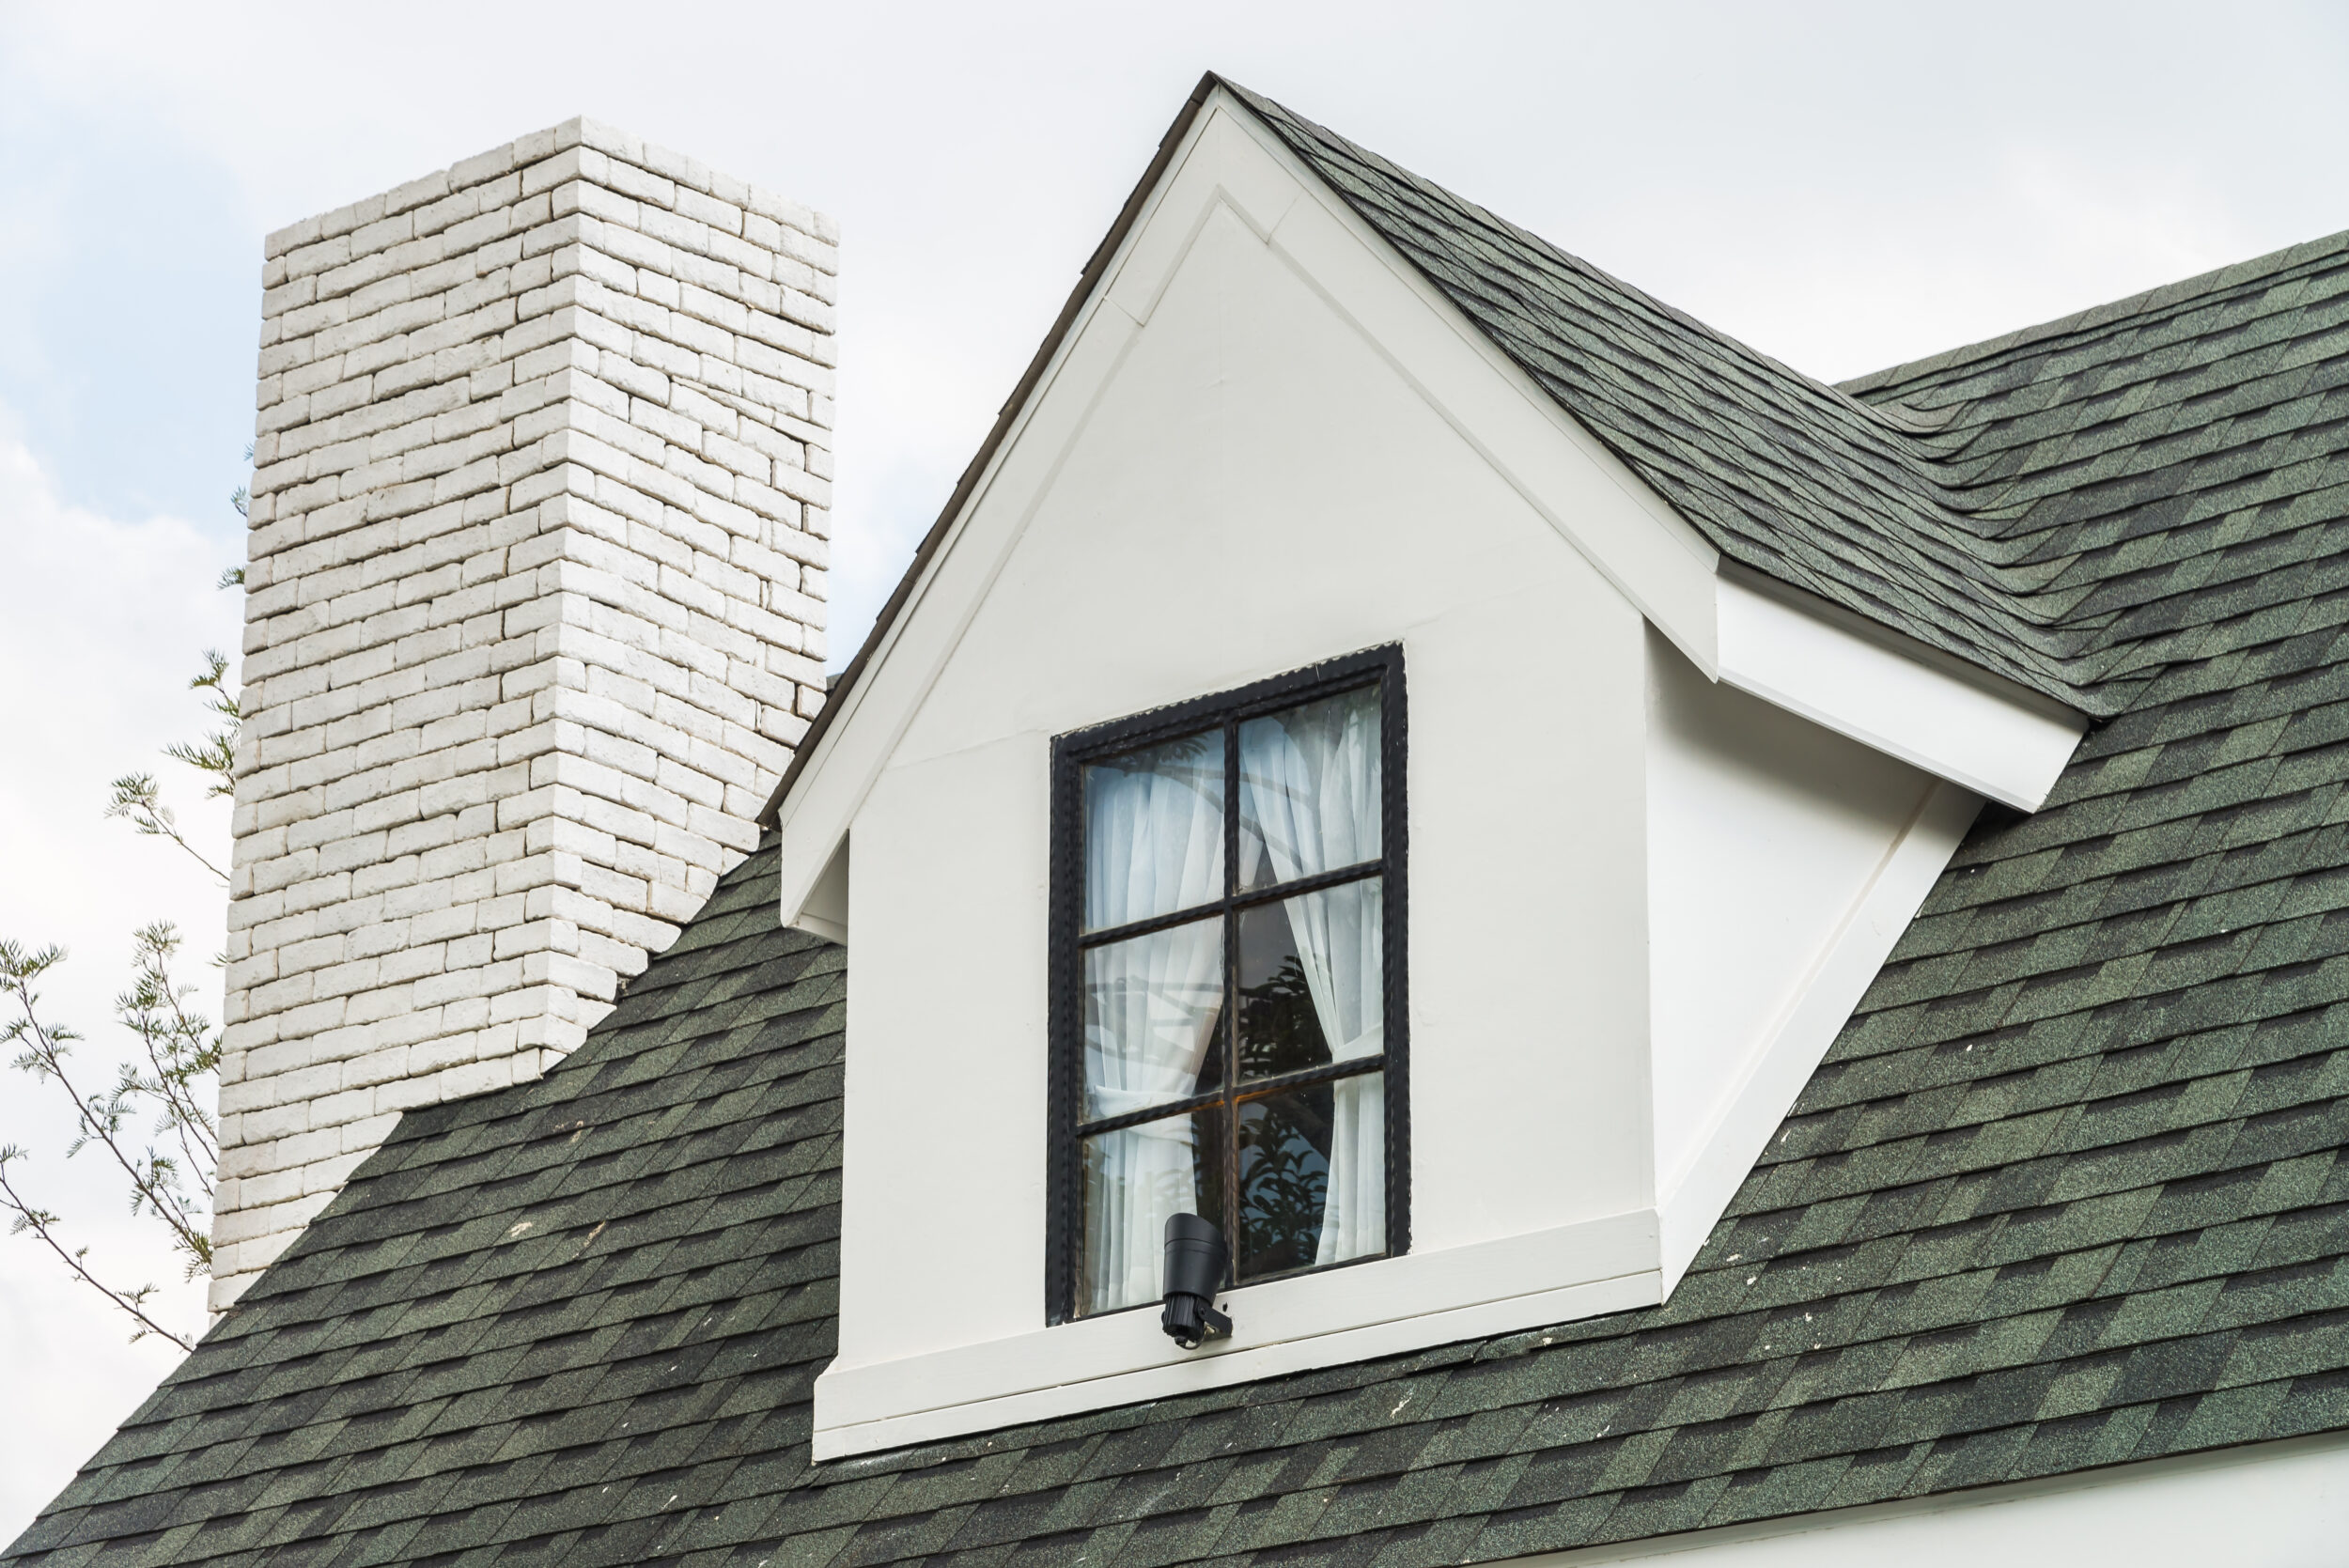
Insurance can pay for a chimney when you’re replacing a roof in some cases. For example, if there is a storm that knocks a tree onto the roof and into your chimney, you will likely be covered. If that tree falls and causes your chimney to lean, you will also likely be covered for the cost of these repairs. But if your chimney was already leaning prior to the event, then damages are probably not covered because the chimney was due for improvements.
The odds of insurance paying for a chimney when you are replacing a roof are… Well, not all that great. Unless the roof and chimney were in good condition and were damaged by these natural or sudden events, you are going to have to foot the bill.
What if you just want to file a claim to replace your chimney? Same general guidelines apply. If it was damaged by a natural or sudden event, then yes, you should be good. If it was in need of improvements, then no, likely you need to pay for any repairs and replacements yourself.
Read Your Insurance Policy – and Call Us
Yes, they are dull… even mind numbingly so! But it is vital that you know what you are covered for and what is excluded from your policy. Take a look at your homeowner insurance documents and/or call your agent to learn the specifics. Do this even if you are not facing a crisis; it can be beneficial for your peace of mind.
There are many instances in which you will not be covered when it comes to your roof and/or chimney. This is why it is so important to maintain them properly.
While we aren’t roofers by trade, we do know our way around a chimney. Take the first – biggest – step in saving yourself time, money, and aggravation: contact Brick + Ember for a thorough chimney inspection and schedule your annual cleaning. We can’t control what your insurance covers, but we can ensure that you are as safe and protected as possible when it comes to your chimney.
We are here for you. For answers to all your questions, contact us at (317) 500-1250 or get in touch with us online.
Why Does My House Have Two Chimneys?
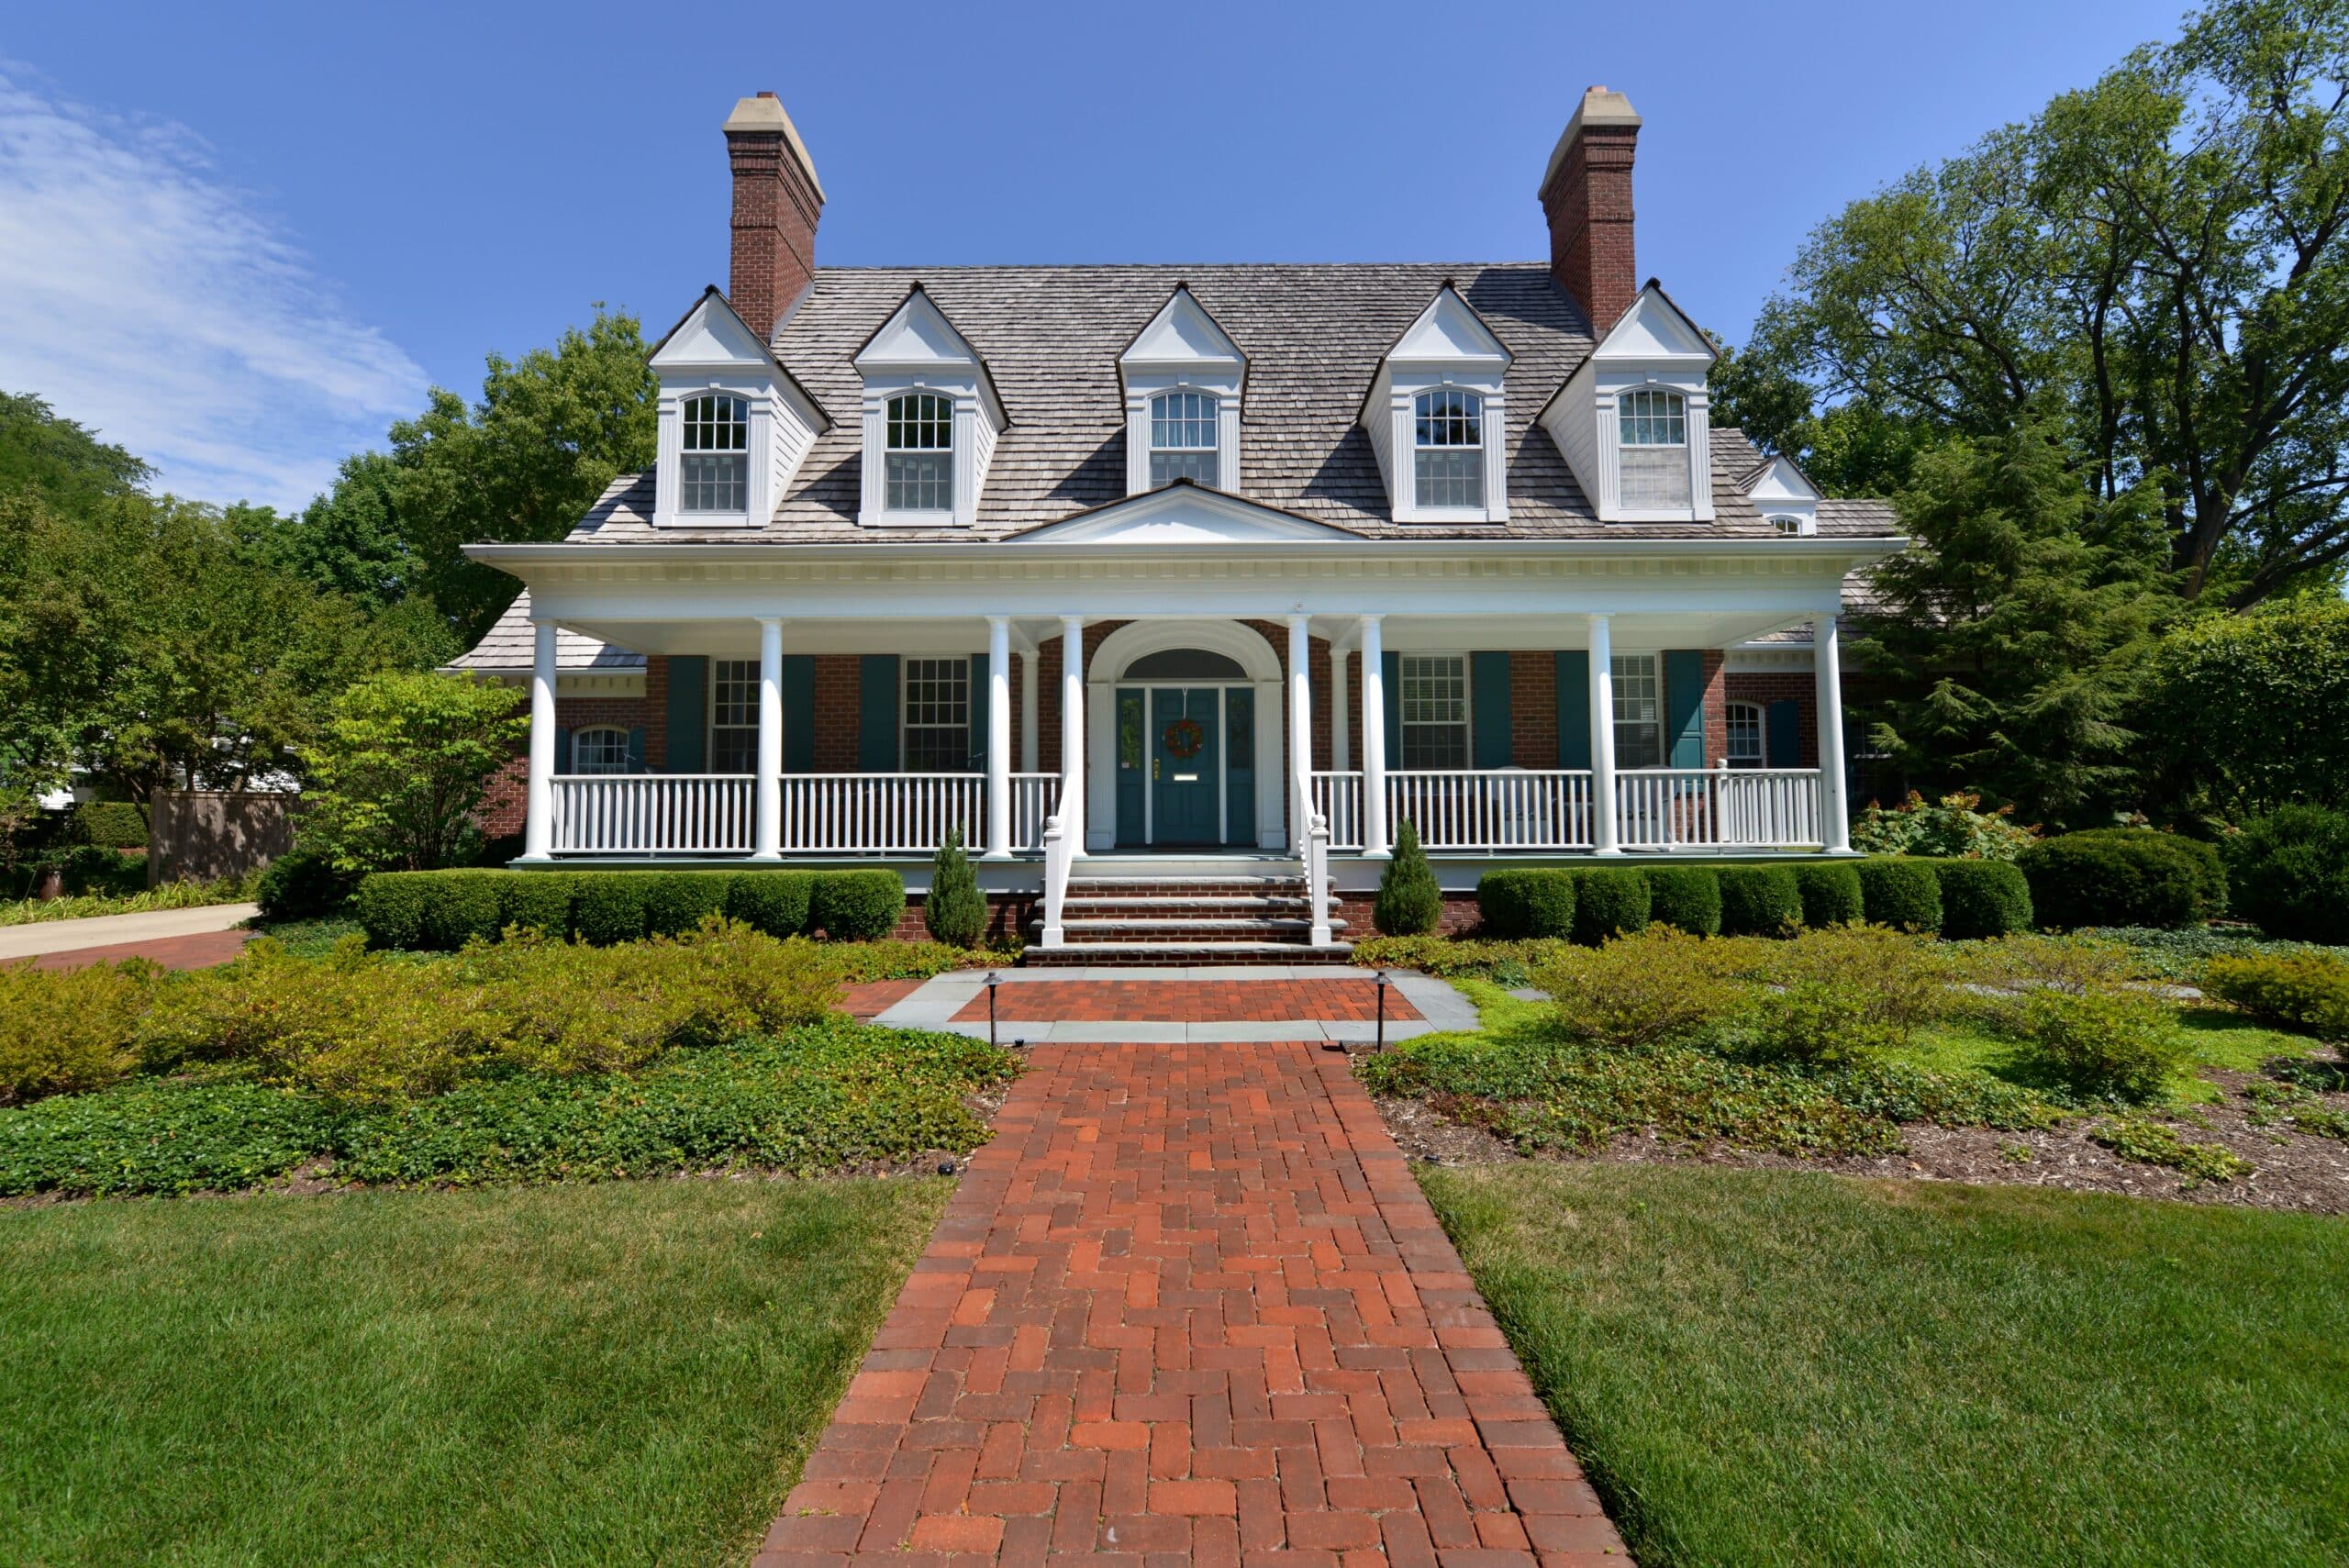
Under the category of “Things That Make You Go Hmmm,” you may be wondering why your home has two chimneys. Is this necessary? Can you remove one?
Before you get the wrecking ball out, take a few minutes to learn why you might be the proud owner of not one but two chimneys.
1. You Have Two Different Heating Fuel Sources
Simple enough: you may have a wood stove or fireplace for that cozy warmth, as well as propane or oil for consistency – or on the other hand, propane or oil as your primary heat source and wood for backup. Regardless, the solution to venting dangerous gasses and providing adequate airflow is to have two chimneys (both of which are properly lined).
2. You Don’t Have a Chimney with Multiple Flues
In older houses located in colder climates, it was fairly common to have one chimney with two or more separate flues. This would allow a homeowner to vent, say, an oil-burning appliance as well as one, two, or even three wood-burning stoves/fireplaces. “Older” is the keyword here: these houses were not airtight. There were plenty of cracks and gaps to allow gasses to exit.
Today’s modern homes are far better insulated; during those chilly winter days, we don’t want a bracing breeze inside! In order for a chimney to accommodate two or more different heating sources, each flue must be properly constructed, lined, and inspected, otherwise you face a significant fire or carbon monoxide risk.
In many cases, homes are just built with two separate chimneys instead of one with multiple flues. Alternatively, most areas require a separate chimney if you have heating sources on different floors (e.g. a wood stove on the ground level and a fireplace upstairs).
3. You Used to Have a Fireplace
You may have a chimney for your oil furnace or propane stove. That’s your only heating source, so why is there another chimney hanging out on your rooftop? It could be that you used to have a fireplace. In older homes, as people upgraded to more efficient, easier forms of heating, they simply blocked off the fireplace. Removing the chimney was a pricey proposition, so many folks just left them up.
In this case, you can remove the second chimney. Again, cost is a concern, so it becomes a financial decision as well as an aesthetic one.
Safety First – and Second
No matter why your home has two chimneys, it is essential that both are cleaned and inspected regularly. All it takes is a simple phone call or online form to schedule your service. The payoff is enhanced safety and peace of mind. Make the call today.
When Do You Need a Chimney Liner?
When do you need a chimney liner?
Easy: Whenever you have a chimney!
But this is your home, and your safety is of the utmost concern. It is helpful to know what a chimney liner is so you can fully appreciate why it is so essential. So, without further ado….
What Is a Chimney Liner?
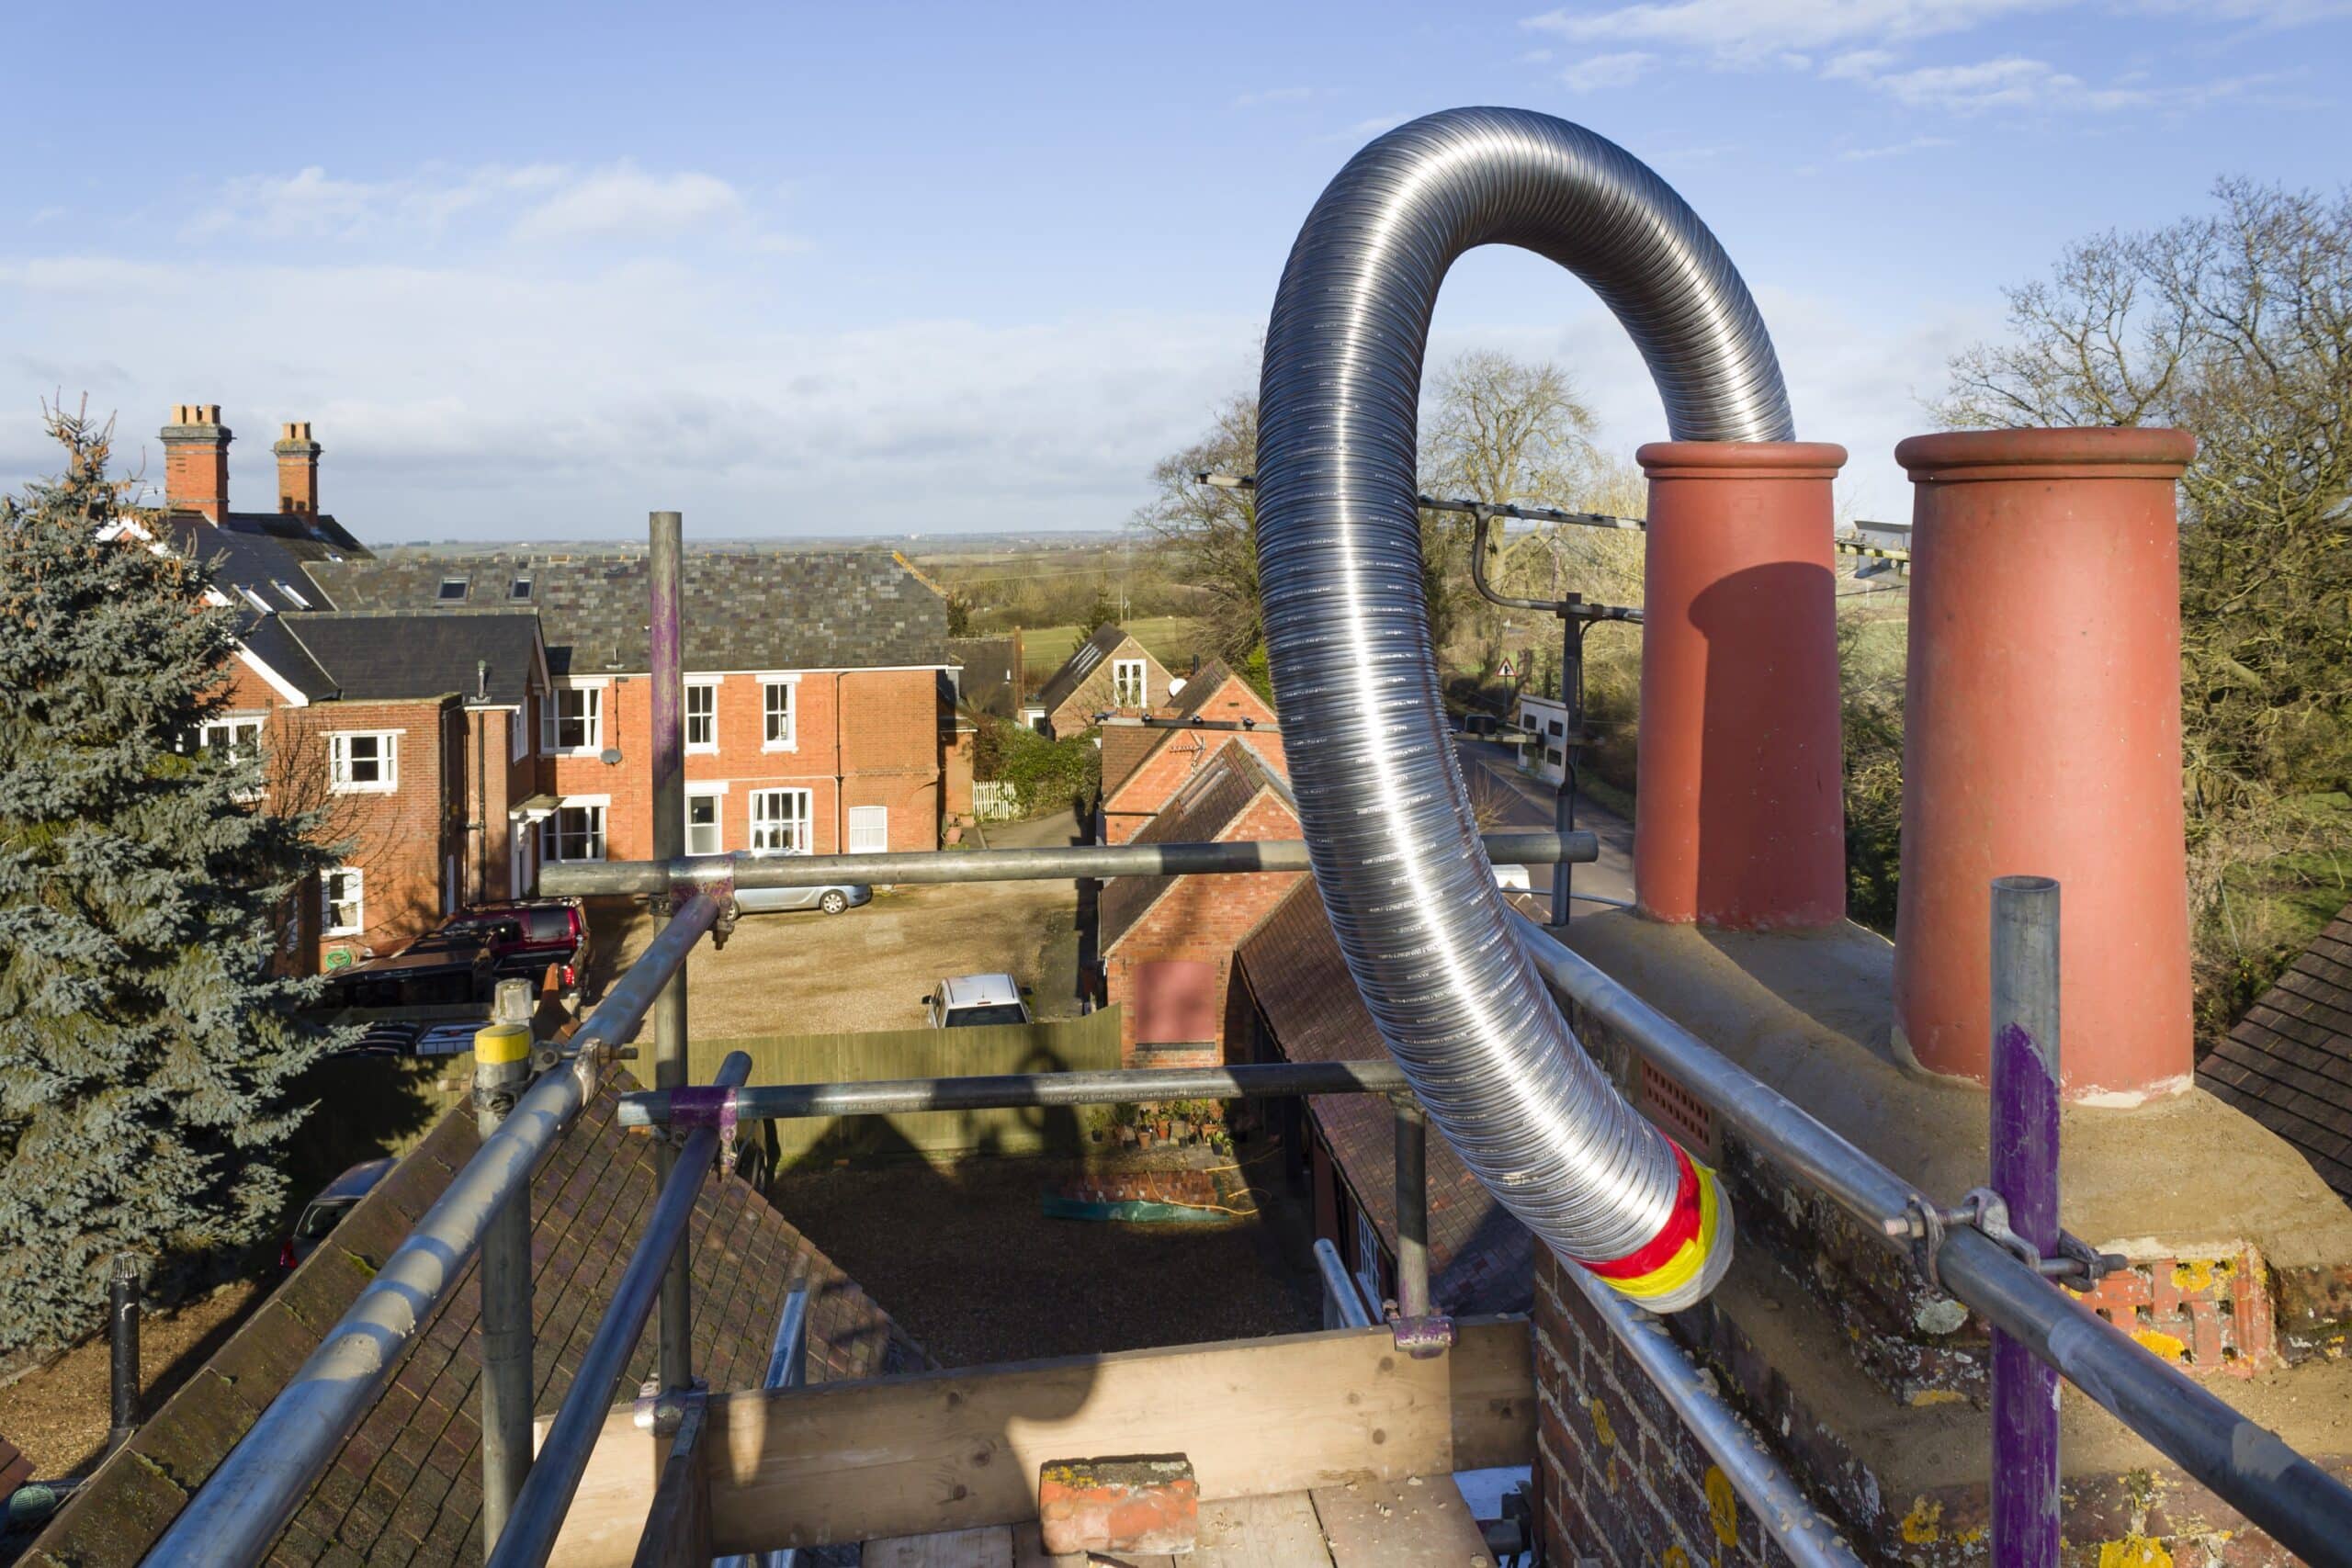
A chimney liner, which you may also hear referred to as a “flue liner,” is a thin tube that lines the entire length of the chimney. They are most often made of stainless steel today, though clay tiles are common in older homes.
Sidenote: the problem with clay tiles is that, while fairly inexpensive, they are prone to cracking and/or gapping in the mortar joints. This can allow smoke and embers to work their way through the liner, causing a fire. It can also cause draft issues that leave your home smelling of smoke.
Now, a properly installed and National Fire Protection Association (NFPA) approved chimney liner offers key benefits:
- It greatly enhances safety. A liner safeguards your chimney from intense heat, as well as from the build-up of creosote and soot that can impair performance. Without this protection, you are vulnerable to a chimney fire.
Additionally, you will greatly reduce the risk of exposure to the byproducts of combustion (e.g. carbon monoxide). If you do not have a liner or if it is not in good shape, then toxic gasses cannot exit properly. Instead, they can infiltrate your home, putting you and your household members at risk.
- A liner increases efficiency. With fuel prices the way they are, any step we can take to increase efficiency is well worth it. Chimney liners are essential in facilitating steady airflow, allowing wood and other fuels to burn as efficiently as possible.
- It’s cleaner. We mentioned creosote and soot; not only are these hard to clean from an unlined chimney, they are also highly flammable. A stray ember can touch off a dangerous situation. A chimney liner, particularly stainless, is easier to clean and maintain, thus keeping your home safer.
When Do You Need a Chimney Liner?
We’ll go back to our earlier answer: you need a liner whenever you have a chimney. Let’s be more specific:
You need a chimney liner if:
- You burn wood, pellets, oil, propane, or another fuel. Even though oil, propane, and other liquid fuels don’t create the creosote or soot related to wood-burning, they do create a mist that needs to be properly vented. You also need a liner to ensure that your system works with maximum efficiency, allows toxic gasses to exit the home, and keeps you, your family, and your property safe.
- You have an older home. Since the 1940s, building codes have evolved and most jurisdictions (like ours) require homes with chimneys to have approved liners. If you have an older home, it may pre-date these standards, and you may not have a liner at all. In this case, have one installed ASAP.
- Your current liner needs to be replaced. For example, you could be dealing with:
-
- Water infiltration/damage
- Condensation in the home
- Deteriorating chimney walls
- You want to transfer ownership of the property (e.g. sell it). You will also need to make sure your chimney liner is (a) present! and (b) functioning properly in order to pass inspections.
Line Us Up
If you need a chimney liner installed or replaced, the best time to do it is now. It’s not worth waiting when it comes to your safety. Contact Brick + Ember to discuss your needs – and achieve the comfort, security, and peace of mind you deserve.
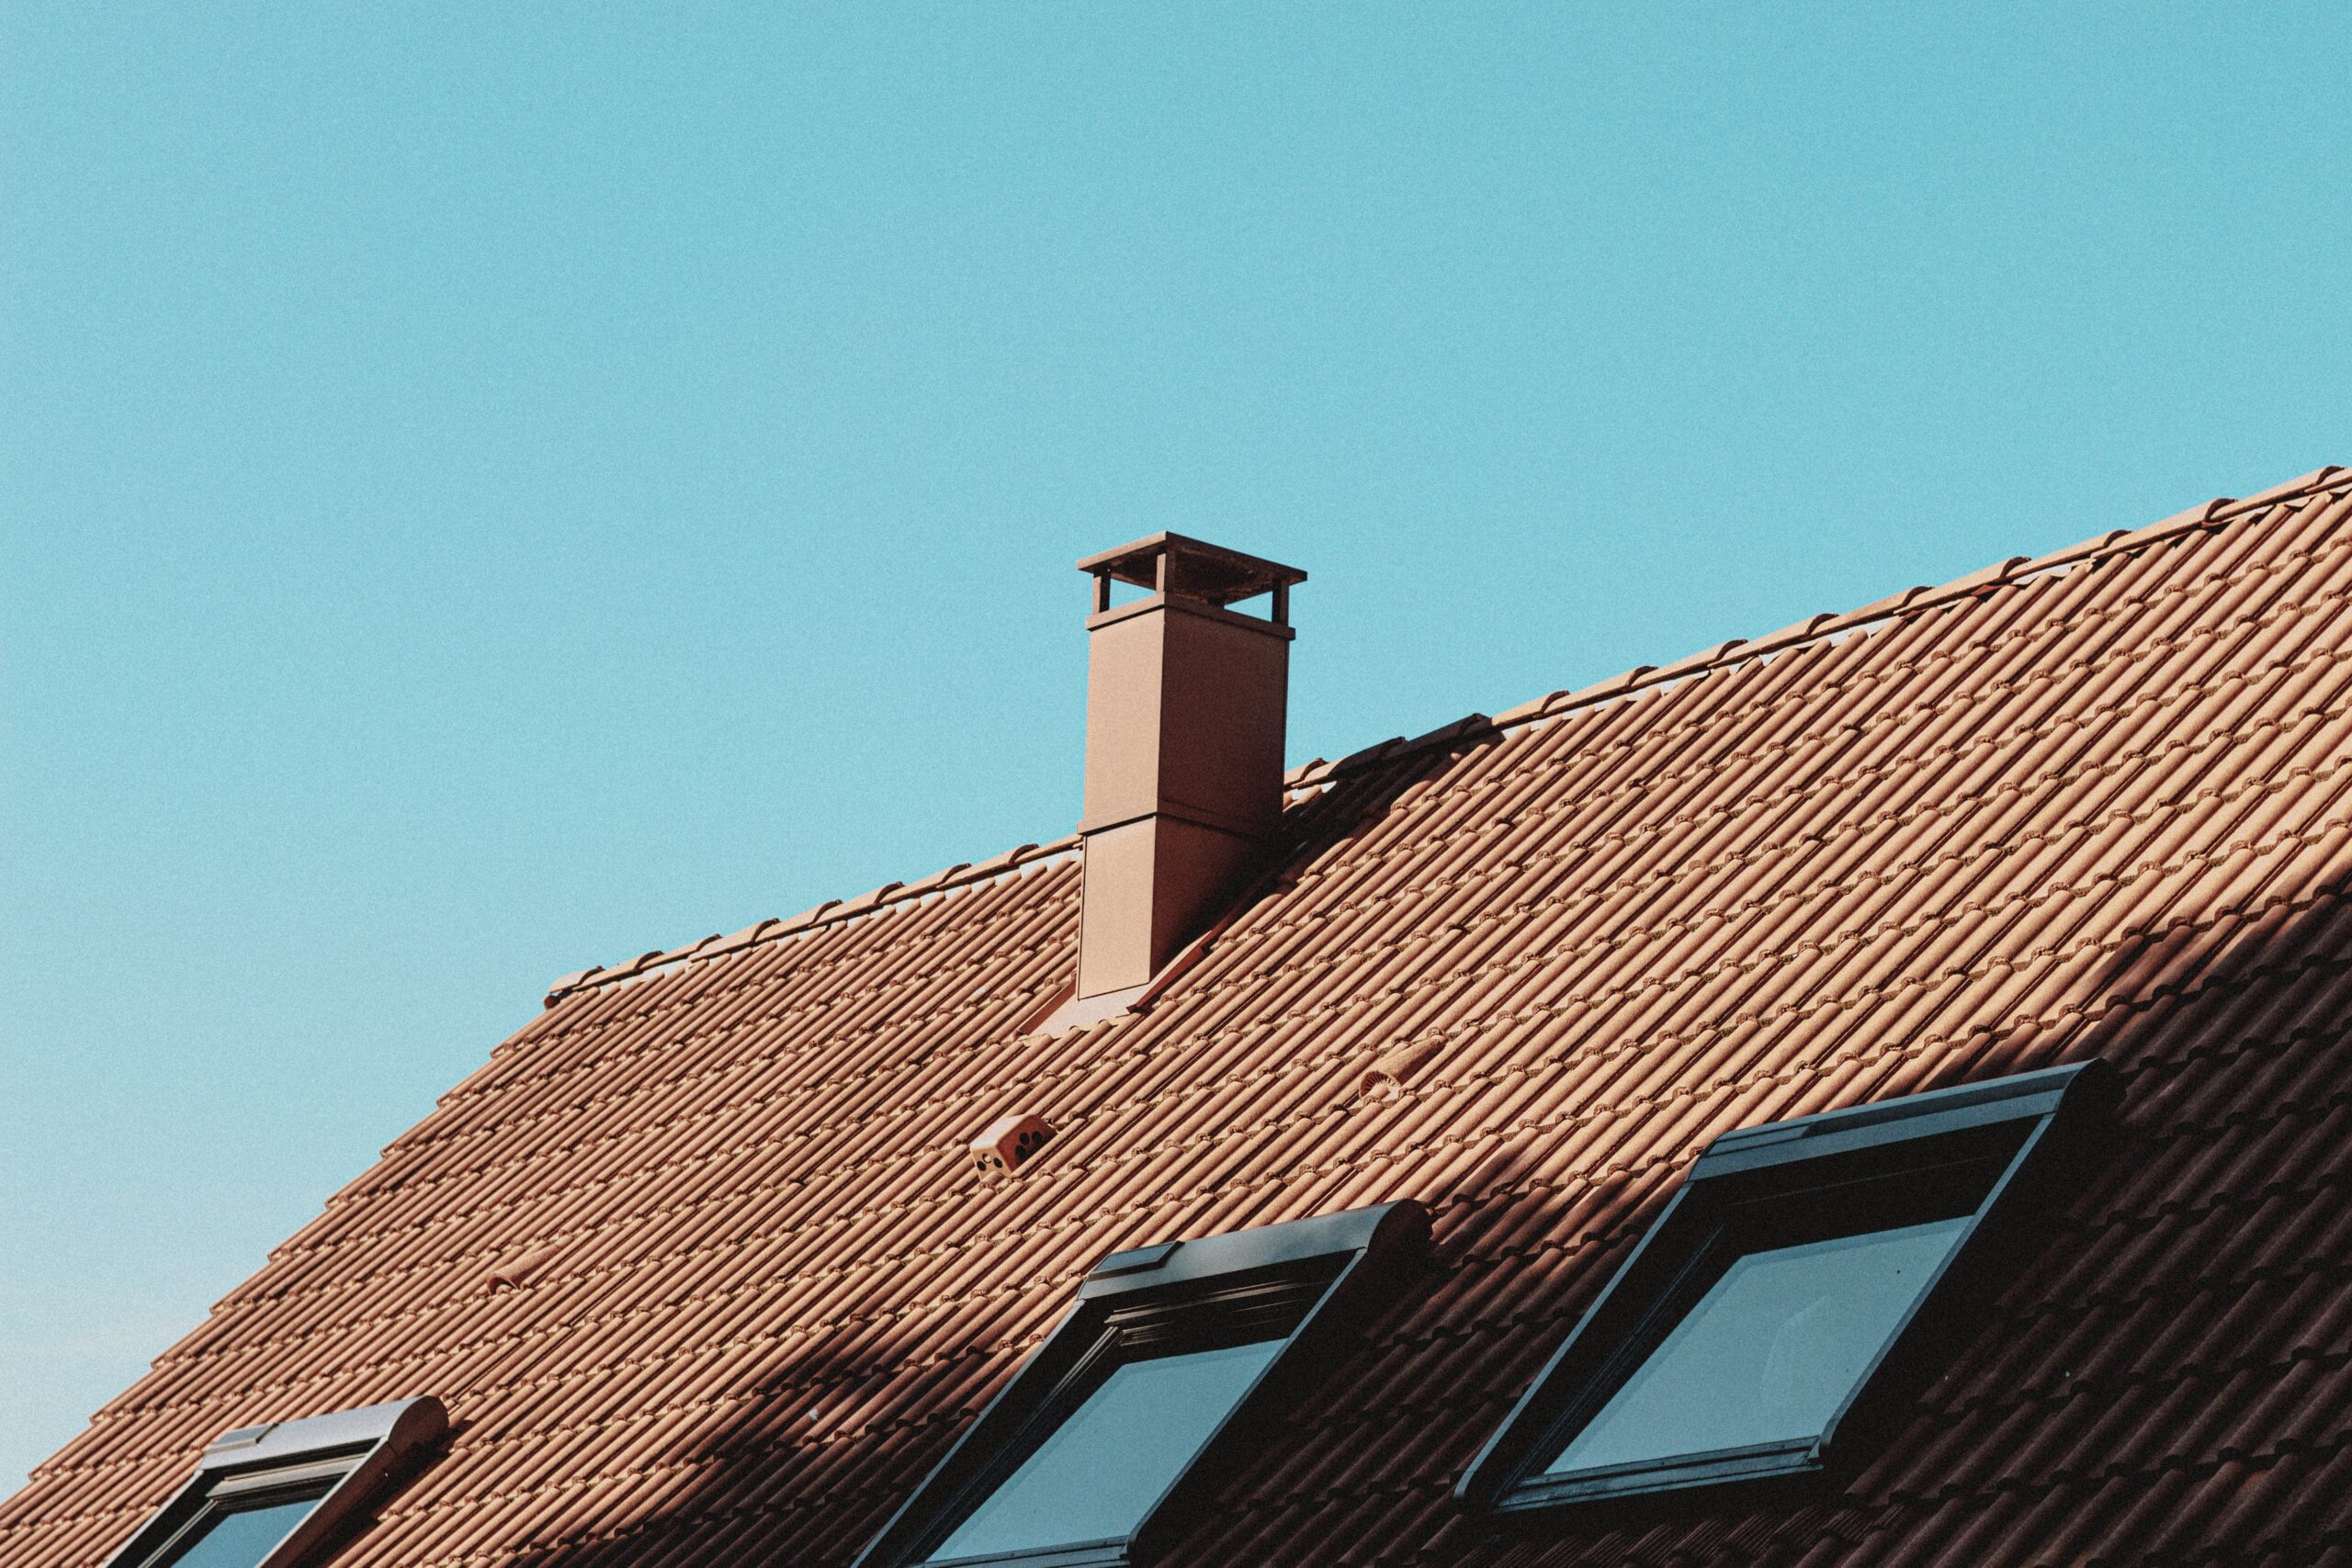
Why Do I Have a Chimney But No Fireplace?
Why do I have a chimney but no fireplace?
It seems like a mystery at first, but rest assured, this is no “staircase to nowhere” type situation. In fact, there are several simple reasons why you might have a chimney even if your home does not feature a fireplace. Let’s take a look.
3 Common Reasons You Have a Chimney But No Fireplace
No mystery here:
- You Have a Wood Stove. Just like fireplaces, wood stoves require a chimney to allow the byproducts of burning (smoke and noxious gasses like carbon monoxide) to exit the home safely while also cycling in air from the outside for a more effective fire. If you have a wood stove, you have a chimney.
- You Have a Furnace, Boiler of Water Heater. Other heating appliances, such as oil- or propane-fueled furnaces and boilers also require a chimney. The reason is the same: to ventilate smoke and gasses, while allowing the appliance to work as efficiently and effectively as possible. Note: some gas heating appliances are vented via an exhaust pipe while others are ventless (which requires adequate ventilation in the home, so always rely on an expert when considering one of these models). But by and large, heating systems like an oil boiler or a gas furnace do require a chimney for safe and efficient operation.
- You Actually Do Have a Fireplace. Wouldn’t you know if you had a fireplace? Well… it may not be as obvious as you think! Fireplaces were common features in houses built before 1900. If you live in an older home, previous owners may have upgraded their heating system to more modern options, such as oil, gas, or electric. They didn’t need the fireplace anymore, so they filled it in. Doing so was less expensive than removing it and the chimney altogether. This may also be why you might have a mantle with no fireplace! These were often kept as a decorative touch.
No Matter What the Reason – Maintain Your Chimneys!
If you have a heating device, whether wood, oil, or gas-powered, it is essential that you follow a maintenance routine that includes a yearly cleaning and inspection. This may seem like yet another to-do on a long list, but it is one that will help keep you, your household, and your property safe. Further, it will ensure that your stove, furnace, boiler, or other heating systems operate with maximum efficiency.
What about unused chimneys? What if you do have a fireplace that was filled in and you do not use it for another appliance? Even these need to be properly ventilated and maintained in order to prevent moisture from accumulating inside of it and in your house. These chimneys also expel the byproducts of production indirectly from other heating devices you do use.
In short: if you have a chimney, used or unused, make sure it is in good (safe!) condition.
Brick + Ember: Here for You
Time to schedule your annual chimney cleaning and inspection? Contact Brick + Ember. Our top priority is your safety.
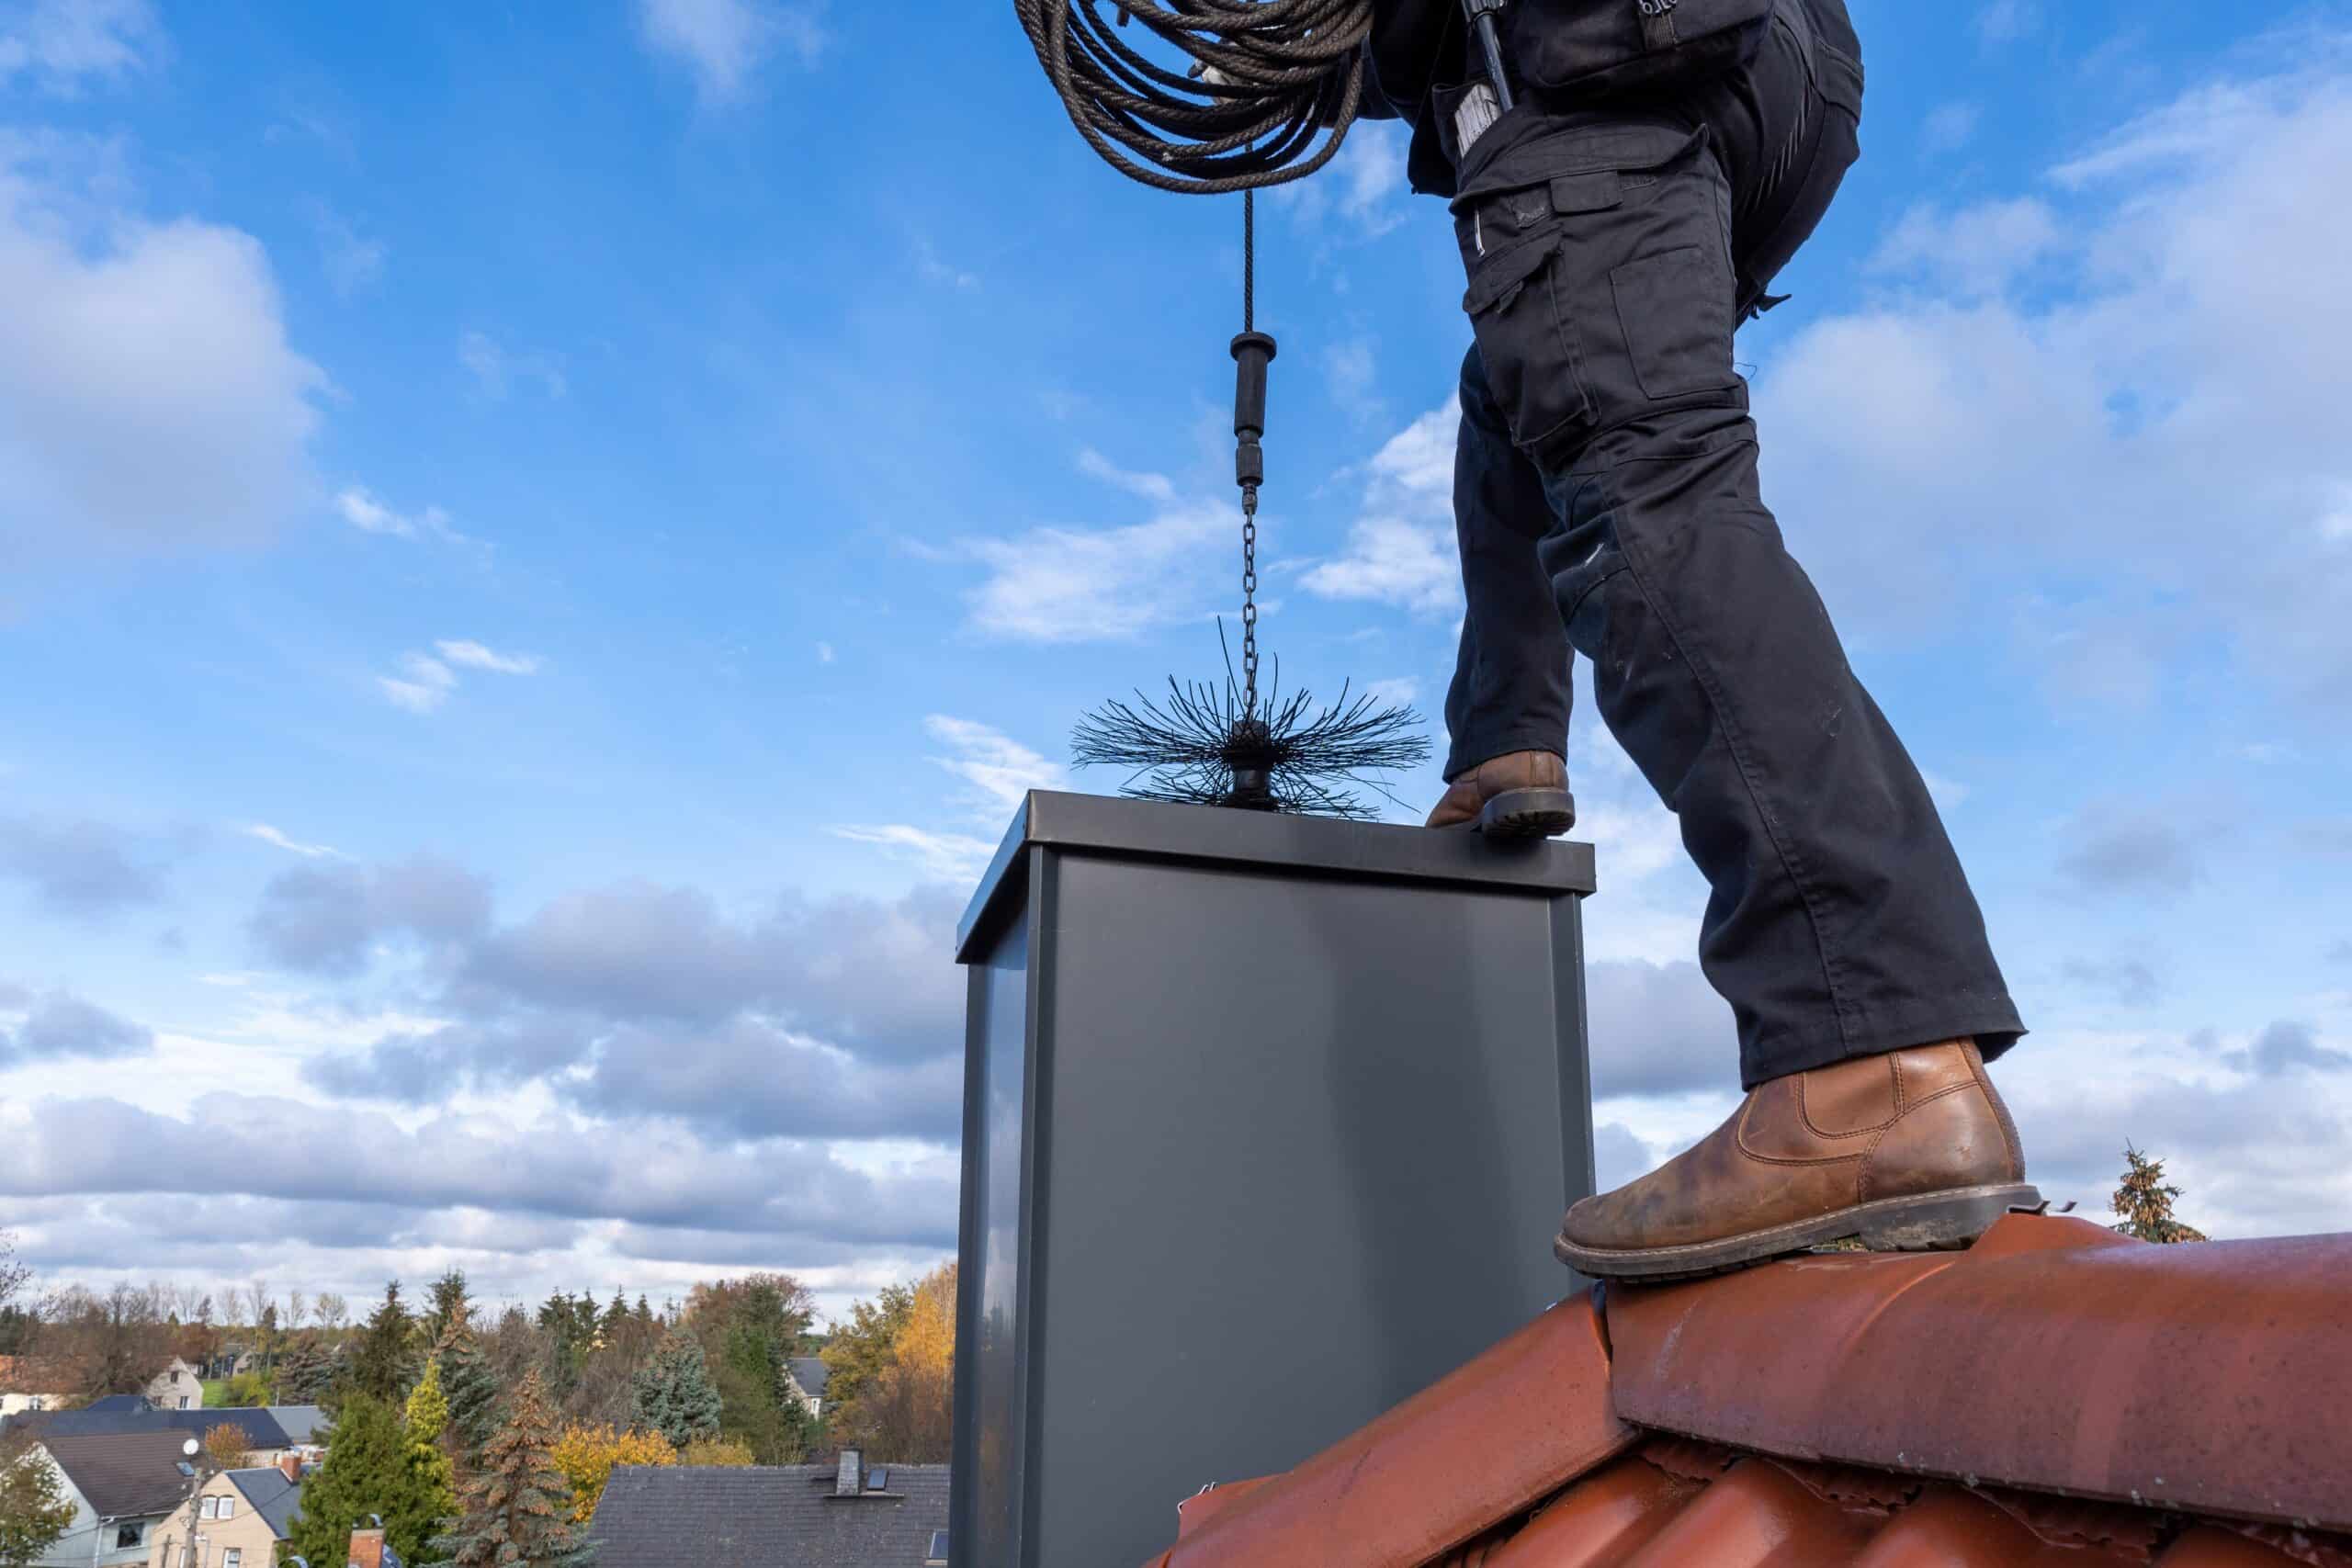
Do I Need a Certified Chimney Sweep?
When you have your chimney cleaned properly every year, you increase the safety and efficiency of your heating appliance, whether wood, oil, or gas. Doing so ensures that smoke, toxic gasses are able to exit your house safely and that your system operates as effectively as possible. Not only that… you can rest easier at night.
Here’s a reality that may make it a little more difficult to get those peaceful Z’s. Anyone can hang out a shingle and claim to be a chimney sweep. Untrained amateurs, though, can cause big headaches (and worse) for homeowners.
Yes, you do need a certified chimney sweep. Here’s why.
A Certified Chimney Sweep Is a Must
Remember Mary Poppins? The chimney sweep was charming, jovial, and had a great voice – in the real world, though, these skills matter much less than a full technical knowledge of chimneys and flues! The Chimney Safety Institute of America (CSIA) is a nonprofit committed to educating, training, and certifying chimney and venting professionals. A leader in the field since 1983, CSIA is nationally recognized, and their credentials hold real weight in the industry and with homeowners.
They may or may not be able to carry a tune, but a CSIA certified chimney sweep does:
Receive extensive training and pass rigorous exams. In order to gain certification as a chimney sweep, professionals must be thoroughly educated on fire codes, clearances, and standards for the construction and maintenance of chimneys. Certification exams are intense and require deep knowledge and meticulous attention to detail. This isn’t just “book learning.” These pros apply their learning each and every day to ensure the safety of their customers.
These professions prioritize ongoing education and training. To maintain their certification, chimney sweeps engage in continual development to keep their skills sharp and stay up to date on the latest in chimney science and standards. They are required to complete continuing education units (CEU); if they have 48 CEUs, they can simply renew their certification. If they have at least nine CEUs but less than 48, they can renew after successful completion of the exam. If they have fewer than nine, they may take a Certified Chimney Sweep (CCS) review course and exam.
Whatever route the professional takes, CSIA does not simply hand out credentials. They are earned.
Certified chimney sweeps adhere to a strict code of ethics. Certification indicates that not only does a chimney sweep have the knowledge required of the job but the attitude and mentality. The CSIA Code of Ethics encompasses everything from following proper safety regulations and complying with applicable building codes to rendering services in an “honest and fair manner” while promoting and educating consumers about safe practices.
They are nationally recognized. CSIA certification is recognized by industry organizations, insurance underwriters, and state and federal agencies as the measure of a chimney’s sweeps knowledge.
Certified chimney sweeps know what they’re looking for when cleaning your chimney. Anyone can shine a flashlight up a chimney and call it a day. You need, and deserve, more from your chimney sweep. A CSIA certified professional knows what to look for when it comes to your system. If it is not safe, they will educate you immediately as to the best steps to take. And again, because they operate with this strict code of ethics, they will present you with all the options without trying to “upsell” you on any further products or services. They give you the information you need to keep your family and home safe.
Your Brick + Ember Certified Chimney Sweep
Our mission is to serve our customers humbly and honestly; we put your safety first, always. We understand that trust and confidence is important to you. It is equally important to us. This is why all of our technicians are CSIA certified. Further:
- They all carry property ID so you know who is coming into your home. Do not hesitate to ask to see credentials. Our people are happy to put your mind at ease at any and every step of the process.
- Our team members arrive in a branded car so you know it’s us!
- We take the time to listen to your needs. We don’t like giving sales pitches; we’d much rather provide you with exceptional service.
With Brick + Ember, you will sleep easier at night. Let us take care of your chimney maintenance needs. Get in touch with us to discuss your needs or schedule your annual cleaning and/or inspection.
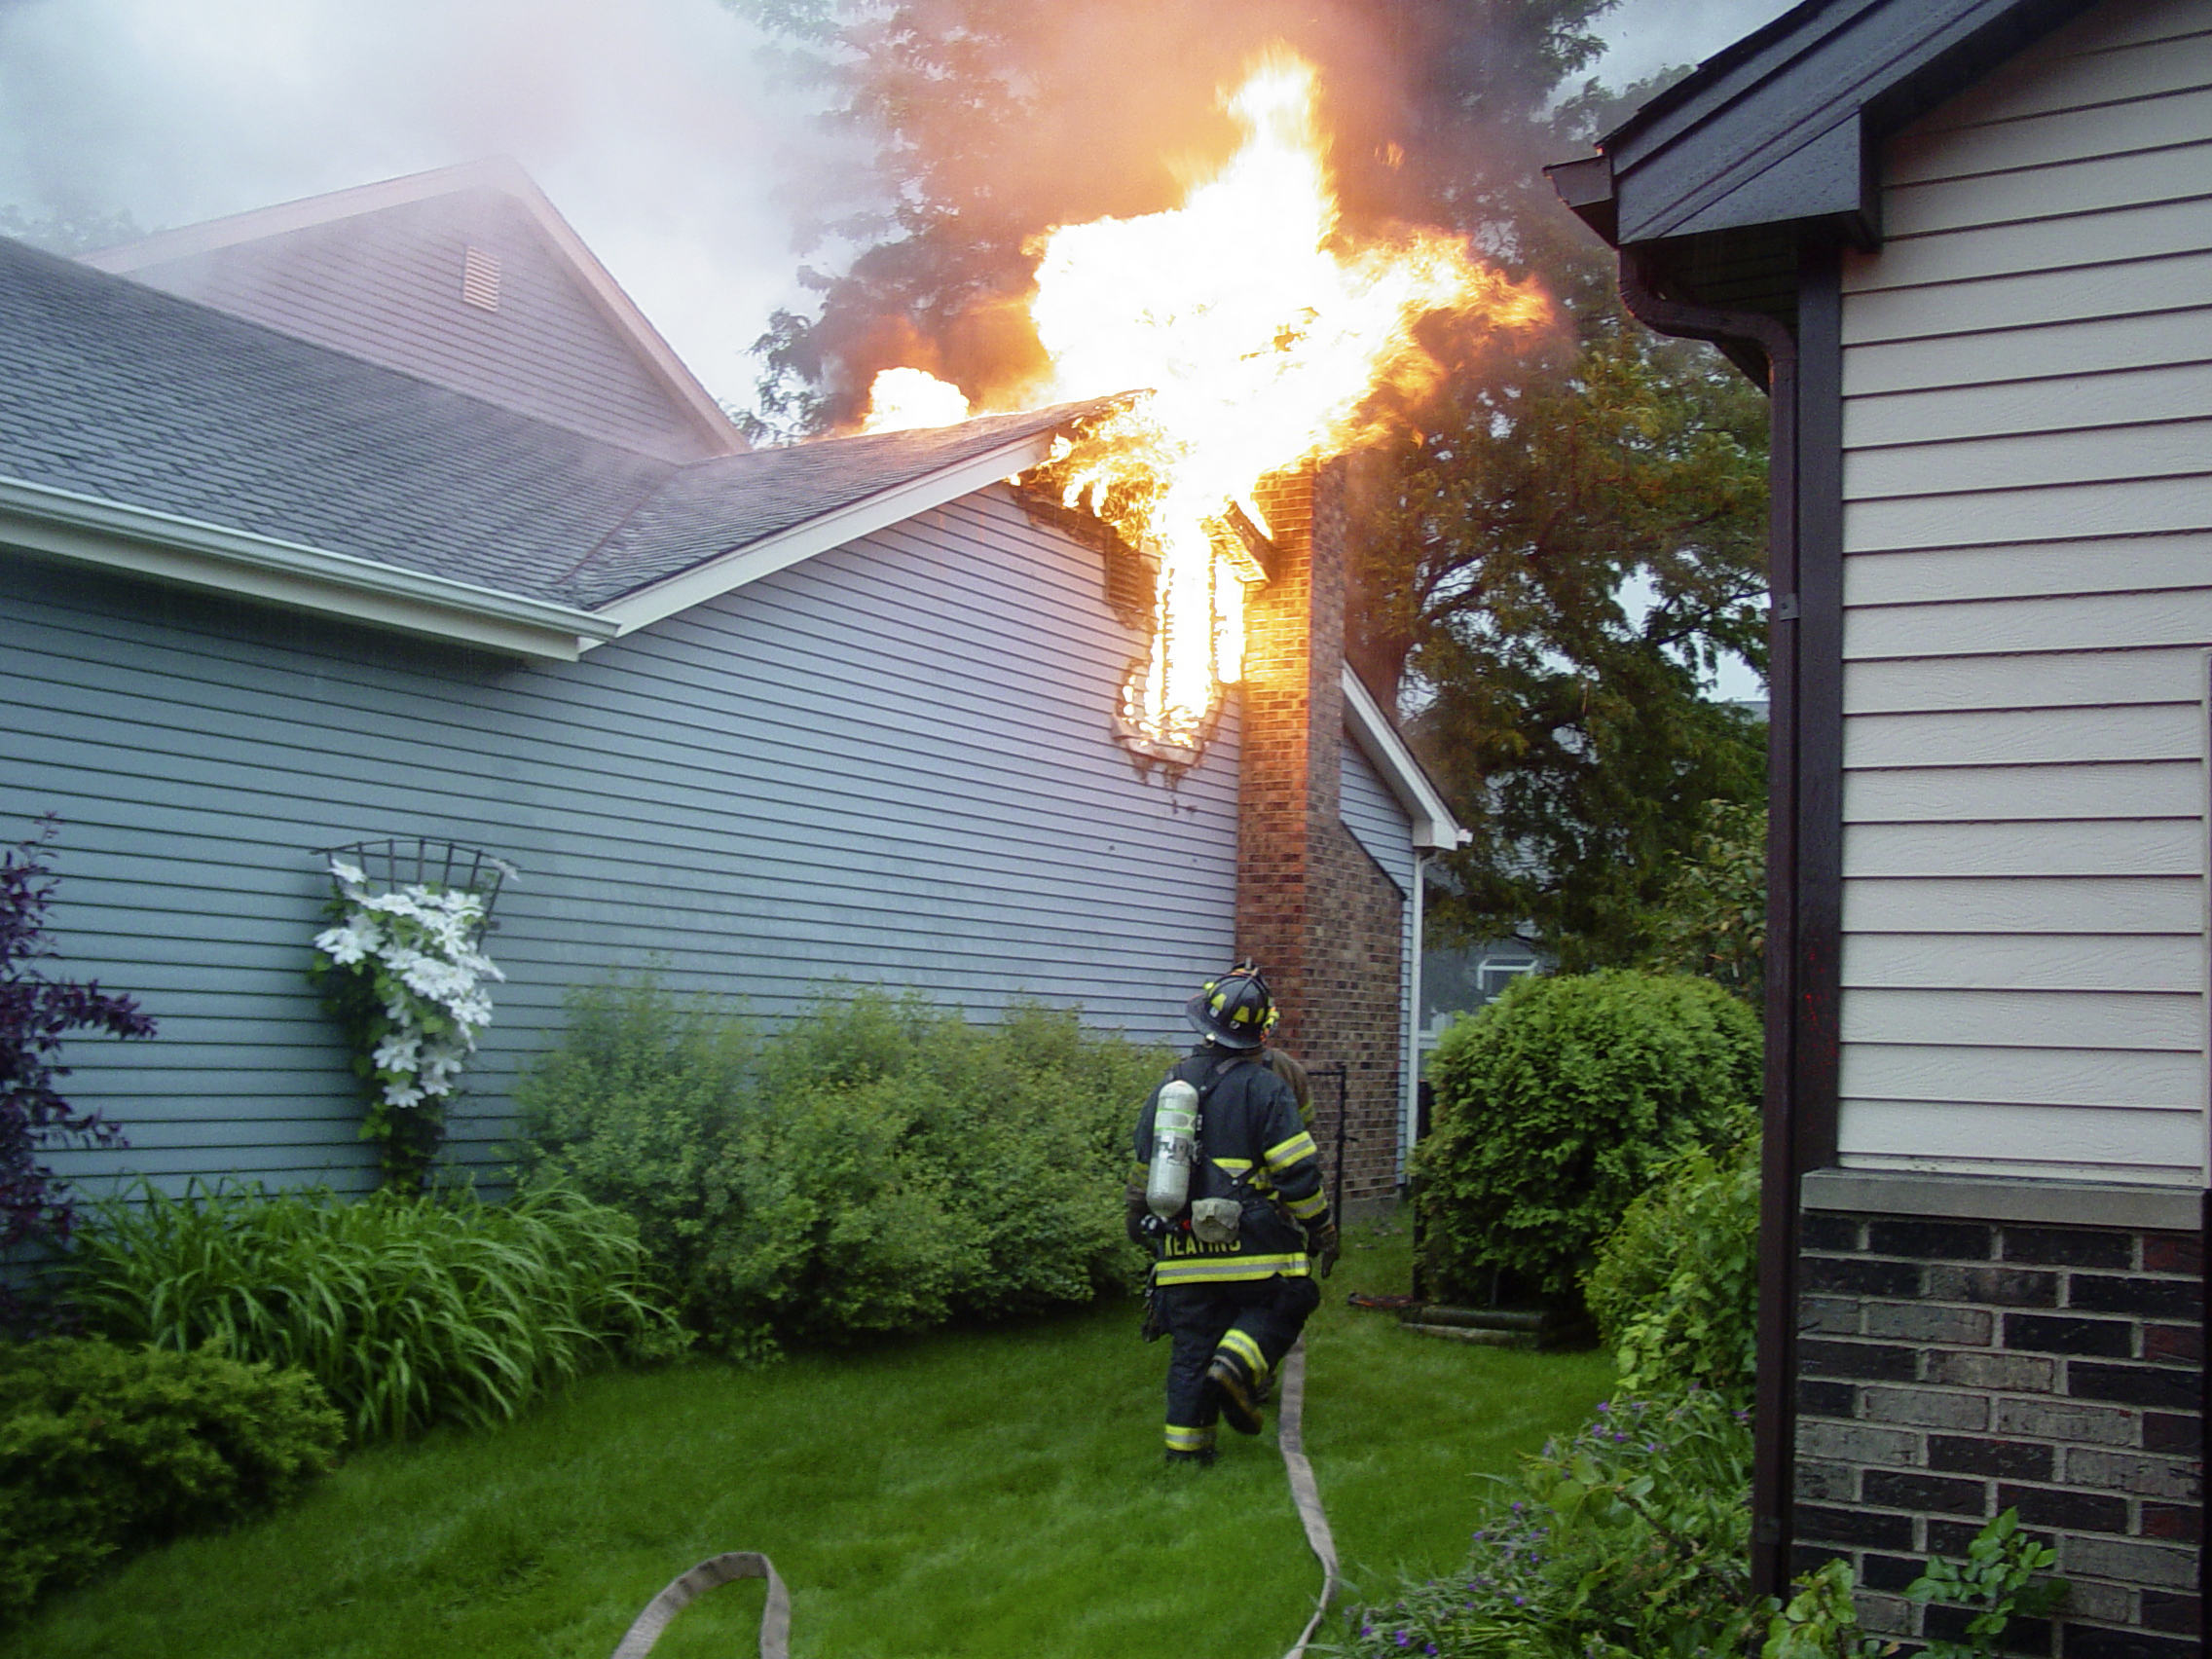
How to Put Out a Chimney Fire: 7 Home and Life Saving Tips
Oh, a chimney fire will just burn itself out. No big deal. That’s what a chimney is for, after all.
This is a common misconception when it comes to chimney fires – and it can be a very dangerous one. According to the Chimney Safety Institute of America, there are over 25,000 chimney fires in the US each year. In terms of property damage and loss, the cost is estimated at over $126 million. The cost when it comes to human life is incalculable.
It is essential that homeowners are prepared and know how to put out a chimney fire.
This. Is. Serious.
Many people assume that chimney liners are designed to contain fire. This is another dangerous misconception. They are not; they are designed to contain smoke and gasses, providing a safe route from the heating source to the outdoors.
If there is a fire in the chimney, theoretically yes, it can burn itself out – as long as it doesn’t have access to more fuel (wood from the firebox, creosote, oxygen, etc.). But as or more likely, the fire will cause the liner to crack, warp, or buckle, depending on the material from which it’s made. Heat, smoke, and flames can then access other areas of your home, including your attic, walls, ceilings, and nearby combustibles.
The best advice is to play it safe: a chimney fire is serious, and it can even be life-threatening.
How to Put Out a Chimney Fire
You’ll hear all kinds of advice when it comes to how to put out a chimney fire, from hosing down the chimney to dousing the flames with salt. We want you to do the safest thing possible for your home – and your family.
1. Get Everyone Out
This is basic fire safety: Have an evacuation plan in place with multiple exit options, if possible. Be sure to establish a meeting place that is far enough away from the house to ensure safety. The first and most critical step is making sure everyone is out of the house. As you leave, close the doors to cut off as much oxygen as you can.
2. Call 911
If you call in a four-alarm fire, and it turns out that you could’ve taken care of the situation by shutting the damper… well, better safe than sorry. You never know what’s going on in the chimney and if heat and flames have spread to other areas of your home.
Even if you think you have extinguished the fire, call 911 to have trained firefighters assess the scene.
3. Cut Off the Fire’s Fuel Supply
If you determine that the situation is safe (and everyone else is out), you can close any openings in the fireplace or stove, such as the damper and flue. Again, this cuts off oxygen, which fire needs to spread.
You may also want to have an ABC fire extinguisher on hand. Point the nozzle at the fireplace grate or firebox and deliver short bursts, careful not to throw embers into the air. Alternatively, you can use sand, salt, or baking soda to douse the flames in the firebox.
4. Hose Down the Chimney
If the fire department has not arrived at this point, and the situation is still safe, use a hose to dampen the chimney outside. Use a gentle spray to avoid damaging the inside of the chimney.
5. Clean Out the Firebox
Again (and we’ll keep repeating this!), if it is safe, use a wood stove shovel to remove debris from the firebox. Put it in a metal bucket and take it outside. Get your hose again, and spray the bucket and debris to make sure it is completely extinguished.
6. Use a Chimney Extinguisher
Products like Chimfex are made specifically for chimney fires. These fire suppressant sticks emit smoke and particles designed to displace the oxygen within the flue, suffocating the fire and lowering the temperature in the flue.
Make sure you know how to use Chimfex before an emergency arises. You will need to activate it by removing the top lid and exposing the scratch surface on the cap. Twist and remove the cap; you will see a black button. Lightly scratch the black button with the cap, and toss the stick into the stove alongside the fire (not directly in it). From there, be sure to close air inlet controls and open the damper.
7. Let the Firefighters Do Their Job
You may be confident that you have successfully extinguished the chimney fire. Great! But let the fire department examine the scene and assess whether there is an ongoing danger. Your safety is the top priority.
What To Do After a Chimney Fire
Experiencing a chimney fire – even if it did not do much damage – can be frightening. The last thing you want is a recurrence! In the aftermath of a fire, have your chimney inspected by a professional to ensure that it is safe to use and that any damage has been cleaned and/or repaired properly.
The good news is that the vast majority of chimney fires can be prevented by taking simple steps like routine cleaning and inspection.
Taking a minute to schedule an appointment with Brick + Ember can save you not only money but deliver priceless peace of mind.
What Is a Level 2 Chimney Inspection – And When Is It Required?
No one wants to go through it; we don’t even want to think about it. A house fire can be devastating, but, unfortunately, they are not rare. According to the National Fire Protection Association (NFPA), in 2020, there was a home structure fire every 89 seconds, a home fire injury every 46 minutes, and a home fire death every three hours and 24 minutes. Of the 1.4 million fires to which departments responded, 26% were in residential structures, but they accounted for 75% of civilian fire deaths and injuries.
We do not want you to become a statistic. The good news is that many home fires are preventable, and there are easy – and effective – steps you can take to reduce your risk. A chimney inspection is one of the most important.
What is a level 2 chimney inspection, and when do you need one?
What Is a Chimney Inspection?
During an inspection, a trained professional evaluates the chimney and determines whether or not it is fit to use. But not all inspections are the same – nor are all inspectors! It is critical that you are aware of the different levels of inspection, when you need them, and who should conduct them.
Some techs will shine a flashlight up your chimney and give you the go-ahead for another heating season. To ensure your safety, and that of your property, we recommend a much more thorough approach! It is important to choose a Chimney Safety Institute of America (CSIA) Certified Chimney Sweep; this means that the professional has received extensive training and education and can effectively evaluate and sweep a chimney.
The CSIA, in compliance with the NFPA, has developed three levels of inspections. A level 1 is the most basic. Your Chimney Sweep will look at the accessible portions of the chimney interior and exterior, as well as the accessible portions of the chimney connection and heating appliance. They want to see if it’s free of obstructions and buildup and that components are in good condition. You can safely go with a level 1 inspection if you haven’t made any changes to your heating system, will continue to use it the same way, and you have the chimney professionally cleaned routinely.
Now, there are some cases when you’ll need to level up, so to speak.
What Is a Level 2 Chimney Inspection?
A level 2 inspection is more involved. In addition to the steps taken for a level 1 inspection, the Chimney Sweep:
- Performs a visual inspection of the internal surfaces and flue liner joints
- Looks at clearances from combustibles
- Inspects the accessible portions of the chimney interior and exterior, including basements, attics, and crawl spaces
While they are not going to go in and demo their way through walls and floors, they are going to do a more thorough examination of the chimney. This is required when:
- You have made changes to your heating system or the way you will use it (e.g. you convert from wood to gas)
- You have made changes to the material and/or shape of the flue (e.g. you have relined it)
- You intend to use a previously unused heating system/chimney
- You have just bought your home or took ownership of the property
- You have had a chimney malfunction
- External factors, such as fires, earthquakes, or severe weather, have or likely have damaged the chimney
If the Chimney Sweep finds or suspects a serious hazard or hidden problem after conducting a level 1 or 2 inspection, they will recommend a level 3. This is much more extensive and often requires them to access harder to reach areas. For example, they may have to remove drywall or the chimney crown to get a better look at the situation. They will be sure to clear this with you and explain the process in detail.
Do you need a level 2 inspection? Now’s the time. Don’t wait until heating season to wonder if your system is safe for use. A Brick + Ember certified Chimney Sweep will give you the assurance and peace of mind you need.
Contact us to discuss your needs and schedule a chimney inspection.
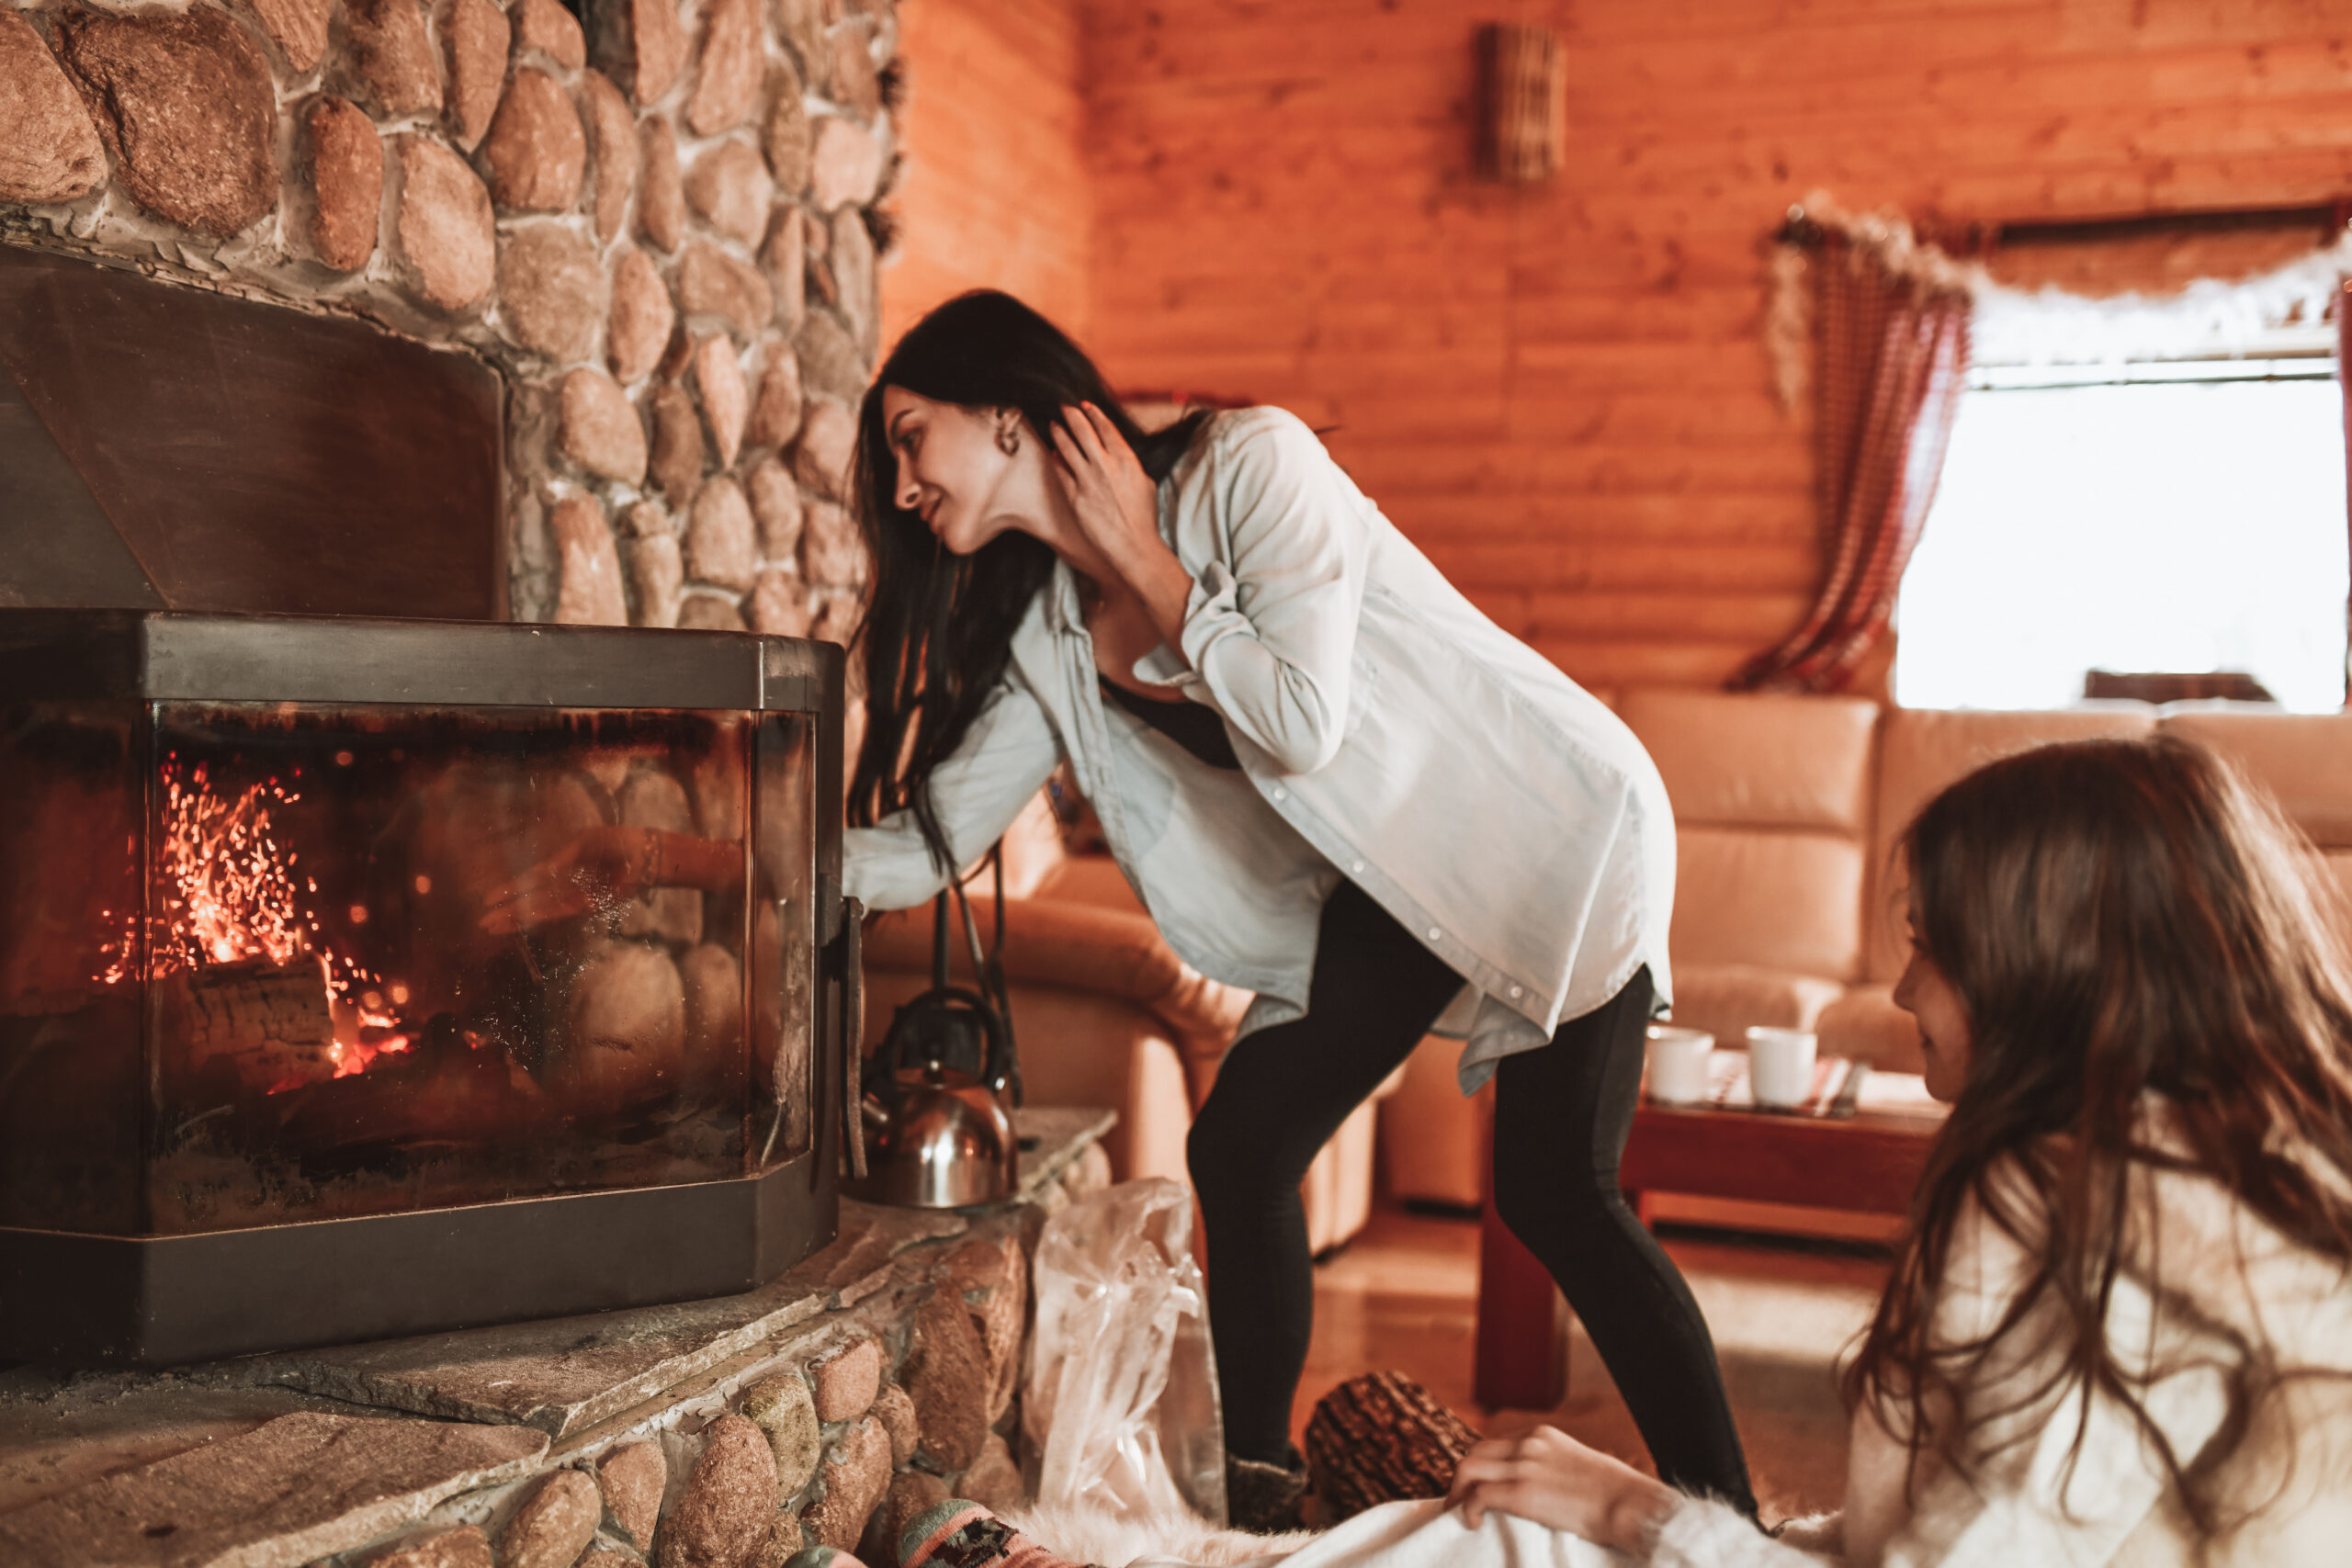
The Right Way to Light a Fire: Surefire Ways to Stay Warm, Cozy, and Safe
It never fails: it’s a cold, dark day, and all you want is the warmth and comfort of a blazing fire. And all you get is frustration and a spark of flame that is quickly snuffed out! Sure, just turning a dial or pushing a button is easier, but nothing beats the heat of a fireplace or wood stove… That is, if you can get it going. Fear not, with a few tricks of the trade, you can skip the aggravation and light a fire successfully every time.
Light a Fire – On the First Try
When we think of technological advances, cars, computers, and smartphones come to mind, but the ability to control fire is one of the most significant by far. Our earliest ancestors learned to “stretch” naturally occurring fires by adding combustible materials. Then came the use of flint. Then came hearths and cooking and gathering. It’s an incredible evolution – but you may feel like a Neanderthal when it comes to starting a fire!
Here are some easy-to-follow steps to help you light a fire:
1. Start by gathering the supplies you need:
- A clean chimney and flue. Always be sure that your system is properly cleaned and inspected before you start your first fire of the season.
- A few pieces of seasoned firewood – and more on standby. “Green” wood is still wet at its core and will not burn easily or steadily. You’ll also generate a lot more smoke.
- Kindling sticks. A dozen or so pieces should be fine.
- Newspaper for tinder.
- Extra-long matches or a utility lighter, with a long neck.
- A poker, fireplace/stove shovel, and metal ash bucket with lid.
2. Clear combustibles from the fireplace/stove area.
Do a visual sweep of the area around your fireplace or stove. Remove any items, such as clothing, books, paper, etc., that could ignite with an errant spark. If you have a fireplace, the hearth stones should be clear of any obstruction. If you have a wood stove, make sure you have proper clearance from the walls and that they are treated with a fire-retardant material. The stove should also be on a non-combustible floor pad (bricks, ceramic tile, and other surfaces are both safe and attractive!).
3. Open all of the air vents/dampers.
This is an important step to take for two reasons. One, it allows more oxygen into the firebox, providing fuel to the fire, and, two, it prevents smoke from backing up into your home. Smoke, and toxic byproducts of combustion, like carbon monoxide, need a safe escape route to the outdoors.
If your home or camp is especially drafty, make sure your clothes dryer and any bathroom and kitchen exhaust fans are off.
4. Place Your Firewood, Tinder, and Kindling In the Fireplace or Stove
Depending on how big your firebox is, lay two or so pieces of firewood in the bottom, parallel to each other. Keep a few inches of space between them – remember, air is fuel. Next crumple up some newspaper and place it between the logs. This is your tinder; it burns quickly. To make sure your fire catches, you need to put a layer of kindling (small sticks) on top. Remember to keep a little space in between.
5. Light It Up.
Use an extra-long match or utility lighter to light the fire. The tinder will create an immediate flame, catching the kindling and eventually the wood. Give it a little time. When the fire is established, add another log to keep it going. You can then close your vents or dampers off a bit. This will keep heat from escaping up the flue. Depending on your system, it can take a little experimentation to get the right air flow to maximize heat and efficiency.
Remember, whenever you open your stove to add more wood, open the damper to avoid a face full of smoke.
Preheating Your Flue
If you’re not having much luck, you may need to preheat your flue. If you haven’t used your fireplace or wood stove, the flue is full of cold air. Since it is heavier than warm air, it acts as a kind of plug. This can make it more difficult to light a fire and keep it going. You may also generate more smoke.
When do you need to preheat your chimney? It’s a good idea for your first fire of the season or when you haven’t used your heat source for some time. You can also do a quick check by lighting a match or utility lighter near the flue. If the flame is being pulled upwards, good news: the smoke will go that way as well. If it pulls back towards the room, that cold air plug is getting in the way.
Sometimes, just opening the damper or vents all the way while preparing a fire is enough to shoot warm air up the flue, which can take about a half hour. You can also preheat it to save time. Don’t worry: it’s a quick and easy process! Lay your fire as outlined above. Then, twist some newspaper into torches. Light a few and hold them near the flue in your firebox. The heat will rise, and this is typically all that’s needed to “unplug” the cold air.
From there, light your fire, add more wood when necessary, control your dampers/vents – and finally, sit back and enjoy the incomparable warmth and glow of your fireplace or woodstove.
Stay Warm – and Safe – with Brick + Ember
Knowing how to light a fire is important. Even more critical is ensuring your chimney and its many components are ready for the job. Keeping your family and home safe is Brick + Ember’s number one priority. Start every fire with peace of mind by scheduling regular cleanings and inspections. Get in touch with us to see how easy it is.
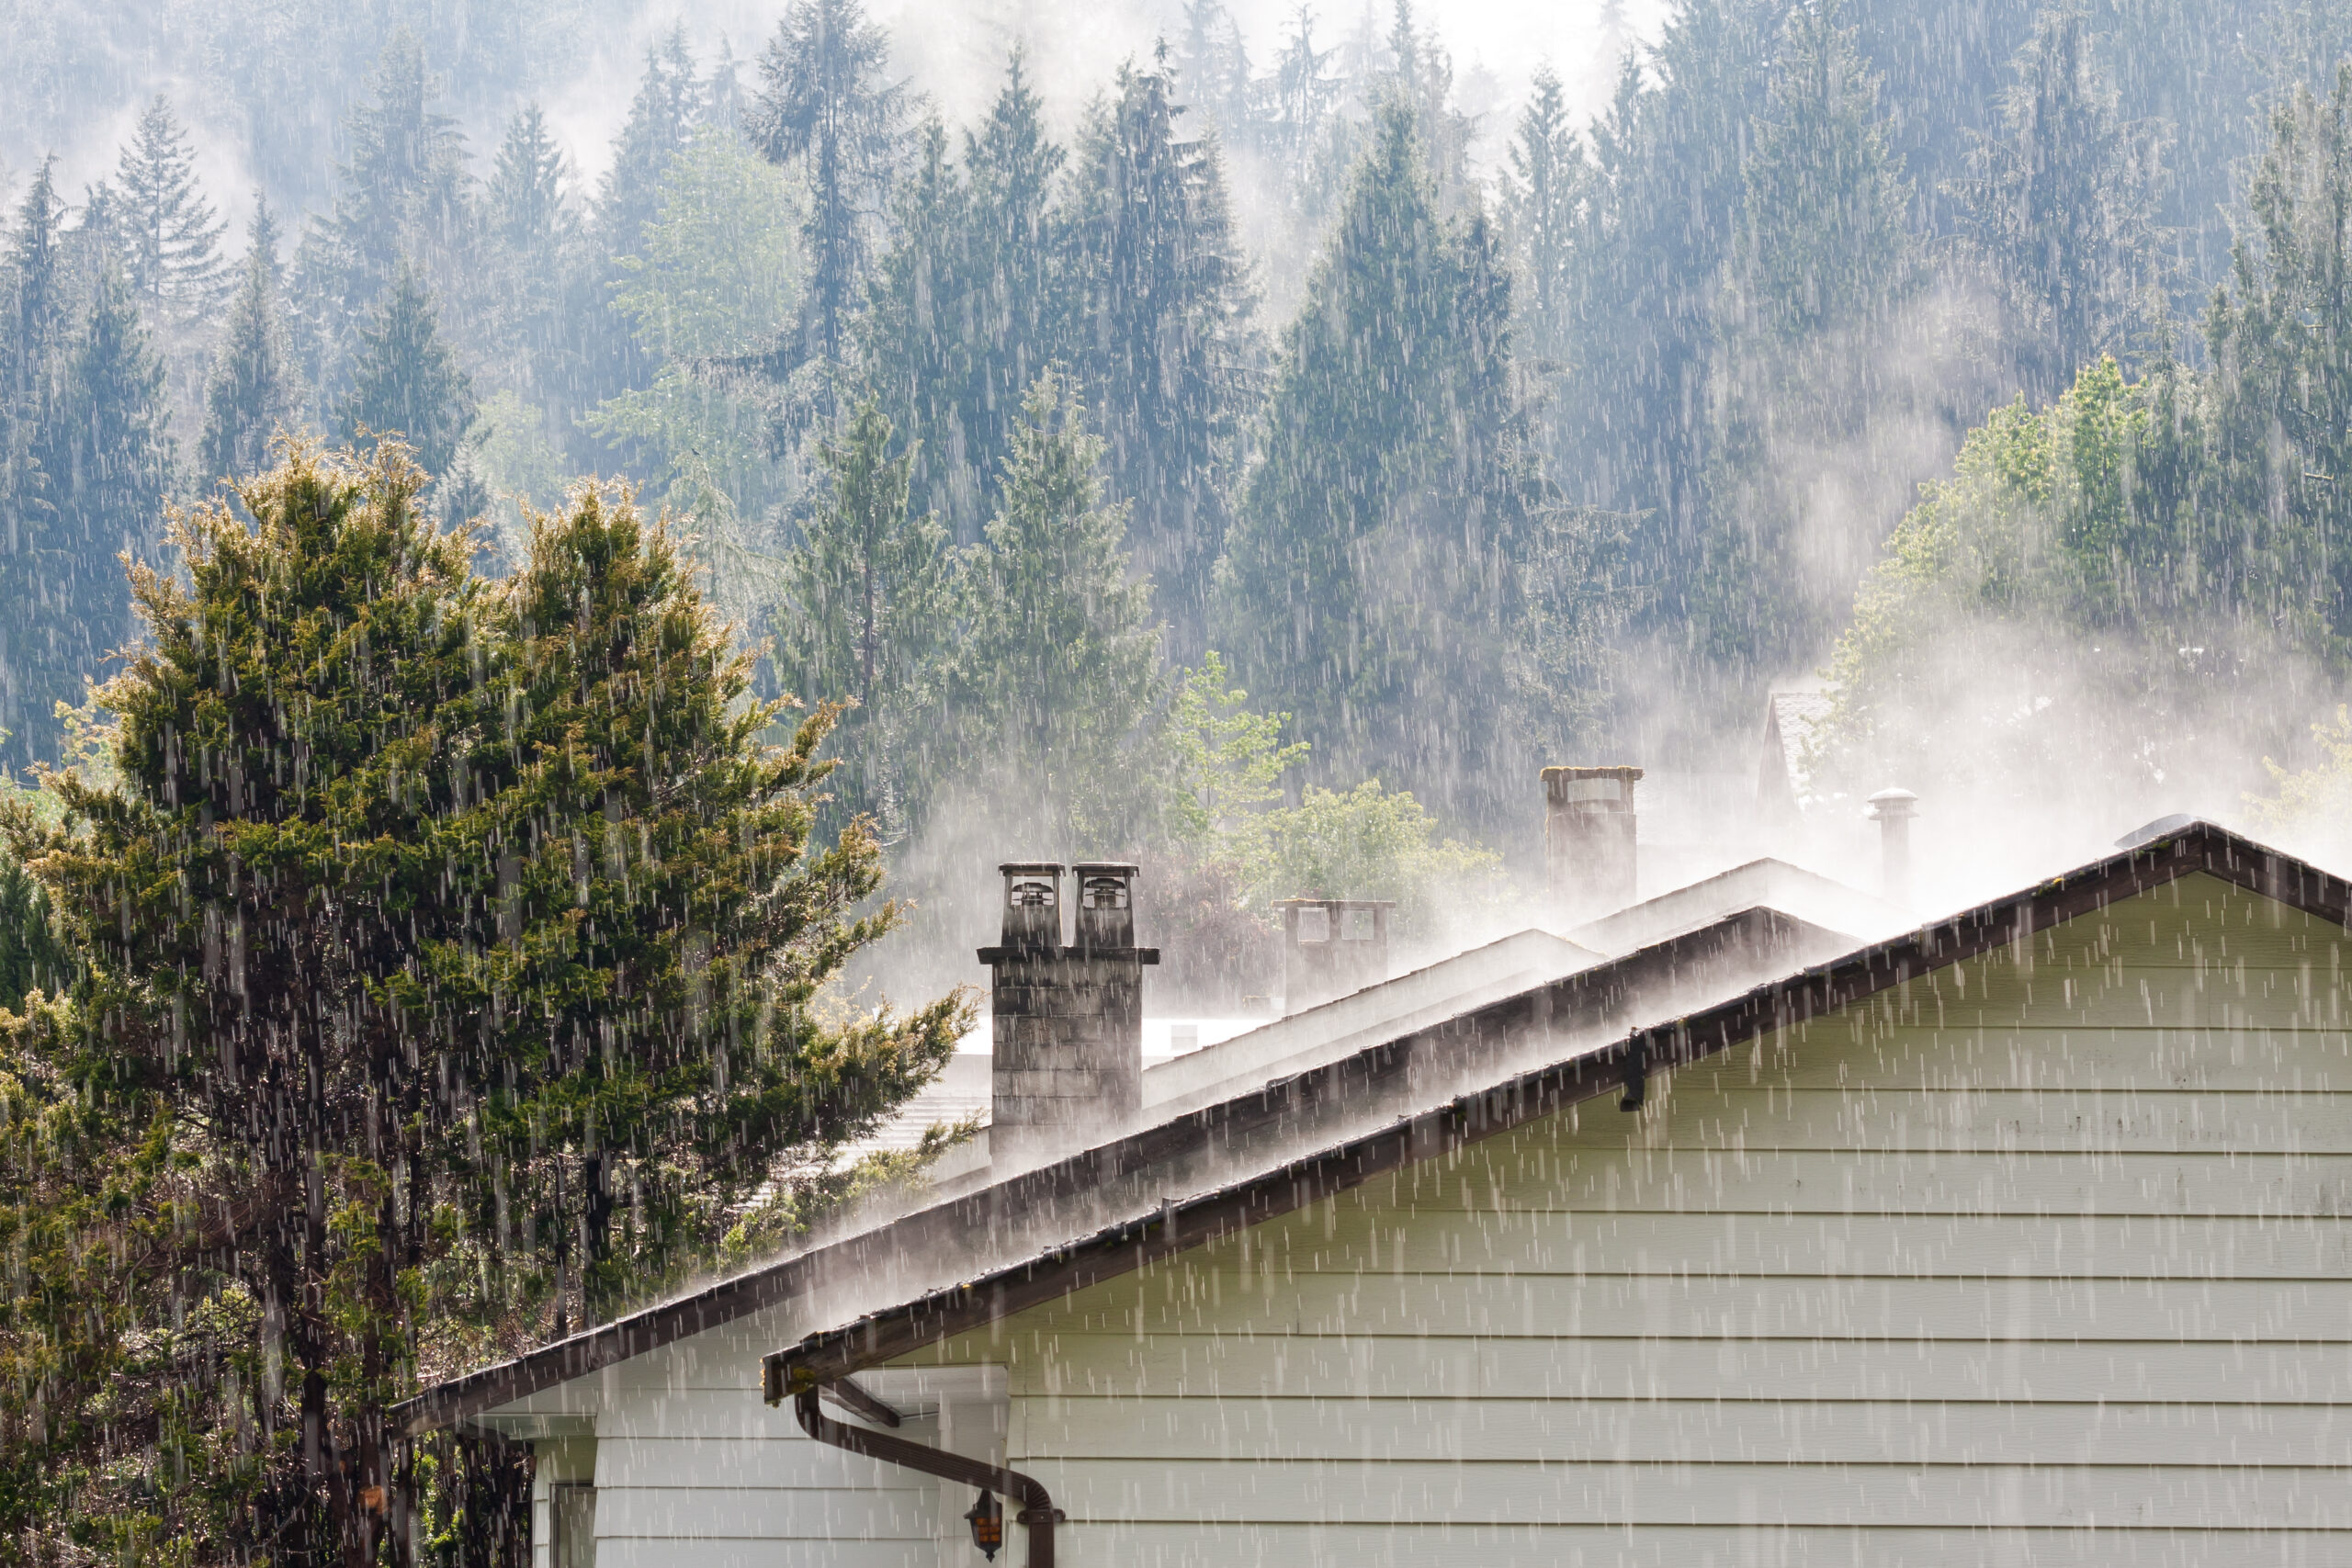
How Do Chimneys Work When It Rains – And Why Is Yours Leaking?
Chimneys are designed to allow smoke and toxic by-products of combustible materials to safely escape from fireplaces, wood stoves, and furnaces. The earliest versions were simply holes cut through the roofs of thatch structures – while we have certainly come a long way since then, they still perform the same function and are essentially holes in your home (albeit far more sophisticated ones!).
So, how do chimneys work when it rains? How do they ensure harmful gasses exit while barring water from entering? And, finally, what happens if yours isn’t doing its job?
How Chimneys Work When It Rains
A chimney would be little use if you couldn’t use it in inclement weather. Even if the flurries aren’t flying, cold, wet late fall and early spring weather means many of us are firing up our heating systems. When the weather outside is frightful, what keeps the inside delightful?
Many “actors” play a role in the functioning of the chimney, but the chimney crown and cap are the stars here.
Chimney Crown: This a large metal, concrete, or stone slab that covers the entire opening and extends about 2 – 2.5 inches over the chimney structure. When rain or snow falls, the crown directs the water onto the roof where it can flow down without damaging the chimney.
Chimney Cap (also called a rain cap): Think of the cap like an umbrella; placed directly on top of the flue or over the crown, it prevents precipitation and moisture from entering your home. We highly recommend installing a cap that has a wire mesh screen as well; this keeps birds, critters, nesting materials, leaves, and other debris from finding their way down your chimney like Old St. Nick. The cap also keeps embers and sparks in, vastly reducing the risk of a roof fire.
Some chimney caps are designed to improve draft, which helps pull smoke and noxious byproducts (e.g. carbon monoxide) out of your home, replacing it with cooler air, which pushes more smoke and gas out. This helps enhance safety and gives your fires a better chance at success.
Water Is the Enemy!
Keeping water away from and out of your chimney is critical; moisture can cause significant damage to the structure. In addition, you risk weakening the walls and ceiling around your fireplace/stove, damage to the firebox, cracking of the flue, rusting and corrosion, and other problems that can lead to unsafe, and expensive, issues.
If you do see some water infiltration with your chimney, it might be because:
- You do not have a rain cap: These are often considered “optional” add-ons and may not come standard, but they’re essential! A small investment will deliver significant benefits over time.
- You have the wrong rain cap: If the rain cap does not fit optimally, it exposes your flue and fireplace/stove to the elements. This is little better than no cap at all.
- Your flashing is not functioning properly: Flashing is a thin metal material installed around the chimney. It diverts water away from the chimney and roof. If it is not installed properly or it has worn down, water is allowed entry – and this can lead to roof, chimney, ceiling, and wall damage.
- Your masonry is damaged: If you have a brick and mortar chimney, the components can break down over time. The bricks can spall (i.e. splinter apart) and crack. Not only does this make your chimney look unkempt and shabby, it also sets you up for serious problems.
Chimneys are complex systems, and leaks can be difficult to detect. Often, homeowners do not realize there is a problem until they’re dealing with extensive damage. The best way to prevent expensive headaches – and, most importantly, protect your family, home, and possessions – is to schedule regular chimney inspections and cleanings. While the Brick + Ember team is well-versed in repairing damage, we are committed to helping you avoid this costly step.
Brick + Ember is committed to ensuring your system works optimally and safely. Get in touch with us to discuss your needs or call us at (317) 500-1250. We are here for you.