
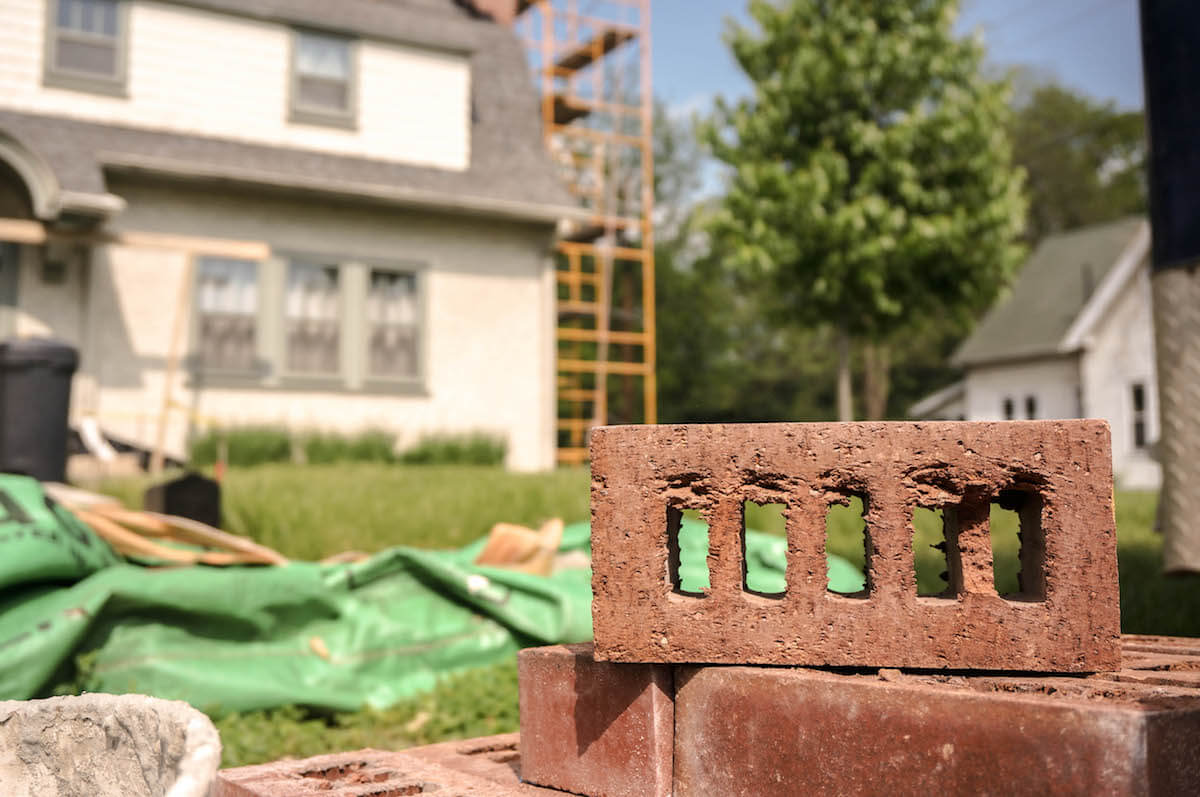
Can I DIY My Masonry?
When you notice a few cracked bricks or worn mortar joints, it's tempting to grab some tools and try fixing the problem yourself. However, while some small masonry projects are safe to take on, most are better left to professionals. Skipping expert help can lead to costly mistakes - and those "savings" you were aiming for might disappear fast.
Brick + Ember Outfitters provides the best masonry repair, restoration and installation with a Hassle-Free Guarantee. Check out some of our masonry projects in Indianapolis.
When DIY Masonry Repair Might Be Okay
If you're tackling something small and decorative, like building a short garden edging with loose stones or replacing one patio paver, you can probably manage without much risk. These low-stakes projects aren't structural, so errors are easier to correct.
However, even with simple DIY brickwork, you'll want to research materials, proper bonding techniques and safety precautions. A poorly mixed mortar or uneven placement can still cause issues over time.
Why Most Masonry Repairs Shouldn't Be DIY
Masonry is a skill that takes years to master. From choosing the right mortar mix for Indiana's climate to making sure repairs blend seamlessly with existing brickwork, there's a lot more to it than meets the eye.
Common DIY Masonry repair mistakes include:
- Using the wrong mortar mix, which can weaken the brickwork.
- Applying too much or too little mortar, leading to gaps or budges.
- Failing to address the underlying cause of damage, which allows it to return.
- Damaging the surrounding bricks while trying to replace one.
These mistakes can create bigger problems that require more extensive - and more expensive - professional repairs later.
Why Hiring a Professional Can Help Save Money in the Long Run
Hiring a professional from the start may feel like a bigger investment, but it's almost always the smarter financial choice. A trained expert can quickly diagnose the problem, recommend the best solution and complete the brick repair so it lasts for decades. You're paying for skill, quality materials and peace of mind. Plus, we handle any size project.
At Brick + Ember Outfitters, we approach every repair with care and precision. We listen to your concerns, develop a plan of action and help you make informed decisions at every step of the process.
Leave It to the Experts
It you're debating between tackling brick repair DIY or calling in a pro, remember that your masonry is a key part of your home's safety and appearance. Call 317-500-1250 today to schedule your inspection and keep your brickwork in top condition.


Spring Masonry Checklist: Get Your Patio Ready for Summer
The days are getting longer and warmer, and your patio is calling. A little spring masonry maintenance now can save you from bigger repairs later and keep your space looking great all season. If you spot anything beyond a quick clean, Brick + Ember Outfitters - the Indiana team that repairs and restores brick, stone, and mortar - can help you get it back in shape. Here are some simple patio cleaning tips to get your patio summer-ready.
1. Give Your Patio a Deep Clean
Winter weather can leave dirt, debris and even mildew on your patio surface. Start with a good sweep to clear away leaves and branches, then use a gentle power wash or scrub or scrub brush with mild soap and water. This helps restore the original color or your stone or brick and prevents slippery buildup.
2. Check for Loose or Cracked Bricks
Cold temperatures and freeze-thaw cycles can cause mortar to crack and bricks to shift. Walk your patio slowly, looking for uneven areas, chips or crumbling mortar. Even gaps can let in water, leading to bigger structural issues down the road.
3. Look for Signs of Water Damage
Pooled water, discolored bricks or white powdery spots known as efflorescence are all clues that moisture is seeping in. Over time, this can weaken your patio's foundation. Catching these signs early makes repairs faster and more affordable.
4. Refresh Your Patio Joints
The mortar or joint material between patio stones can wear away over time. Repointing, or replacing the old mortar, helps strengthen the surface and keeps weeds from growing in those spaces.
5. Plan for Repairs Now
If you notice damage during your spring check, it's best to address it before summer fun begins. That's where our fireplace experts at Brick + Ember Outfitters come in. We understand that your patio is a space where memories are made, so we'll take the time to understand the problem, explain the solution and complete the repair with care.
From Indiana patio repair to full brick restoration, we're here to make sure your outdoor space is beautiful and built to last. Take a look at one of our completed patio repair projects.
Ready to Get Your Patio Summer-Ready?
Let's get your patio looking its best before the summer season arrives. Call Brick + Ember Outfitters today at 317-500-1250 to schedule your spring masonry maintenance or repair. Our Hassle-Free Guarantee makes sure we handle every aspect of your project with the utmost care and professionalism.
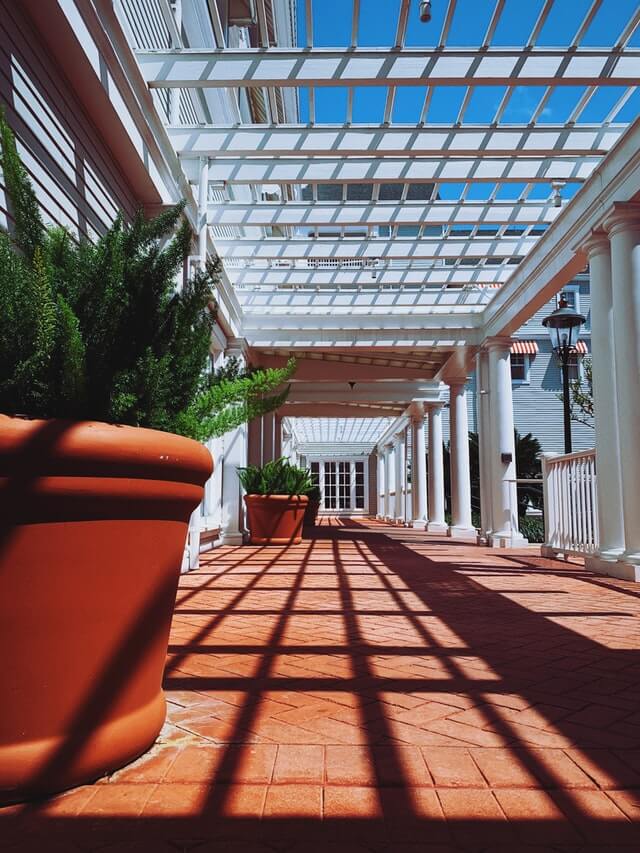
How Does Weather and Temperature Affect Masonry?
Masonry is built to last, and it does not exhaust the use of natural resources, but even the strongest brickwork can feel the effects of Indiana’s unpredictable weather. From sweltering summer heat to icy winter days, the constant shifts in temperature take their toll. Knowing how climate impacts your masonry and acting early can help you protect your investment.
Brick + Ember Outfitters provides excellent masonry work for residents in Indianapolis, IN. We are so confident in our work that we guarantee it, and our more than a decade of experience helps us achieve this.
Common Weather Impacts on Masonry
Indianapolis experiences all four seasons in full force, which means your masonry is constantly adjusting to changes in moisture and temperature. Here’s how temperature affects brick:
- Freeze-thaw cycles: Water trapped inside brick or mortar expands when it freezes, causing cracks that grow over time.
- Summer heat expansion: Prolonged high temperatures make bricks expand, loosening the bond with mortar and creating gaps where moisture can enter.
- Heavy rain and humidity: Moisture can soften mortar, encourage mold growth and lead to efflorescence — a white powdery deposit on the surface.
- Wind and storm damage: High winds can drive rain into joints and mortar lines, speeding up deterioration.
Why Professional Repairs Are Important
Some masonry weather damage starts small with hairline cracks or minor discoloration, but it rarely stays that way. Small problems can turn into expensive repairs if they aren't dealt with. Professional help is key because a trained masonry expert understands:
- How to properly assess the extent of damage.
- The materials that can withstand Indiana’s climate.
- How to match repairs to your existing brickwork for a seamless look.
- How to restore structural integrity so your masonry lasts for decades.
Brick + Ember Outfitters' Approach
At Brick + Ember Outfitters, we treat every project with the same care we’d give our own homes. We approach each project with curiosity, take the time to understand what’s happening, explain your options and provide functional and beautiful repairs. Plus, we use environmentally friendly materials and handle necessary permits if necessary.
From minor touch-ups to full brick restoration, our goal is to keep your masonry strong enough to handle whatever the weather throws at it.
Don’t Wait for Damage to Spread
Protecting masonry from climate issues is critical. Call Brick + Ember Outfitters at 317-500-1250 today to schedule your inspection and keep your brickwork looking great and standing strong year after year.
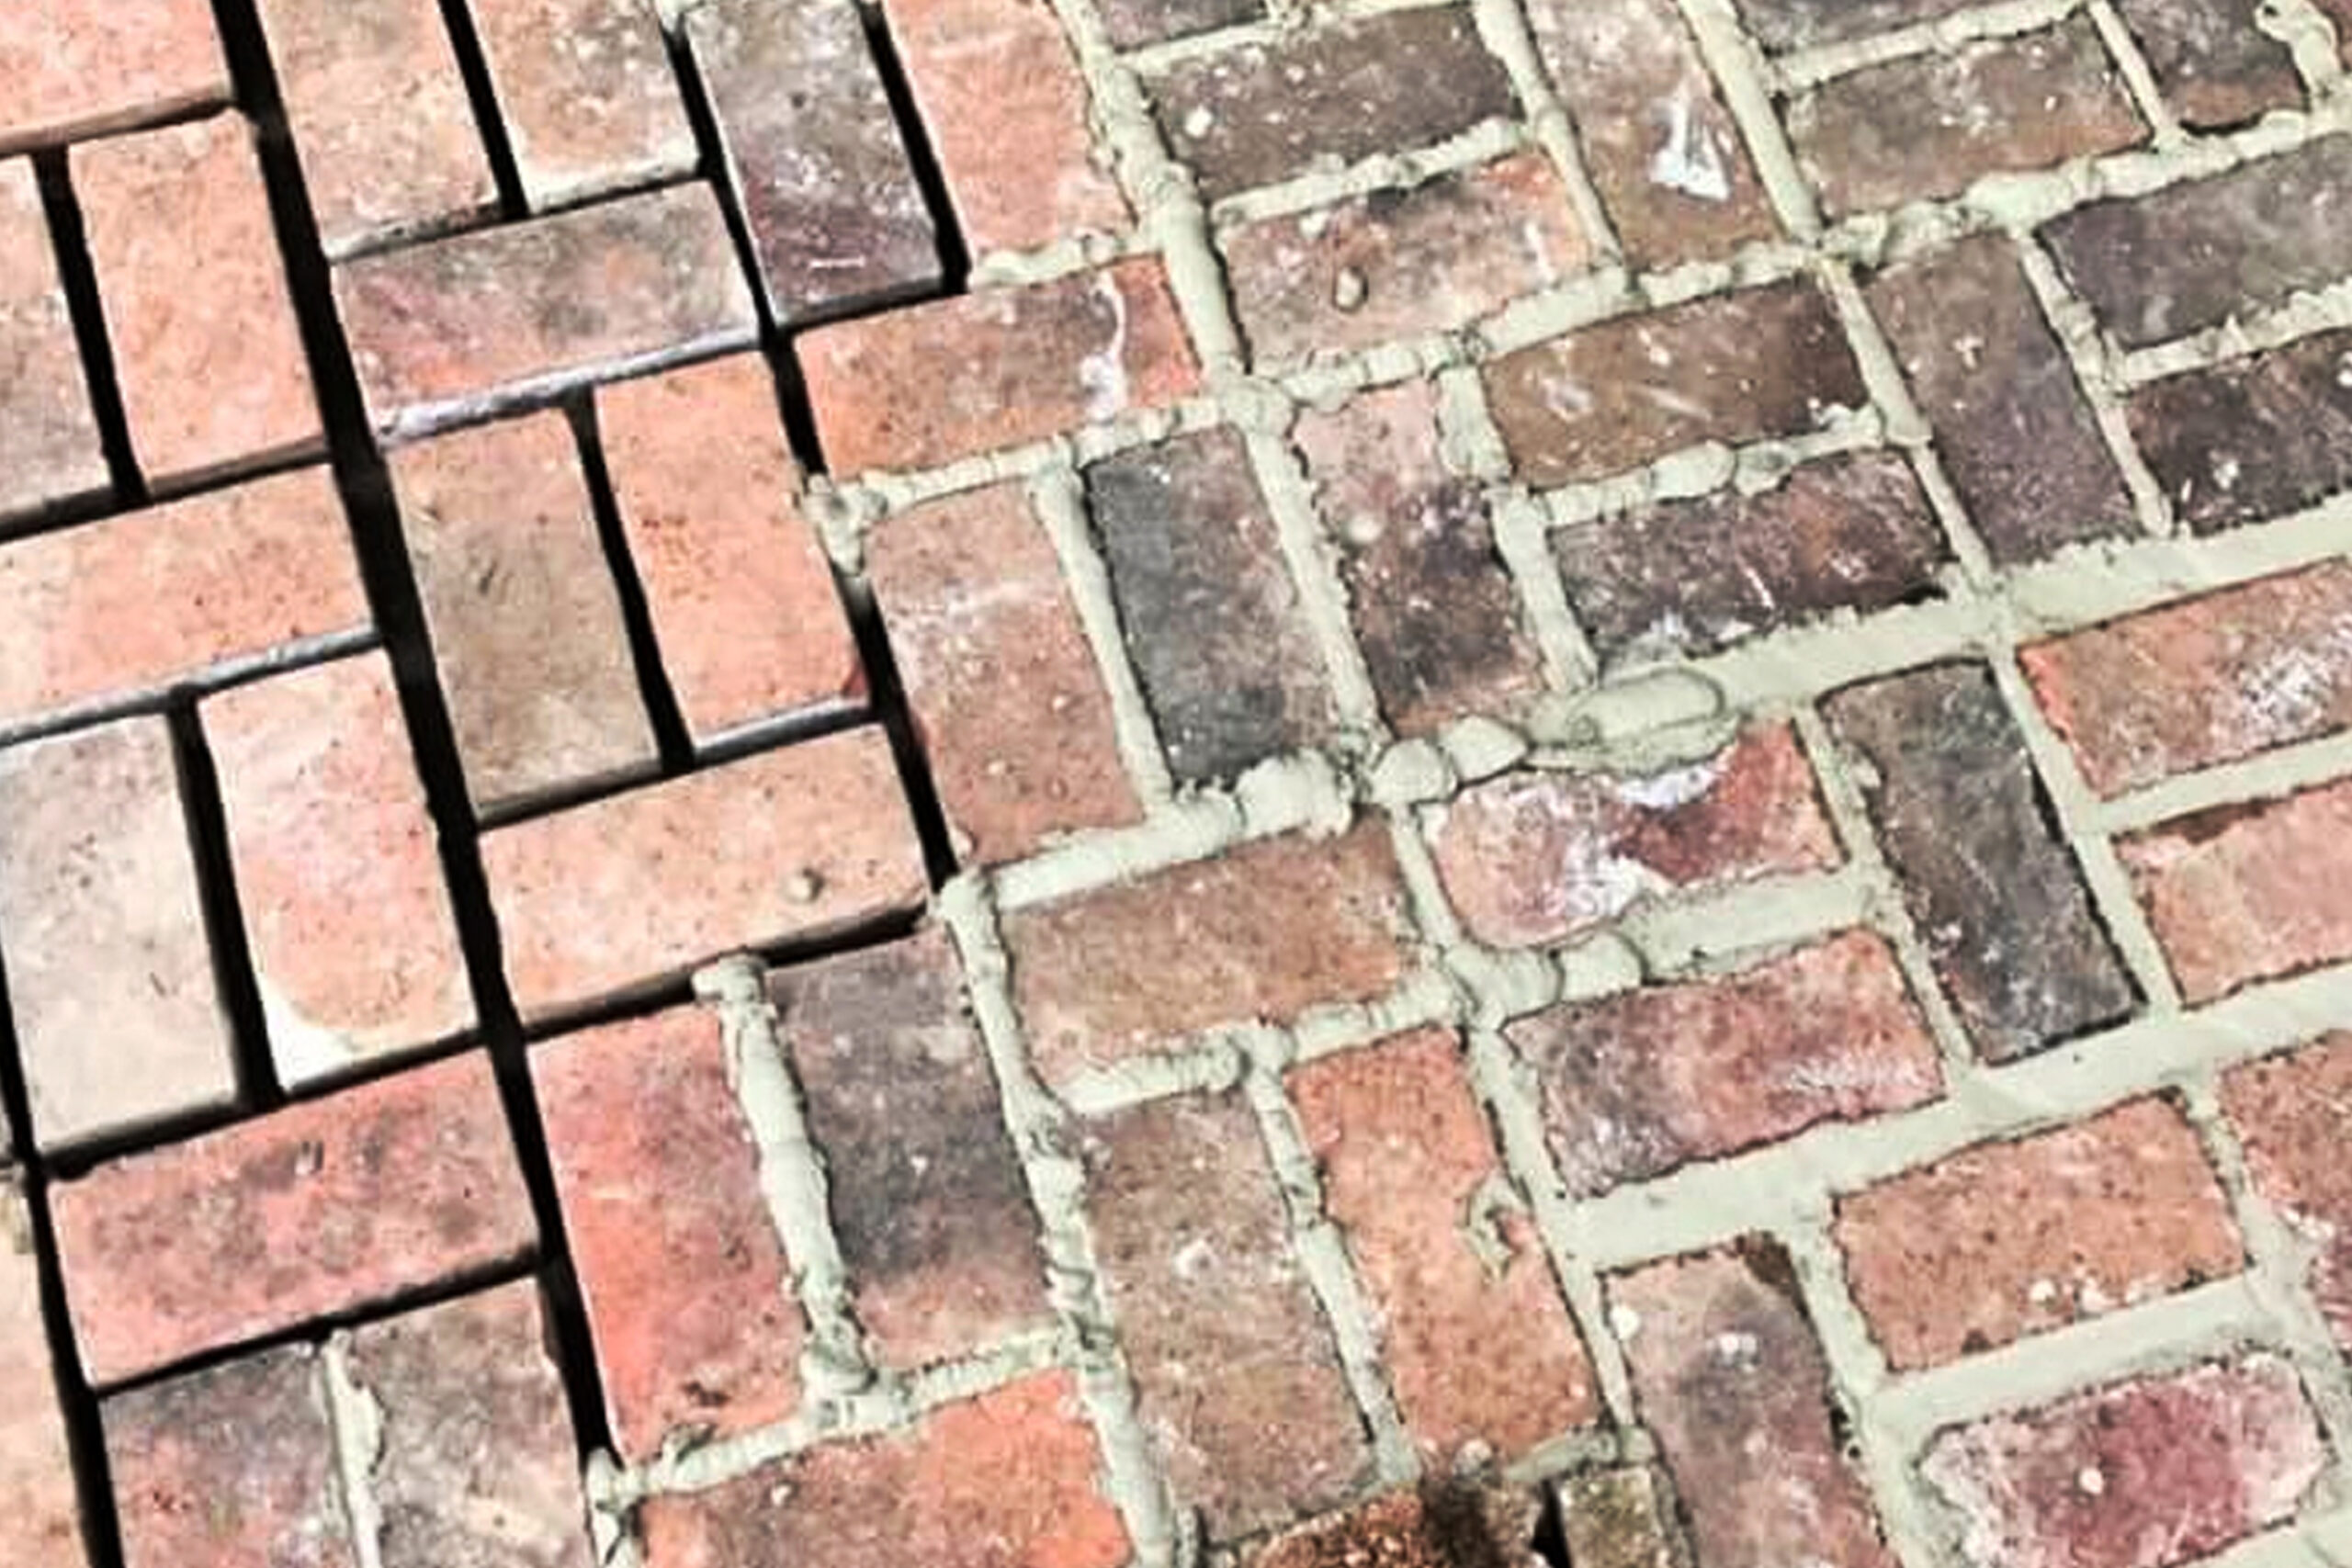
7 Signs Your Brickwork Needs Tuckpointing Repair
Brickwork is built to last for decades, but the mortar that holds those bricks together doesn’t always have the same lifespan. Over time, weather, moisture and temperature changes wear it down, leaving your masonry vulnerable. Brick + Ember Outfitters provides a professional tuckpointing process that restores the mortar joints between bricks, strengthening your structure and keeping it looking sharp.
Here are seven indications your brickwork might need mortar joint repair:
- Cracked or missing mortar: If you notice visible cracks or gaps between bricks, it’s time for a tuckpointing inspection. These spaces let in water if they are not fixed, which can cause even more damage.
- Loose bricks: Mortar holds bricks in place. If the bricks start shifting or feel unstable, it’s a sign the joints have weakened and need attention.
- Water leaks or dampness indoors: Moisture inside your home, especially near walls or chimneys, often means water is getting through deteriorated mortar joints.
- Crumbling or powdery mortar: Mortar that easily flakes away when touched is no longer doing its job. This type of deterioration can spread quickly.
- Discoloration or staining: White streaks or patches — known as efflorescence — on brick can be a sign of water infiltration through damaged mortar.
- Gaps after freeze-thaw cycles: In Indianapolis, freezing winters cause mortar to expand and contract. If you see small gaps forming after winter, it’s time for repairs.
- Uneven brick lines: When mortar erodes, bricks can shift out of alignment, which can affect both the look and stability of your masonry.
Why Prompt Repairs Matter
Deteriorating mortar is a cosmetic issue that can weaken your brickwork and create safety hazards. Left unaddressed, it can lead to costly structural repairs. Professional tuckpointing ensures the right mortar mix is used, repairs are durable and the finished work blends seamlessly with the existing brick.
At Brick + Ember Outfitters, we specialize in Indianapolis tuckpointing repair. Our fireplace experts take the time to evaluate your masonry, explain your options and perform repairs that protect your home from further damage.
Why Choose Brick + Ember Outfitters
A few ways we stand out include:
- Established in 2011: We were founded with a simple goal — to deliver uncompromising quality and exceed homeowners’ expectations.
- Professionalism you can feel at home with: Your home isn’t a construction site. We keep work areas clean, organized and free of debris.
- Mission-driven team: We employ people of character and integrity and equip them to meet the chimney and masonry needs of our city.
We also have a simple, homeowner-first process:
- Discover: We start by being curious — listening to your true needs and wants to provide thorough, budget-conscious solutions.
- Solve: We educate, equip and empower you to make informed decisions about repairs and maintenance.
- Install: Our Hassle-Free Guarantee ensures an experience you can trust and peace of mind that the job was done right.
Schedule Your Tuckpointing Inspection
If you’ve noticed one or more of these signs, your masonry needs tuckpointing. Call 317-500-1250 today to schedule your tuckpointing inspection and keep your brickwork safe, strong and beautiful for many years.
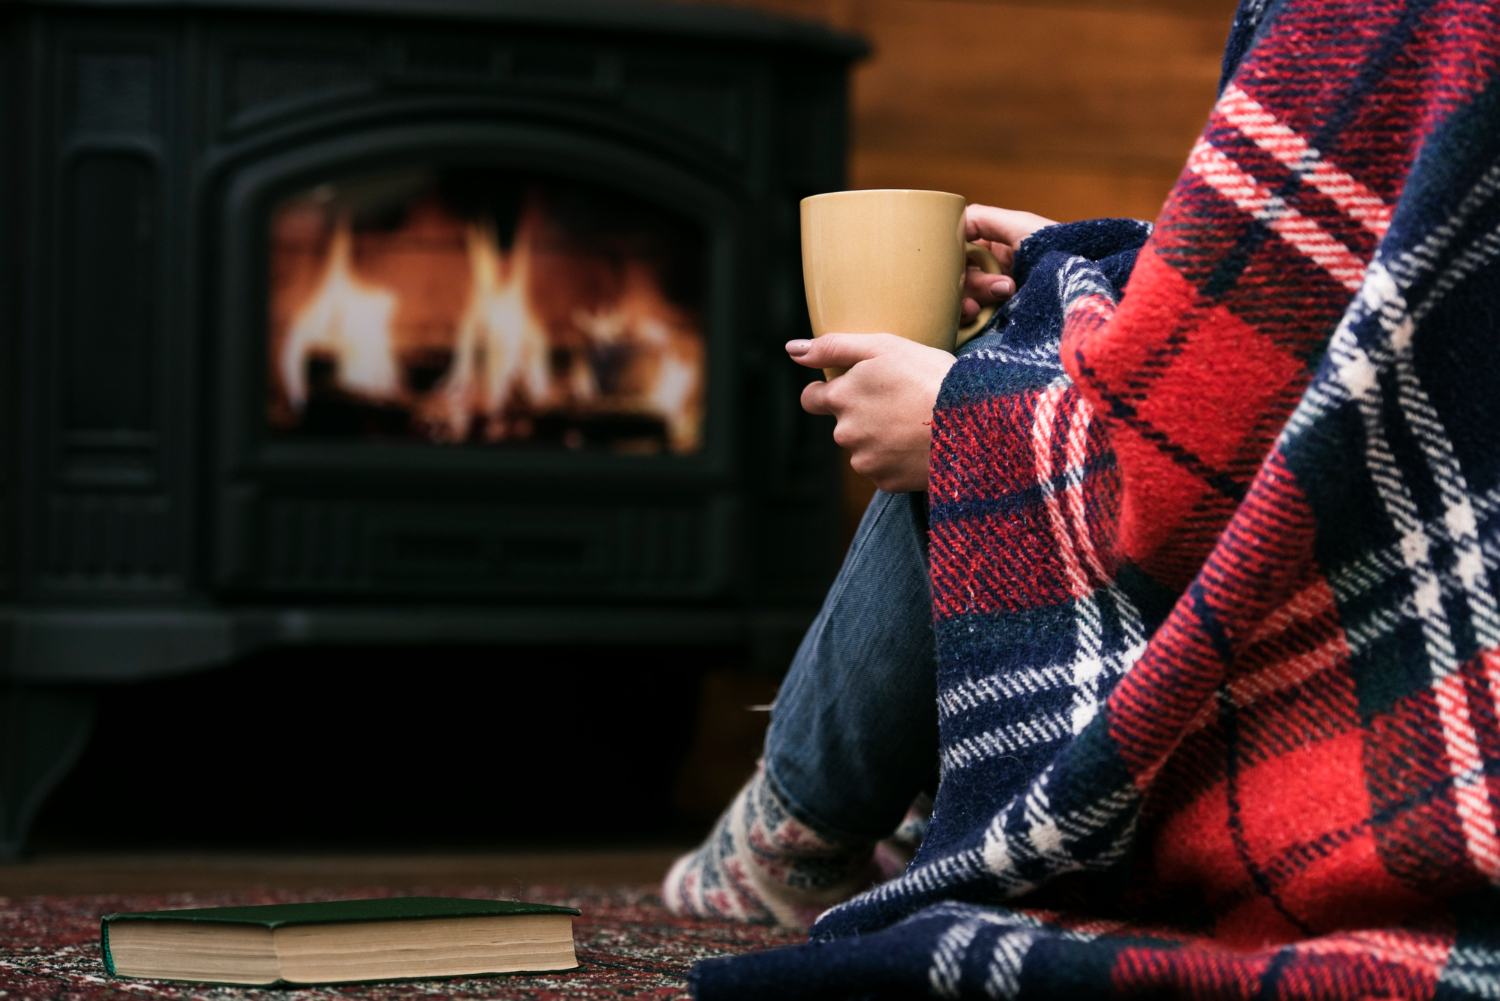
How to Make Your Fireplace More Efficient
It’s cold, snowy, icy or rainy and raw outside. You’ve had a long day. You’re tired. You’re chilled. It’s right there, in front of the fireplace. Nothing beats a crackling fire and the comfort and warmth that envelopes you. That is, if you’re standing right by it! Leave the room, and you can feel the temperature drop! Most people use fireplaces as a backup or for aesthetics, meaning your primary heating source (e.g. gas boiler, oil furnace, etc.) is working double time to try to heat the house consistently.
As much as 80% to 90% of the heat created by a fireplace just flies right up the chimney. This not only creates a frosty environment, it puts a damper (pun intended) on your budget. How can you make your fireplace more efficient?
5 Ways to Make Your Fireplace More Efficient
1. Use Seasoned Firewood
Fresh wood, or “green” wood, has a lot of moisture in it. When you burn it, it creates a smokey fire that burns quickly and generates less heat. Seasoned firewood is left to dry for at least six months. This allows a lot of the moisture to evaporate. Your fire will burn both slower and cleaner, helping your fireplace and chimney work as efficiently as possible.
2. Adjust the Dampers
Your damper does a few different jobs. When you are not using your fireplace, it keeps debris, moisture, and cold air from entering your home through the chimney. As your fire burns, you can adjust it (closing it a bit) to feed the fire the oxygen it needs to burn optimally – and to keep warmed air from escaping. When the fire burns out completely, close the damper to keep heat in the firebox. This will provide residual heat for hours.
3. Use a Ceiling Fan
Ceiling fans are a huge help during long, hot, humid summers – but they are equally beneficial in the winter. Choose a model that has a switch that reverses the direction in which the blades turn. You want it to go clockwise in colder months because it creates an updraft and distributes heat throughout your living space. Doing this can save you as much as 15% on your heating costs!
Just make sure you don’t run your fan in a counterclockwise direction. This will have the opposite effect – and no one wants AC during an Indiana January!
4. Use Fireplace Doors
Glass fireplace doors can help boost efficiency. With an open fireplace or one that has a mesh screen, warm air is sucked back into the fireplace and out through the chimney. Installing inexpensive doors and closing them when the fire is burning prevents this and helps radiate heat throughout the area. When you close the doors, don’t forget to open the damper so it can vent exhaust.
Many people prefer not to have anything between them and their crackling fire from an aesthetic standpoint. But if you want to waste less and enjoy more heat, consider this option.
5. Install a Fireplace Insert
As mentioned, typical fireplace designs mean that we sacrifice 80% to 90% of the heat we generate. An EPA-certified fireplace insert is a self-contained heating unit. It fits in the fireplace so you get the look you want. You also get the feel you want as inserts can help you flip the script and retain 80% to 90% of generated heat. At the same time, you’ll use about ⅓ less fuel and produce far less smoke, soot, and creosote. Win-win-win!
We get it: a fireplace epitomizes warmth and comfort. But it’s about the least efficient method of heating your home out there. If you want the look and feel, try these methods to make your fireplace more efficient. The Brick + Ember team is happy to help. Connect with us – and stay cozy this winter.
Why Does Santa Come Down the Chimney?
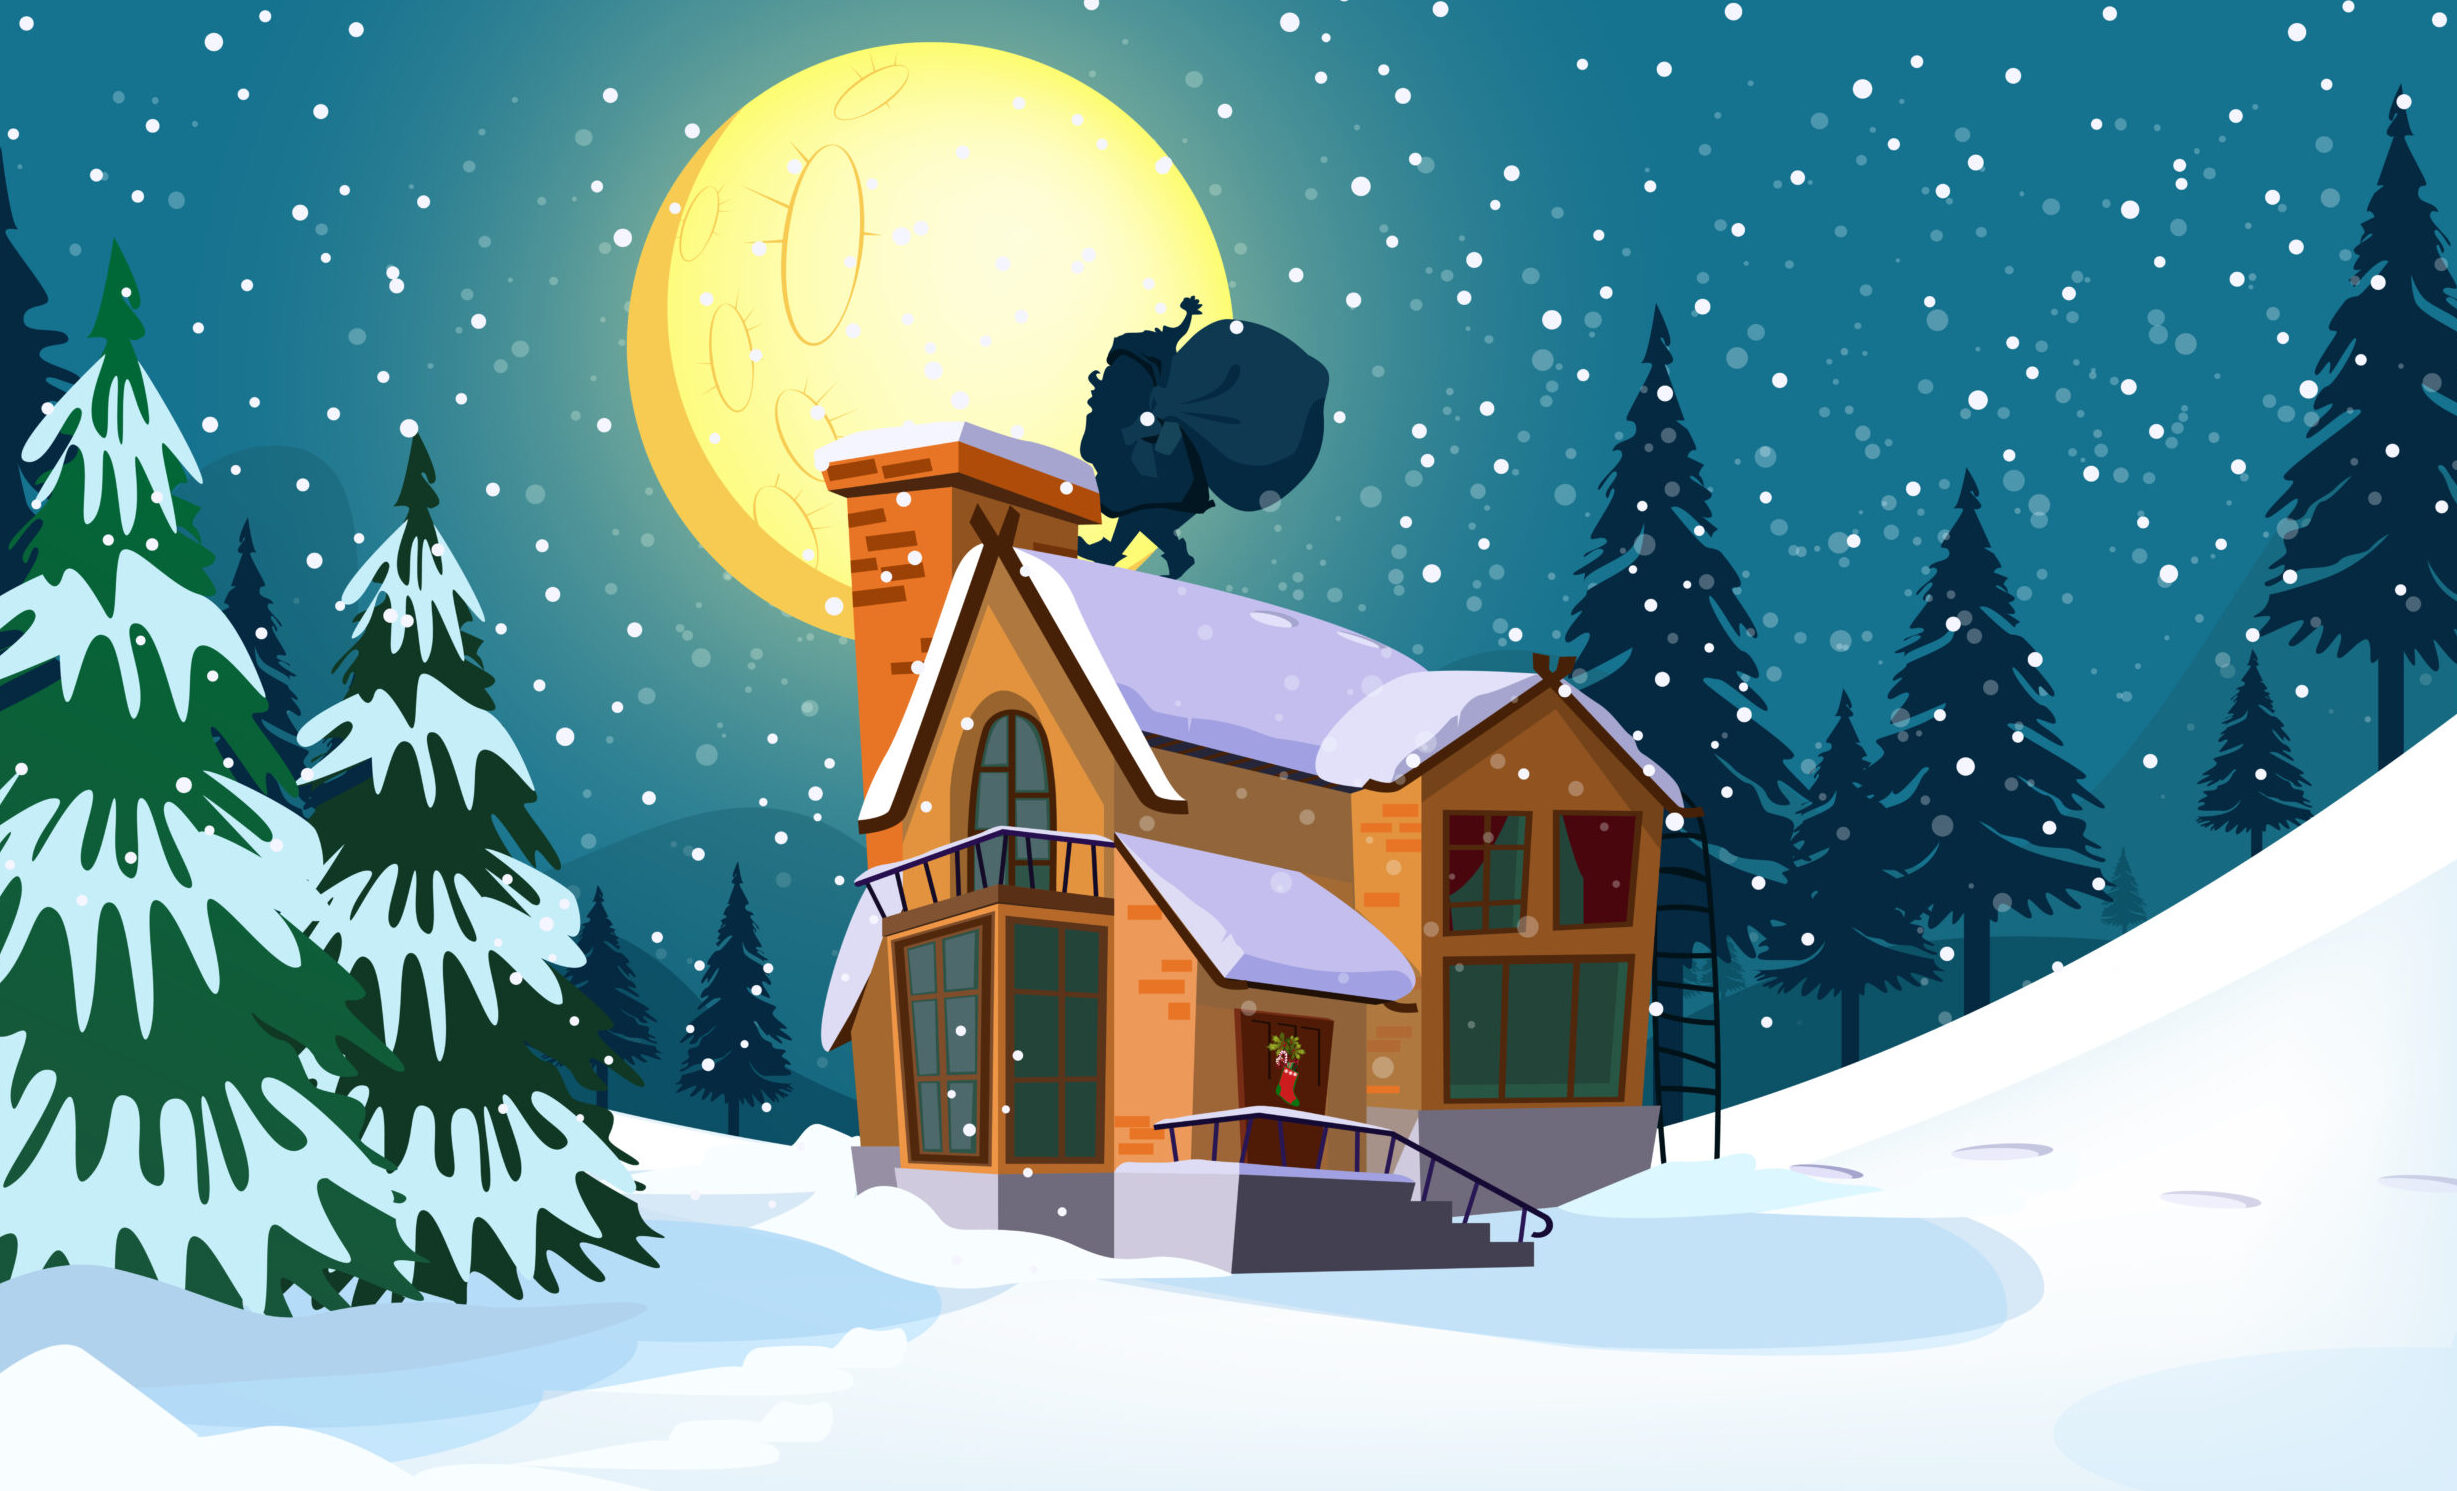
What’s going on here? How can one person – with a team of reindeer – visit homes around the world in one night? Well… physics, time zones, a bit of magic. That makes perfect sense. But why does Santa come down the chimney? How come this plump, jolly ole fellow opts to squeeze down an 8x8, 8x13, or 13x13” hole? On a roof? In places that often have feet of snow, inches of ice, and months of cold ahead? Why doesn’t he, with his round belly that shakes like a bowl full of jelly, just waltz in the front door?
It’s time to come clean, Santa.
Smoke Goes Up: What Comes Down?
In the 15th century, many folks believed that witches, elves, fairies, and other otherworldly beings could pass through walls and doors. French scholar Petrus Mamoris thought people were giving the occult too much credence and power. So… he explained that these spectral visitors had to enter the chimney – often via broomstick.
Again, makes perfect sense.
The chimney was considered a portal that connected our world to the supernatural. Cultures around the world have stories and legends about chimney-traveling beings. In Slovenia, Skrat is a fairy who brings families riches and treasure. Scottish and English Brownies stole into houses at night – and cleaned them. (Sign us up for that!) Pelznichol, a German creation, slipped down into homes wearing old animal skins and wielding a whip, to reward good children and to scare the bejesus out of the naughty ones. Better watch out, better not cry…
Well. That’s a little dark.
Fortunately, the old Pelznichol story got a bit of an update. According to legend, St. Nicholas, a 4th century bishop in what is now Turkey, dropped bags of gold down chimneys to help people in his community. The dutch word for St. Nicholas is Sinterklaas… Santa Claus. He did not carry a whip and the warning to abstain from crying and pouting was more in fun. Still, as the culture around Christmas evolved, Santa did deploy legions of elves to sit on shelves and make sure children were more nice than naughty.
Why Does Santa Come Down Your Chimney?
He’s got a big job, and his dry cleaner has an even bigger one removing soot and ash on December 26. A clean chimney is not only a safe chimney – it is a Santa-approved chimney.
Are you ready for St. Nick’s arrival? Make sure to schedule your cleaning in the fall so you’re prepared for a safe, warm, cozy winter and a magical holiday season. Contact Brick + Ember.
How to Decorate a Chimney for Christmas: Don’t!
Don’t decorate your chimney! It serves a functional, important purpose, and it is important that it is not obstructed by any material that could impair its performance or impact safety. That said… feel free to decorate your mantle and add a fun, festive flair for the holidays! Decorating around your fireplace is a great way to celebrate the season – safely.
5 Tips for Decorating Your Fireplace/Mantle Beautifully – and Safely
1. Follow the 3-Foot Rule
Safety first, folks. You don’t want anything happening to your family, your home… or Santa! The National Fire Protection Association recommends having a 3-foot zone around your fireplace/stove in order to prevent fires. Keep any combustible material out of this zone. This includes decorations, blankets, pillows, wrapping paper, Christmas trees, wreaths, and anything else that could feed a fire.
This also means that, if you have a working fireplace, you should not hang stockings, garland, or other materials that could pose a hazard while the fire is lit. It’s a good idea to keep a fire extinguisher handy as well.
2. Get Your Chimney Cleaned
Again, it’s not as fun as stringing lights or singing carols! But making sure your chimney is professionally cleaned before the heating season is key to a peaceful holiday season. Ideally, this happens in the early fall before you light your first fire, so you’re ready to go.
3. Enjoy the Holidays In a Quintessential Christmas Village
Use your mantle as a mini village, building a world of wonder and delight. If you want to recreate a quaint, old-fashioned town at Christmastime, use the opportunity to set up little houses, figurines, faux gifts under faux trees, wooden woodland animals, and other elements that create a calm, serene atmosphere. And if you want to involve the kids (or your crafty self), do a gingerbread village. It’s a great activity for long winter days, and it will look great on the mantle.
Alternatively, you can honor your faith by setting up a Nativity scene and remembering your reason for the season.
4. Light It Up
Candles are one of the most simple – yet most effective – ways to decorate your holiday mantle. While slim, white candles in elegant tapers or holiday scented options are great, you can also opt for flameless candles so you don’t have to worry about a fire hazard. They will provide a warm, lovely glow without the risk. And if you forget about them… no big deal!
5. Get Help from Nature
You don’t have to spend money to create a beautiful scene. Go out for a walk instead. See if you can gather natural materials to decorate your mantle. Pinecones, evergreen sprigs, winter berries (toxic: place out of reach of children – or “cheat” and use artificial), birchwood, etc., can make a lovely display. It can also double as a fun scavenger hunt for kids on holiday break! You can add a few ornaments and decorations for pops of color as well.
Celebrate the Season Safely
These tips are just the beginning. Really, if you observe the 3-foot rule and take other basic safety precautions, you can decorate your mantle so it perfectly captures your family’s traditions, style, and personality.
Give your household the gift of safety and peace of mind this year. Contact Brick + Ember to ensure your chimney and fireplace are in top condition.

Is My Chimney Making My House Colder?
Is your chimney making your house colder? It seems like a counterintuitive question. After all, the chimney is supposed to contribute to a warm and cozy atmosphere! But in some cases, yes, it may be doing the opposite – and sending your heating costs right through the roof. Why, and what can you do about it?
Are You Heating the Outdoors?
Nothing is as comforting and homey as snuggling up and watching the flames of a crackling fire on a cold night. But when you have a wood-burning fireplace, it can certainly feel as if you’re losing more heat than you’re generating. Unfortunately, this can be true. According to some estimates, between 80 and 90 percent of the heat created in a wood-burning fireplace goes up in smoke. That is, it just flies right out the chimney. Another way to look at it: for every $100 you spend on wood, you get $10 to $20 of heat.
What’s happening?
When you light a fire, it needs to eat. To do so, it draws the oxygen it needs for combustion from the room, creating byproduct gasses (mostly carbon dioxide). As the air warms, waste gasses travel up the chimney, carrying away a lot of heat. You feel radiant warmth in front of the fire (which is why it’s toasty right there and chilly in the next room).Air from cooler parts of the house or outside swoosh in to replace the air that your fire needs. The net effect is that it can feel colder in the areas that are not directly adjacent to the fireplace.
Even when the fire is not burning, you still deal with the fact that warm air rises. It will travel up and out through the chimney. Cold air comes in to take its place. While this is important for creating an optimal draft (i.e. the force that pulls smoke up and out of the chimney, while allowing cool air in to feed the fire), too much cold air is… well, cold!
What Should You Do?
When the fire is not burning, make sure you close the damper completely. This will keep warm air in the home. When you do have a fire lit, close the damper partially to minimize the loss of heat. You may also consider installing an electric blower to circulate the warm air more effectively.
Another option is to install inserts with vents that pull air from the outside rather than from the room. This will create more radiant heat than an open fireplace. If you do love the look of your open fire, you may want to retrofit it with a deeper firebox.
Fireplaces are warm and cheery features in many homes, and there is no substitute for the cozy feeling they impart. Just make sure you’re heating your house, not the great outdoors!
And as always, no matter what your heating source, make sure that your chimney is inspected and cleaned annually. Brick + Ember’s team of certified professionals will ensure that your system is safe for use. Get in touch with us to schedule your service.

Does a Chimney Get Inspected When Closing On a House?
You’ve found your home. Whether it’s a starter, a fixer-upper, or your dream house, it’s soon to be yours! It’s an exciting time, but before you sign on the dotted line, make sure you get a chimney inspection. Failing to do so could leave you with big – costly and potentially dangerous – problems.
Does a Chimney Get Inspected When Closing On a House?
It should. Unfortunately, it doesn’t always happen.
Let’s find out why. Most buyers know that their mortgage lenders require a house inspection before they agree to extend the loan. They need to make sure it is a “good risk” for them – and you need to make sure you are fully aware of any issues that could mean expensive repairs or unsafe conditions. But what most buyers do not realize is that a typical home inspection does not include a professional chimney inspection.
A house inspector is certainly highly knowledgeable in their area, and they will check visually to see if the chimney appears straight and undamaged. This, of course, does not mean that it is in proper operating condition. It just means that there are no signs of trouble upon a cursory inspection.
It is possible that a chimney can appear to be undamaged and pass inspection. The buyer closes, and then, on a cold winter night, they start a fire. This is the worst time to learn that the chimney liner is cracked or corroded. A damaged liner can lead to fire, the infiltration of toxic gasses (e.g. carbon monoxide) into the home, and deterioration of the chimney structure. A general, visual house inspection will not detect this extremely dangerous problem.
This is why homeowners need to order a level 2 chimney inspection before closing on a house.
Level 2 Chimney Inspection
The National Fire Prevention Association (NFPA) sets the standards for chimney inspections, and they have categorized them in three levels. Level 1 is your basic inspection that you should get annually. Here, the chimney sweep examines the accessible part of the chimney (inside and out), and the accessible parts of the heating appliance and chimney connection. They’re looking to see if it is free from obstructions and that components are in good shape.
A level 2 chimney inspection is more intensive and is highly recommended by the NFPA when buying a house. In addition to the basics covered by a level 1, the chimney sweep will look at the internal surfaces and flue liner joints, examine clearances from combustibles, and inspect accessible portions of the home impacted by the chimney/heating appliance, including the basement, attic, and crawl spaces.
Protect Your Investment – and Your Home
While not strictly required by your lender (or by law, if you do not require financing), getting a level 2 chimney inspection is a smart move. Opt for a Chimney Safety Institute of America Certified Chimney Sweep for optimal results and exceptional peace of mind. The cost is usually between $200 and $1000, but this could save you many times that by catching problems early.
Contact Brick + Ember to schedule your level 2 inspection. Our CSIA Certified Chimney Sweeps have the extensive training and expertise you need before you close on your house.
Why Is a Chimney Cap Necessary?
When you think about it, there are many potentially dangerous items we bring into our homes, from appliances to the electricity on which they run. One of the most prominent is, of course, our heating systems. While they serve to provide us with warmth and comfort, they can also put us at risk for carbon monoxide poisoning, house fire, and other hazards. This is why we do everything possible to mitigate the risk and ensure heating systems are operating safely and efficiently. Your chimney cap plays a big role in this.
Is a Chimney Cap Necessary?
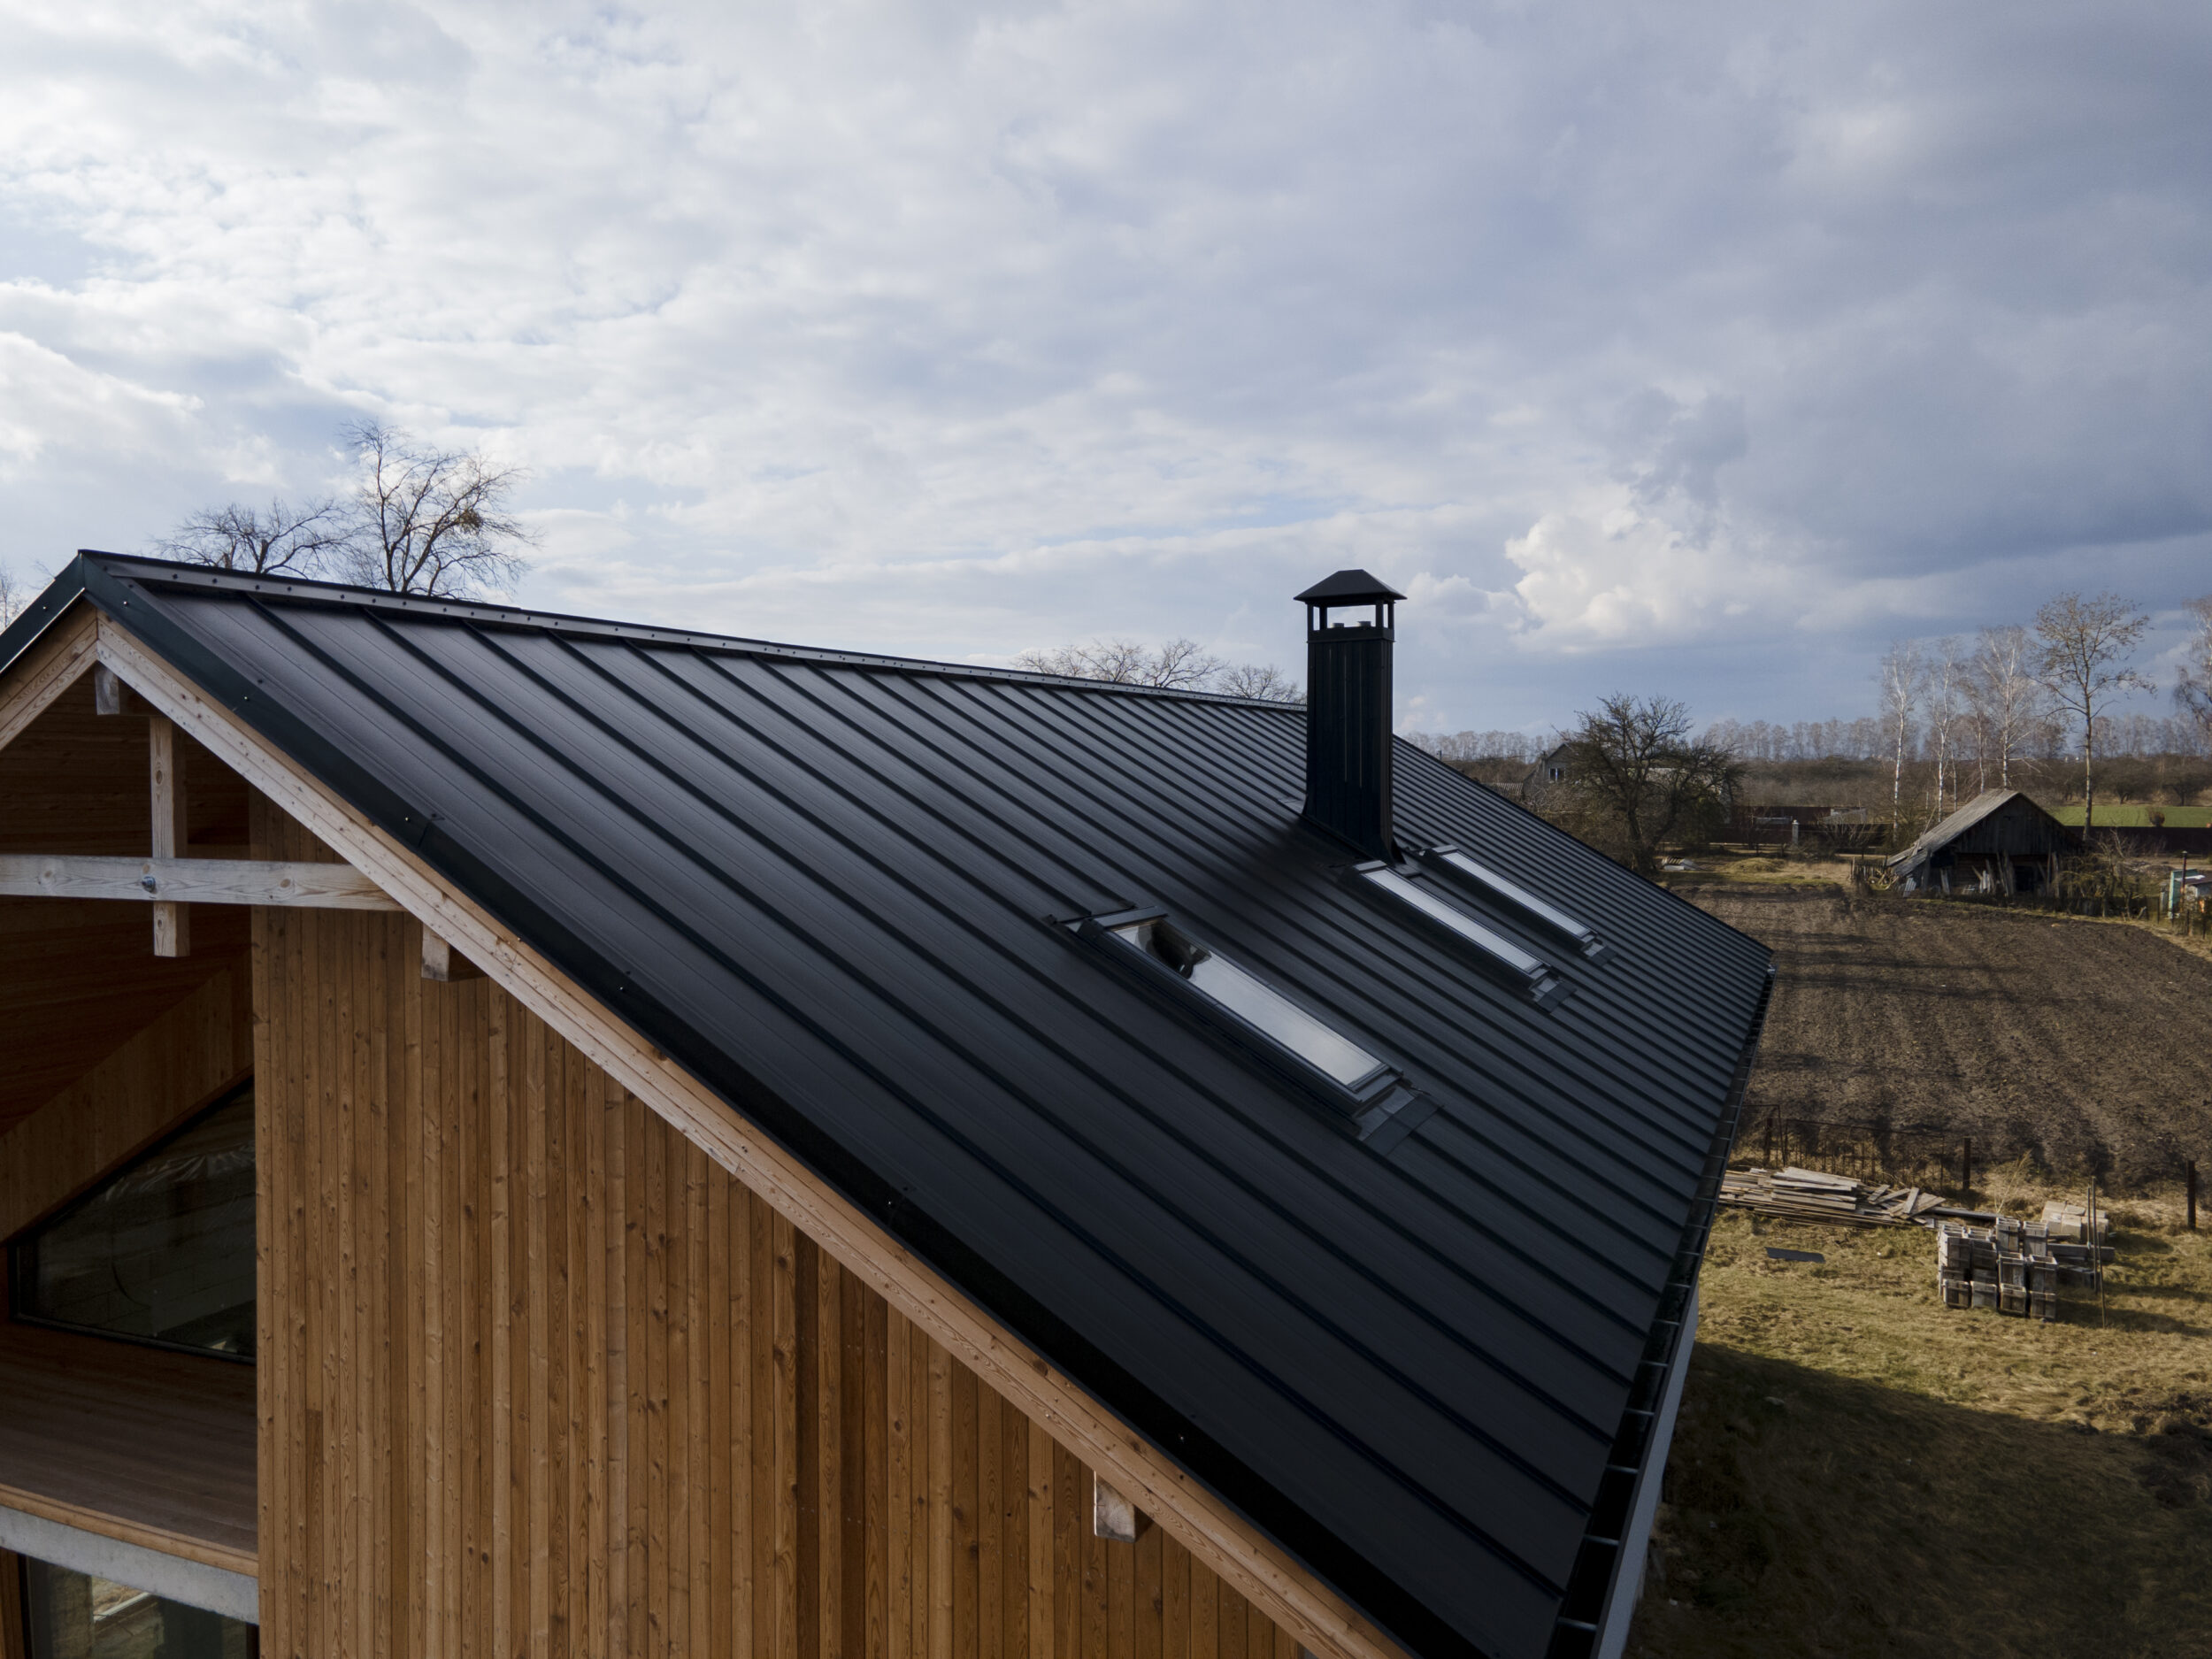
First, let’s back up: what is a chimney cap? It is a two-part protective covering. The first part is mesh, usually made from copper or steel that fits over the top of the chimney crown (i.e. the very top of the structure). On top of the mesh is a metal cap. It’s a seemingly very simple addition to a chimney – so why is it so important?
Chimney caps:
- Help prevent fire. You want a fire in your stove or fireplace and only in your stove or fireplace! A cap helps catch sparks or embers that make escape up the chimney and out the flue. Worst case scenario, it can start a fire on your roof. The mesh component keeps these hazardous sparks where they belong.
- Keep water out. Moisture is the enemy when it comes to your chimney. It can accumulate and cause extensive mold and mildew growth; rust and corrode metal components, including the flue; and seep into the joints of brick and mortar chimneys, causing them to deteriorate far faster than they should. The chimney cap is an effective layer of protection from moisture.
- Increase efficiency – and comfort. Chimneys work by allowing smoke and gasses to escape from the house, but they are also designed to allow cool air in to create an efficient cycle that results in a nice, warm fire. If you do not have a cap, though, gusts can blow back down. Essentially, your fire has to work harder to keep your house warm (meaning you’ll burn more fuel). Besides being chilly, there is also the chance that smoke, ash, and embers can return down the flue and into your home.
- Keep unwanted visitors out. Santa notwithstanding, we don’t really want anything coming down our chimneys. A cap prevents squirrels, rats, mice, raccoons, and birds from trying to seek shelter here. Pests can wreak havoc on the integrity of your chimney.
Think about it like this: a chimney cap is necessary because it keeps the things you want in (e.g. fire, warmth) in while keeping the things you want out (e.g. water, animals) out. Learn more here.
A chimney can function without a cap – but we do not recommend it. First, it is required by international building code but more importantly, it helps keep you, your household, and your property safer. Increased efficiency and longevity are certainly nice bonuses as well!
Get In Touch with Brick + Ember
Want to install a chimney cap? Need to replace your current model? Contact the Brick + Ember team to see just how easy it is to improve the safety, efficiency, and comfort of your heating system.