Winter May Not Be Considerate of Your Chimney, but You Should - Part 2
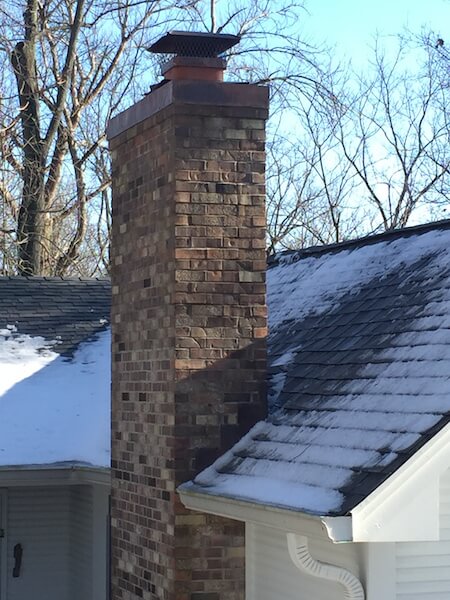
Address Deteriorated Mortar Joints
This doesn’t need to be too in-depth. The mortar joints are the grayish (generally speaking) mortar that you see between the bricks of your chimney (or home). Just like the concrete crown, as the effects of weathering take a toll on the masonry, the mortar joints can begin to deteriorate. These are generally pretty visible to the naked-eye. Missing mortar between bricks? You’re experiencing deteriorated mortar joints. Mortar joints are designed and are constructed to keep water out, but once deterioration begins — the porous masonry (brick) will absorb water and the joints will continue to crumble. The best process for rectifying this problem is to have the joints ground out and repointed (filled back in with mortar). Simply putting more mortar back in is not going to be the most ideal fix as the deterioration will simply continue rather than be being brought back to a fully restored state.
Address Flashing
Flashing is (generally) the sheet metal material that is utilized for the sealing of the chimney to the roof (or vice versa). Flashing is put beneath the shingles of the roof and is caulked to the masonry of the full-masonry chimneys. Flashing is intended to dispel the water from running all of the way down the chimney into the home, ruining drywall and other structural materials inside of the home. You may notice a flashing issue if you see water-spots on the ceiling surrounding the chimney - this problem does not resolve itself, you’ll continue to experience damage to the interior structural components of your home until this is addressed and repaired. The flashing allows the chimney and the roof to come together while still expanding and contracting.
Consider A Cricket
A cricket, is a structure that is installed at the point where the roof and the back of the chimney come together. Stick with us here: if a chimney is erected perpendicular to the home’s roof, there will be a place in which the roof and the chimney meet - often a rather abrupt spot where water has an opportunity to sit and wait around, freeze and really take a toll on your chimney’s masonry. The cricket is a triangular shaped structure that cause the water to run out and away from the back of the chimney.
These are a few components of the chimney and its masonry that need to be considered when it comes to ensuring the functionality and the longevity of your chimney.
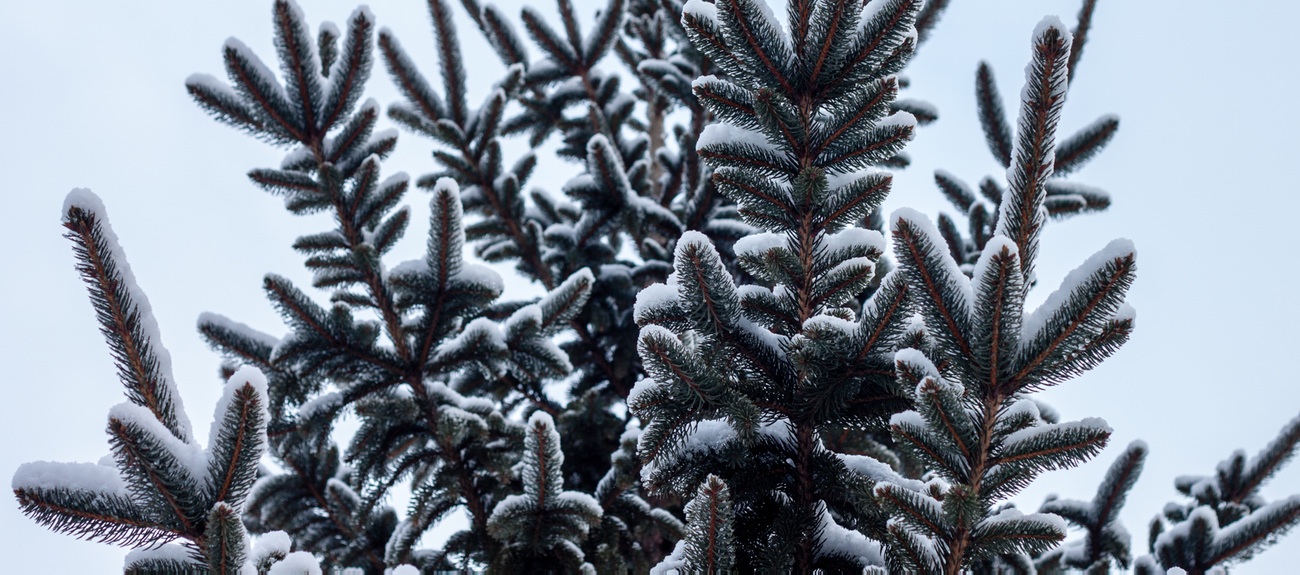
Winter is a rough season for your masonry and the Midwest is no exception to this rule. Take a look at the masonry on or around your chimney and ensure it is ready to go for the winter season. Brick + Ember Outfitters is committed to building equity, restoring beauty and growing peace of mind for our Indianapolis homeowners.
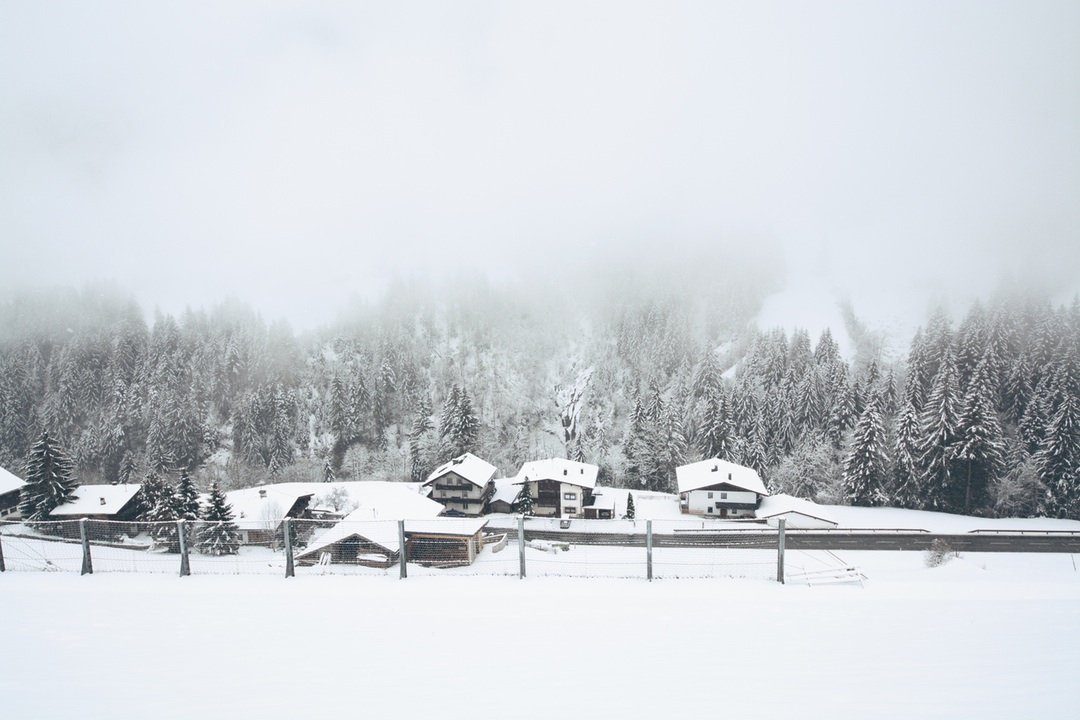
Winter May Not Be Considerate of Your Chimney, but You Should - Part 1
Things are cooling down, well…they are trying we think. October was a bit warm and November is now oddly warm, but it doesn’t sound like the majority of our homeowners seem to mind the warmth!
Regardless, the Winter will be on it’s way soon enough, and it isn’t asking your chimney if it is ready - Winter’s coming!
Here at Brick + Ember Outfitters, we can’t stress it enough, chimney problems will perpetuate themselves, not fix themselves. Especially if you’ve got a full-masonry chimney, you have a beautiful structure that deserves to be restored and well maintained.
We wanted to leave you with a few options for getting the chimney under control before the winter months hit, because we’d hate for you to find out that the chimney leaks, mid January!
Masonry construction is exponentially more demanding in the winter months than it is in the warmer months of the year - extra steps have to be taken to ensure the masonry work doesn’t set too slow, leaving you with a leaning chimney because the mortar took longer than usual to dry (unless you’re going for the “Leaning Tower of Pisa” look this time around? That’s unlikely).
We’re going to list a few things that could actually already be underway — you’ll want to address these prior to heat season (and it looks like the weather is holding out for you - get to it)!
Address Cracked or Deteriorating Crowns
Those full-masonry chimneys are beautiful structures that accent the rest of your home. These classifications of chimneys are constructed with a concrete crown up top and are extremely susceptible to the effects of weathering — year after year. Freezing and thawing, rain, sleet, snow, ice and anything else you can think of, those crowns go through it all! Which means they can begin to deteriorate, due to weathering.
Given that a concrete crown serves as the top or “roof” of the chimney’s masonry work below — if hairline cracks form, water will find itself in. A couple of rough winters and those hairline cracks turn into the real deal cracks. Chipping and cracking of the concrete crown means more water for the masonry below and we all know how that story goes — whomp. You’ll either notice a concrete crown issue because your bricks are chipping and spalling or you may begin to experience a legitimate leak from the chimney. Neither is a winning situation.
You’ll want to confirm, if it is not Brick + Ember Outfitters repairing the crown, that your chimney-guy repairs the chimney by ensuring there is an overhang for the concrete crown. Water needs to be directed away from the chimney below, not directed to run down the chimney below. You’ll have really done yourself and your chimney no good just to slap a new crown on that reaches the edges of the chimney — it needs to extend past the edges of the chimney. If you have a chimney with a steel chase-cover, feel free to click HERE to learn more about what you need to know to ensure your chase-cover is protecting your chimney!
Have your concrete crown assessed for any and all possibilities of unwanted hairline, or legitimate cracks that could lead to further deterioration to your chimney’s masonry, or leaks. Brick + Ember Outfitters is interested in building equity, restoring beauty and growing peace of mind, so that means we’ve got options to suit the needs of you, as the homeowner. Are you wanting to stick around for 6 months, 3 years or be there your whole life long? We will make sure you know what’s available, what’s best, and why!
More tips to come! In the mean time — please don’t hesitate to reach out to your Brick + Ember Outfitters. We are committed to building equity, ensuring beauty and growing peace of mind for our Indianapolis homeowners.
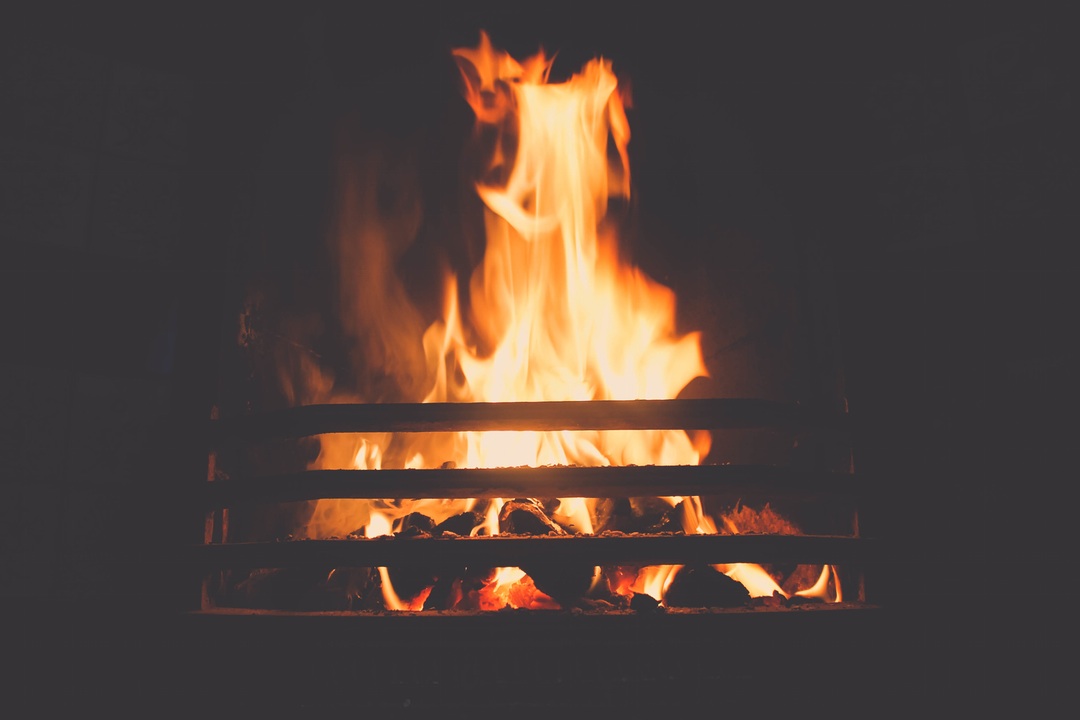
Can You Avoid Creosote?
Not if you’re burning wood – it’s a pretty inevitable byproduct of burning wood. Byproducts are the unburned gases and particles that move up the flue, and as they do, once they get to the walls of the flue system (be it clay flue tiles or stainless steel liners) they begin to cool quickly. There are multiple forms of creosote that may be experienced in one chimney; black or brownish in color and take on multiple forms: tar-like, hard and shiny, or dry and flakey. But there are steps you can take to ensure you are minimizing the build up of creosote in your flue system.
- Ensure your fire is receiving plenty of air (damper opened all of the to ensure the most efficient draft; no cracks or holes in the flue system which can interfere with the draft – a camera inspection by a certified chimney sweep can and should be performed to ensure the safety and functionality of your chimney’s flue system).
- Unseasoned wood can also cause conditions ideal for creosote to build up (this is bad). Unseasoned wood is essentially wood that has not been cut and dried for a significant period of time. Wood with greenish tint is an immediate indicator of unseasoned wood, and can potentially contain sap, which is a huge no-no for burning in your fireplace.
- Keep the fire hot in the firebox – some folks have suggested an “ash-bed” to insulate the fire a bit and keep it hotter. Too much ash is not good, but a thin layer of ash can aid in a hotter fire.
Creosote may be unavoidable, but the chimney fires that are caused by the creosote build-up, are absolutely avoidable. Not sure what a chimney fire is, check out our post on Chimney Fires for more on what a chimney fire is, and how to avoid the dangerous repercussions of a chimney fire (click HERE).
Industry professionals recommend that the chimney be cleaned and inspected at least once annually. All of your chimney sweeps from Brick + Ember Outfitters have been tested and certified by the Chimney Safety Institute of America. Proper venting and ensuring your chimney is safely functioning are critical to making your fireplace an enjoyable experience – always.
Give us a call to get your chimney cleaned and inspected by a certified chimney sweep.
What is a Chimney Fire?
Chimney fires are fires that occur further up in your flue system as a result of reignited creosote or other highly flammable byproducts due to consistent fires or combustion. The cause of a chimney fire is a dirty chimney that has not been properly inspected.
Chimney sweeps serve to remove the dangerous build up of creosote from the flue system, and an inspection ensures that any unwanted deterioration is brought to your attention as the homeowner.
All may seem good and well, lighting the fire, but if it has not been cleaned or inspected, at least once annually, you could be setting you and your home up for a serious loss. Bear in mind that when using the fireplace, you are lighting a fire inside of your home – not having peace of mind about how it will perform is not a great plan for ensuring the safety of you and those anticipating an enjoyable experience. Enjoyable may end up being much less enjoyable than you ever hoped for – we do not mean to sound fatalistic here, but there are serious repercussions for lighting a fire in your home and not knowing the safety and functionality of the components responsible for keeping it all under control.
Chimney fires can sometimes be detected by the smell of the fire, being an intense burning smell (this is not simply the smell of smoke). Imagine that your clay flue tiles or stainless steel liner are experiencing an immense amount of heat as the creosote is reignited, you may smell the intense heat-smell of these components, and that could be a strong indication of a chimney fire. The folks over at the Chimney Safety Institute of America also report that loud popping or dense smoke may come from further up in the chimney’s flue. Some chimney fires are easily seen or heard from the exterior of the home as dense smoke billows out of the chimney. If you search for photos of a chimney fire you may also see photos of fire coming from the top of the chimney – while it may seem like an awing-epic event, the repercussions of this could be devastating.
Creosote is unavoidable if you burn wood – the hard and fast rule. But there are ways to prevent excessive build-up of creosote. Want to learn more about how to avoid excessive creosote build-up? Check out our post “Can You Avoid Creosote?”
Chimney fires are preventable with proper chimney cleanliness and maintenance. Ensure your chimney sweep is certified by the Chimney Safety Institute of America. These certified sweeps are tested and approved by the third-party institution to know your chimney, compliance and safety regulations, and finally proper venting procedures to ensure the safety of your home.
All of B+E’s chimney sweeps are certified by the CSIA – give us a call and grow a little peace of mind!
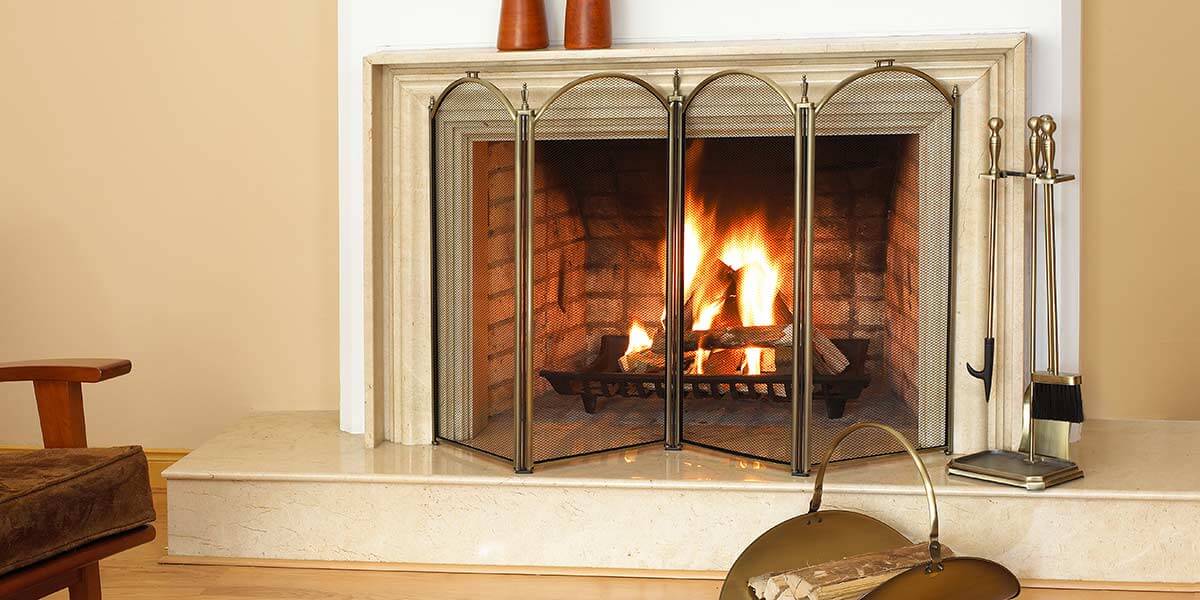
How to Start a Fireplace Fire
It is time — there’s nothing quite like a cozy fireplace-fire to enjoy with your friends, family, roommates, yes — all of those people and more!
But lighting a fire in the fireplace is not something you want to regret.
So, here we go:
CLEAN & CLEAR THE CHIMNEY
A Chimney sweep is always a good way to ensure there aren’t any unforeseen blockages or fire-hazards prior to lighting any fires in the fireplace. Haven’t used the fireplace? Fair enough, but random animals and critters may have been using it without your permission. Ensuring there are not nests or critters hanging out above the damper is always a champion idea. If you haven’t used the fireplace to burn recently, or ever (for shame), Indiana’s humidity and polar winters can, and do, cause natural deterioration to mortar joints and flue systems. Get a once over of the chimney and gain a little peace of mind about the fireplace chimney’s readiness to bring the heat!
OPEN THE DAMPER & CLEAR THE COMBUSTIBLES
Ensure the damper is open — remember to do this prior to lighting a fire, but if you have already forgotten, you are not the only one who has — filling the room with smoke in the middle of a winter storm is epic, and not ideal. After opening the windows to let the smoke out, a fire will be necessary to warm the place back up — you can still be a hero! Open the damper this time.
A rogue spark isn’t terribly uncommon from a wood-burning fireplace, and where is it going to land? Exactly, on that newspaper that is sitting right next to the firebox — not ideal. Newspapers, books, furniture, and any drapes or curtains that are in spark-shot should be pulled back, moved aside or simply picked up. Unless it’s a hideous couch, leave it for the sparks — they’ll know what to do with it (we are absolutely not responsible for that sort of business).
MAKE READY THE FLUE
It is generally going to be the case that the air in the flue will be cooler than the air in your home, and after opening the damper you may quickly realize that the chimney flue will need some help to get the draft going in the right direction — remember: hot air rises! Grab a newspaper, and light it, holding it just above the damper, let it burn for a few minutes. Dissipate the cool air in the flue and initiate the draft upwards — now things should be headed in the right direction!
THE ASH BED
The gentlemen over at the artofmanliness.com list this tip for fire-starting: “having a 1-2 inch ash bed in your fireplace hearth [firebox] will help insulate the fireplace and create hotter fires [hot fires can help reduce creosote build-up].” No ashes? “One quick fix is to take the ashes from your outdoor grill and place them in your fireplace to build the ash bed. While a small ash bed is good, too much ash is a bad thing” artofmanliness.com.
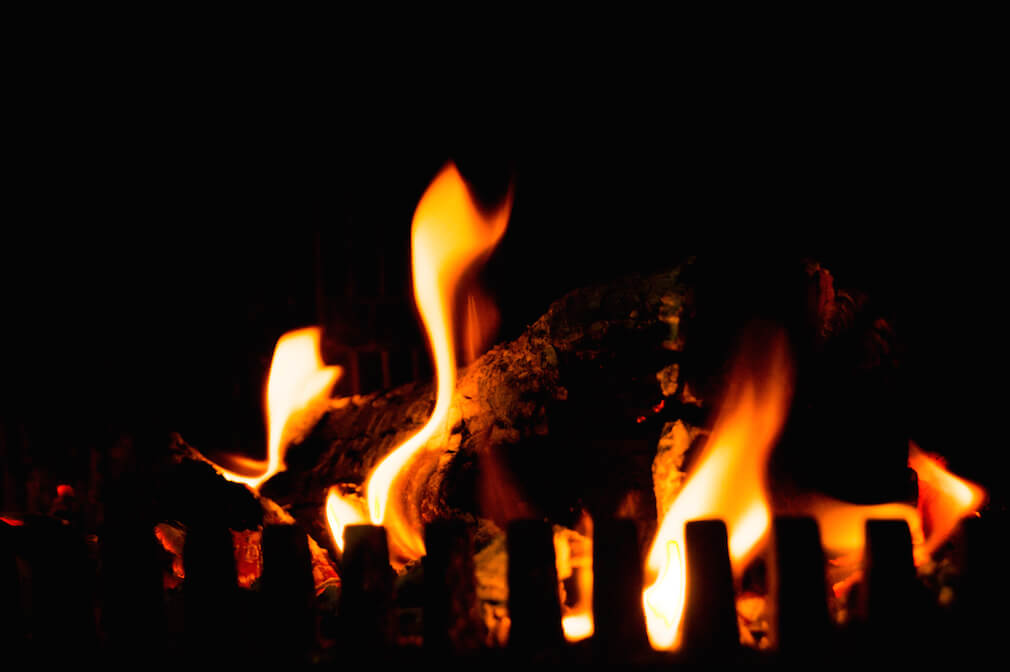
BUILD FOR A TOP-DOWN BURN
Don’t make it harder than it sounds, try something new! The technique has actually been around for centuries. We’ll give the short of it, but if you’d like a more detailed explanation of the process head on over to the folks at the Chimney Safety Institute of America:
- Place larger pieces of wood at the bottom - front to back, not across the firebox (this aids in air-flow and breathability of the fire)
- Create almost a pyramid effect, the higher you go the smaller pieces of wood (do not stack the wood higher than half the height of the firebox — this isn’t a bonfire)
- The top should consist of shavings of wood, kindling, maybe a crumpled up piece of newspaper or two
Why should you do this? Listen, no one is should-ing on you with this one, but here is the benefit of burning top-down: A decrease in excessive smoke, because the fire simply burning from the top, not gasping for air down at the bottom, surrounded by a bunch of larger pieces of wood, smoking all of the while. The smaller wood and kindling ignite and burn, continuously igniting the wood below it. No worrying about having your “log-cabin” style stack imploding on itself as the wood weakens, extinguishing your fire.
USE DRY ORGANIC STARTERS
In a recent news report, a homeowner attempted to light a fireplace fire with a match and some gasoline (and no recent chimney sweeps or inspections were said to have been performed). The short of it, they created a large fire that super-heated quickly and ignited the highly flammable creosote up in their flue-system. They caused a chimney fire and we said, “We told you so.” No, we absolutely did not, but there is a good reason to use dry, organic, fire-starters, and to have the chimney swept and inspected prior to use. Do not utilize gasoline, charcoal lighter fluids or kerosene to ignite your fireplace fires. The dry organic starters, such as kindling, newspapers or alike are the way to get a healthy fire started in the fireplace. Fires that are not contained, are not friendly fires, and the fires that are super-heated and burning up in your un-swept flue system are not ideal for keeping you off of the front page of the newspaper.
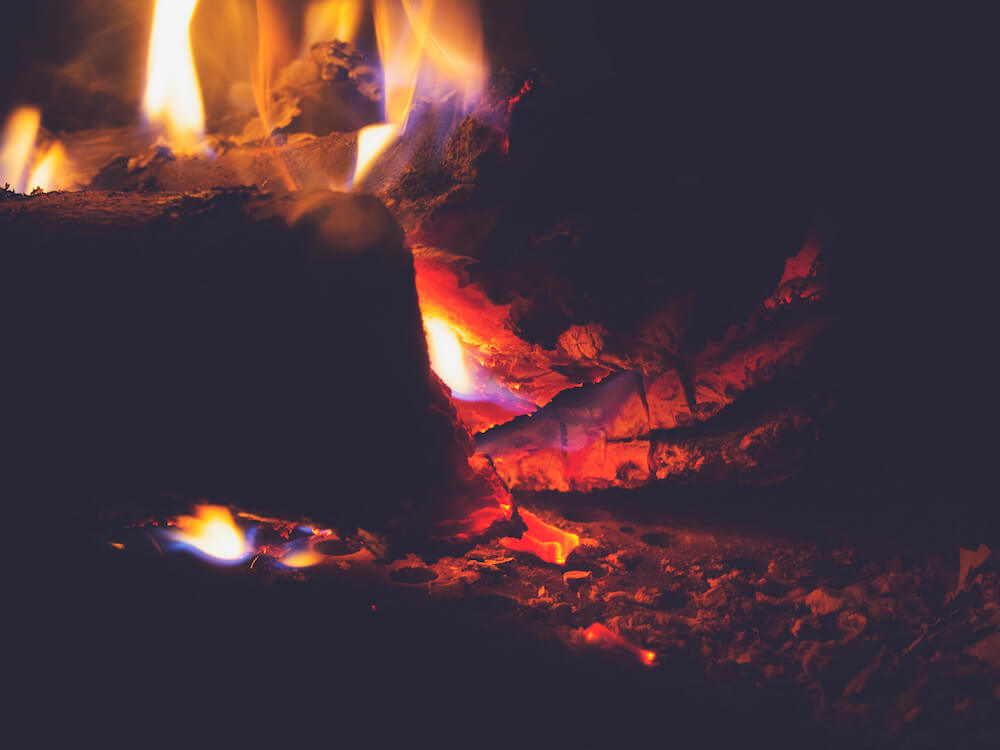
KEEP THE FIRE HOT
The smoldering coals of a fire are all good and right for the back patio, no chimney flue system involved. However, for the fireplace fires, keep it hot. Burning wood naturally creates a byproduct commonly known as creosote. The cooler a fire burns the more likely you are to begin to experience the build up of the creosote - a highly flammable substance. Once reignited in the flue, it can be the cause of dangerous chimney fires.
DO NOT LEAVE UNATTENDED
We don’t feel this needs to be drug out, but bear in mind that when you use the fireplace, you are lighting a fire inside of your home. It should not be unattended or without supervision, ever.
CHECK THE DETECTOR
Smoke detectors and carbon monoxide detectors are designed with your safety in mind. Ensure the batteries are good and all detectors are ready for the winter months. As you seal up the home, make sure the flue systems for the fireplace, furnace, and water-heater too, are in proper functioning order. Dangerous gases and smoke that are not properly vented can cause serious heath or safety hazards for your family.
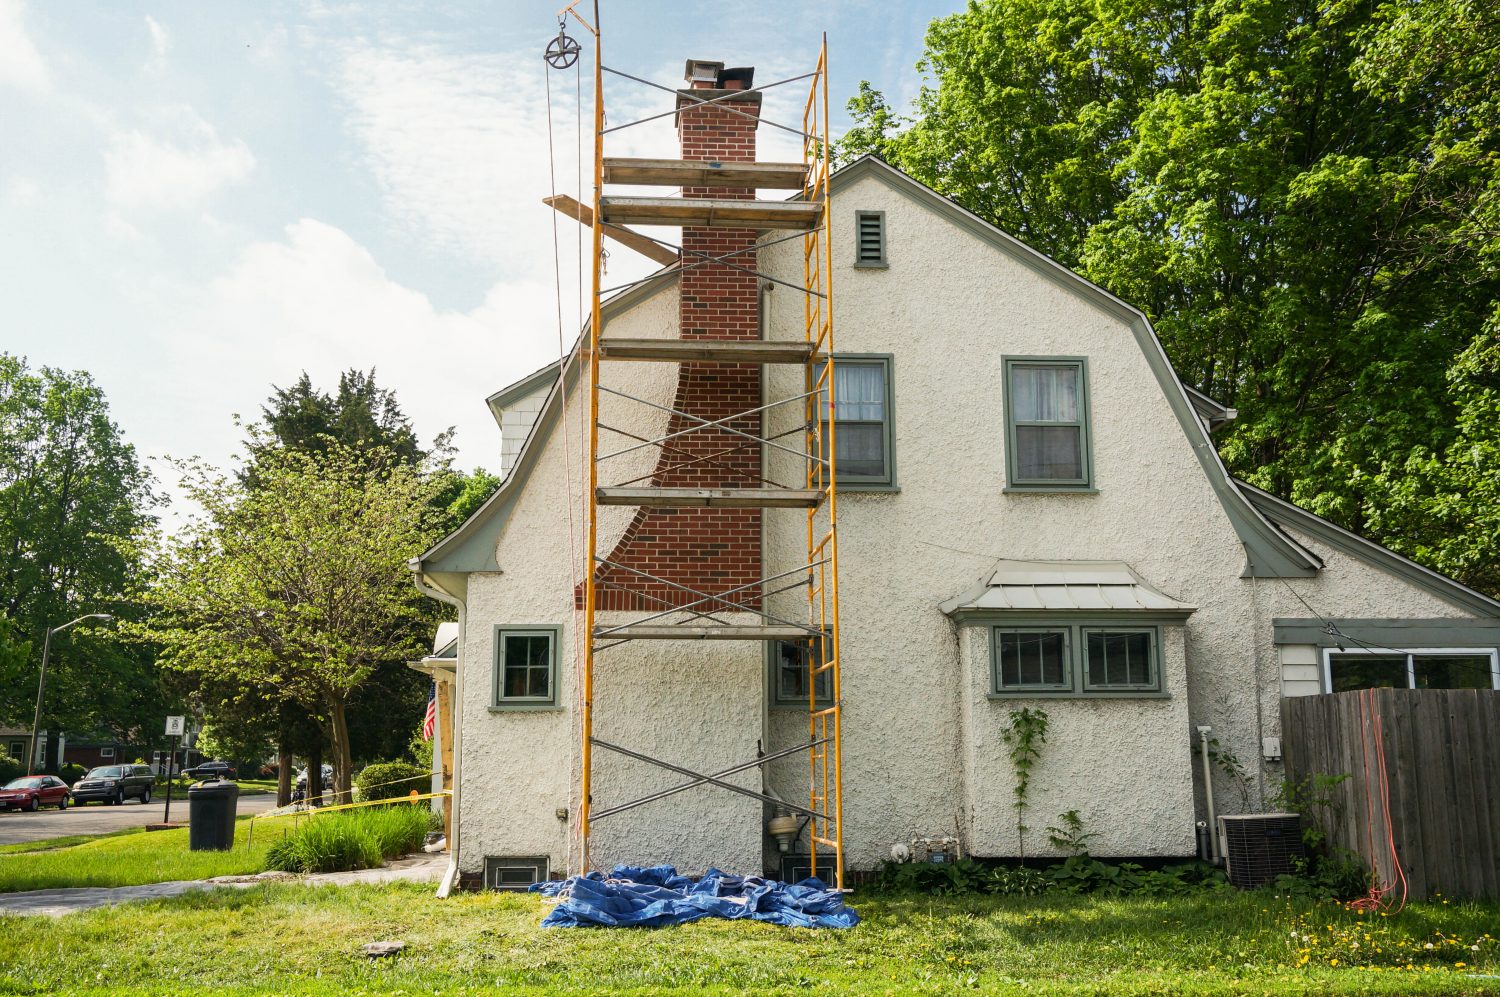
Meridian Kessler
The Meridian-Kessler neighborhood stands as one of the staples of the historic grandeur within the city of Indianapolis. The once called Maple Road, is now known best to Indianapolis residents as 38th Street and is the southern-most zone of what is the Meridian Kessler Neighborhood. The slow migration of wealthy families to the current Meridian Kessler area boomed in the 1920s and stood as one of the most prestigious neighborhoods in Indianapolis. Many of the homes seen on Pennsylvania and Washington Street are beautiful testaments to Indianapolis’ history. In 1965 the Meridian Kessler Neighborhood Association was established with the mission to “bring about closer relationships between all people and provide a service for newcomers, monitor zoning and guard against illegal conversion of single-family housing, maintain quality schools in the area, and provide adequate municipal services for all residents.” As the Meridian-Kessler neighborhood has continued to develop and diversify, the rich historic grandeur has been well-maintained and carefully-preserved.
Brick + Ember Outfitters has been building equity, restoring beauty and growing peace of mind for the city of Indianapolis since 2011. Located in South Broad Ripple, Brick + Ember Outfitters has restored and preserved the beauty of countless Meridian Kessler homes. Brick + Ember Outfitters prides themselves on the understanding that restoring beauty is a key component to adding value to their homeowners — the neighborhoods of Meridian-Kessler, Butler Tarkington, and Meridian Hills homes are just a few of the brilliant examples of the priceless historic value Brick + Ember Outfitters has the privilege of providing to these homeowners.
See below one of the projects Brick + Ember Outfitters has completed in the Meridian Kessler neighborhood.

What is the Best Type of Wood to Burn in Your Fireplace?
Hardwoods - Hardwoods are the best wood to use for fireplace, stoves, furnaces and other wood-burning appliances. The density allows them to burn longer, and thus making them a more efficient type of wood to burn.
We did some research here, because while the short answer is pretty straight forward, we wanted to give you some “whys” and some “whats” when it comes to wood, and things to be aware of to ensure the efficiency of your wood-burning appliances.
The folks over at woodheat.org have dropped a few hints we wanted to pass onto you.
The below chart indicates the wood that would be the most dense on down to lower density types of wood:
Density of Common Tree Species
Here is a list of the tree species commonly used for firewood, according to their relative densities. Trees at the beginning of the list have the most energy per cord, while those toward the end of the list have the least energy per cord. Although they are less dense, the species in the latter half of the list can make excellent firewood for spring and fall because they make heat control easier and don't tend to overheat the house.
Ironwood | Rock Elm | Hickory | Oak | Sugar Maple | Beech | Yellow Birch | Ash | Red Elm | Red Maple | Tamarack | Douglas Fir | White Birch | Manitoba | Maple | Red Alder | Hemlock | Poplar | Pine | Basswood | Spruce | Balsam
If you have chopped wood, which in central Indiana may not be the case — not to underestimate our DIYers, ensure you have left the wood out to dry for some time. Now that Fall is here, you’ll want to cover the wood to ensure it’s dry enough for burning.
As we head into this heat season, we’ll leave you with some tips from woodheat.org on buying firewood (we picked just a few):
- Ask friends and neighbors who burn wood for recommendations
- Do some quick research and select the dealer who seems most reliable and comes with the best recommendations
- Do not order wood by phone — go to the storage area to inspect the wood and take a tape measure to check piece length and pile size
- Look for wood that is clean — sand and mud on firewood makes it less desirable
- Make sure the pieces are split small enough for your appliance; you don't want to have to re-split it all
- Do not buy randomly piled wood — only stacked cords can be counted
- If possible, get the wood in spring and stack it in your own yard so you can control the seasoning process
Heat season is here, and once you have ensured the safety and functionality of your fireplace and other wood-burning appliances, it’s certainly time to consider what you will use to fuel the fire, literally.
Haven’t had your fireplace, chimney or other wood-burning appliances cleaned and inspected yet this year? Give us a call and we’ll ensure you are set!
Fall is Here - Fall Home Maintenance Checklist
Fall is here - October did a delightful job of bringing some more Fall-like weather, don’t you think?
Here is a pretty simple Fall Home Maintenance Checklist from Realtytimes.com - pass these onto your clients (buyers or sellers) and be a value-added agent. Brick + Ember Outfitters is pretty partial to Checklist item #7 — especially with heating season coming up. Encourage those buyers and sellers to ensure the safety and functionality of that fireplace, and have the service performed by a certified chimney sweep (yes, us)!
1. Stow Your Mower
With the cooler months ahead, it's time to start thinking about how you are going to stow your lawn mower. Before saying goodbye to your lawn mower for the winter season, there are a few things you should consider. First, it will be a good idea to sharpen the blade of your lawn mower to ensure that it is in tip-top shape for the spring. You'll also want to empty your gas tank before putting your lawn mower to rest. Taking simple steps like these before putting your lawn mower into storage will help increase the longevity of your equipment.
2. Perform an energy audit
Performing an energy audit is really important because it will tell you where heat is escaping, so you can correct the problem and save money on utilities. If you are doing an energy audit yourself, first make a list of all air leaks in your home by seeing where there are drafts. You can learn how to detect air leaks by following these simple steps. Seal the air leaks that you have identified by applying caulk or weatherstripping. Potential energy savings by detecting and fixing drafts can range from 5% to 30% and will make your home much more comfortable.
3. Replace Your Storm Windows
Before it gets too cold, replace your screen windows and doors with energy-efficient storm windows. Consider a proper storage space for your screen windows so they do not get damaged over the winter months. You'll want to give them a good cleaning, along with your storm windows, so that they are ready for the upcoming colder months!
4. Check your Furnace
Home heating systems that aren't properly maintained may be less than 50 percent efficient. A dirty filter will increase your heating costs and reduce the life of your equipment. For these reasons, it is important to check your filter once a month and replace or clean if necessary. Have a professional take a look and perform any adjustments to your furnace during this time if needed.
5. Install Gutter Guards
Homeowners often overlook the importance of gutters, but they protect your home by diverting rain water safely away from your home. Gutter cleaning is a temporary solution to a permanent problem, but it is important to keep your gutters clear and clean in order to prevent home issues like foundation and structural issues.
If neglected long enough, these types of concerns can be serious and costly. One way to combat clogged gutters and eliminate gutter cleaning is to have gutter guards professionally installed to your home. Installing a micro-mesh gutter protection system, will help save you the time and hassle of cleaning your gutters when the leaves begin to fall.
6. Maintain your Home's Exterior
Trim back trees and branches that are hanging too close to your home. Fall and winter are known for unexpected weather conditions, so it is important to prevent any type of debris from falling on your home and producing serious damage. Seal driveways, brick patios, and wood decks. For long term care of your home exterior, it is important to apply a layer of sealant to prevent weed growth, repel stains, and increase the longevity of these areas.
7. Chimney and Fireplace [we’re totally not the only folks who recommend an annual sweep and inspection!]
You'll want to call in a professional to inspect and clean your chimney. Annual cleaning of your chimney is important to prevent dangerous chimney fires. Test your fireplace flue to ensure that it is tightly sealed when closed. [Brick + Ember Outfitters would also advise that you hire a Certified Chimney Sweep, which we absolutely require of all of our sweeps].
8. Test smoke/carbon dioxide detectors
This is a simple task for homeowners, but it is often forgotten about. Detectors should have a "test" button. If the alarm sounds -- you're good to go! If not, try replacing the batteries and test again. If the alarm still doesn't fire, you may need a new detector. Testing these systems is a quick, but very important quarterly test to perform.
Taking these steps will not only lower your utility costs, but they will protect your largest investment, your home, from the unexpected weather conditions ahead.
Is it Hard to Remove a Chimney?
For the record, before we get to the answer, chimney removal does not consist of a couple of guys, with sledge hammers, having at your chimney, and taking care of business – not with Brick + Ember Outfitters, anyway — we speak for no one else here.
In all seriousness though, chimney removal is generally not an ideal fix to chimney problems, if that’s the motive here, so the first question regarding any chimney removal would be, “why?”
No, it’s not “difficult” it’s a question of semantics
Chimney removal can actually create a larger amount of work to be done for the homeowner.
Unless the chimney is solely used to exhaust the furnace, there will need to be a great explanation to why the fireplace in the living room is not functional. If the chimney is torn down or removed and a fireplace exists on the interior of the home, it could jeopardize the closing of a home, if the buyers had interest in the functionality of the fireplace.
Newer furnaces are able to be redirected to exhaust out of the basement, so again if the chimney is simply being used to exhaust a furnace, then by all means, chimney removal is a great solution.
Post chimney removal, Brick + Ember Outfitters can simply re-roof over the area where the chimney was located, or install a stack-pipe to reduce masonry-related chimney problems or issues, while still safely exhausting the gases from the furnace, up and out of the home.
Note: a chimney often serves to exhaust both the furnace and the fireplace.
Give us a call for an appointment to receive an assessment and an estimate for chimney removal/solutions.
Does Your Chimney Smell?
Homeowners will occasionally call in to inquire about smells coming from their chimney. The chimney is designed and constructed to pull air up and out; however, there are a few common reasons you may be experiencing what industry professionals refer to as a drafting issue: when air is coming back in through the chimney and bringing bad smells into your house.
It is extremely important to have any drafting issues addressed, as the fireplace is often not the only component of a home that uses the chimney. Other heat systems, such as the furnace and water-heater, are also exhausted through the chimney. If the air is coming back down the chimney rather than out, the natural gases from those systems may be as well.
Causes of Chimney Drafting Issues:
Cause: Build-up of creosote or soot in the chimney’s flue system can cause a downdraft in the chimney.
Solution: Chimney Sweep & Inspection.
It’s a great idea to have your chimney inspected if you’re experiencing bad smells and stinky downdrafts. If the problem is a simple buildup of soot or debris in your flue system, an inspection and a good chimney cleaning should get your problems sorted out.
Cause: Holes in the chimney’s flue system (between flue-tiles or throughout the liner) can also be a cause for drafting issues.
Solution: Assessment of the Flue System (tiles or liner).
If your flue system is full of holes, it’s no wonder that you can’t control the drafts that are coming through your chimney. Call in a professional to examine your flue network and inspect it for holes. Once you know the exact situation, repairing your chimney flue should be a straightforward process, and your air will be fresh again in no time.
Cause: Missing Rain-Caps.
Solution: Assessment & Rain-Cap Installation.
Rain-caps are small, tower-like covers for your chimney that let smoke and air escape from inside the house, while keeping debris and water outside. Without rain-caps, it’s much easier for debris to block up your chimney or stray gusts of wind to force their way down the flue and into your home. If your chimney isn’t protected by a rain-cap, consider purchasing one. It could be a big improvement to the smells and drafts in your home!
Cause: Large trees directly above the flue or top of the chimney.
Solution: Assessment & Trimming of Trees.
If trees are looming over your flue and not letting air escape upwards, it makes sense that the air would go back down instead. Inspect your trees—either on your own or with the help of a professional—and consider trimming them enough to open up the chimney flue again.
Cause: Wind circulating from larger homes or trees that surround your home (mountains can also cause this to happen, but we’re in central Indiana, so..).
Solution: Assessment of the height of the flue.
If you think nearby wind circulation might be your problem, call in a professional to assess the height of your chimney’s flue. They will help you determine whether or not that really is the cause of the problem, and if so, how your flue might be altered to reduce those drafts.
It’s really not ideal to be having a down-draft coming from your chimney, so take a quick smell of the rooms in which fireplaces are located, and give us a call if it smells smokey, or musty, or just strange (please ensure there are not live animals or critters in there first; we don’t work well with live animals!).
For any other chimney concerns, reach out to us today!