What Goes Into the Cost of Tuckpointing?
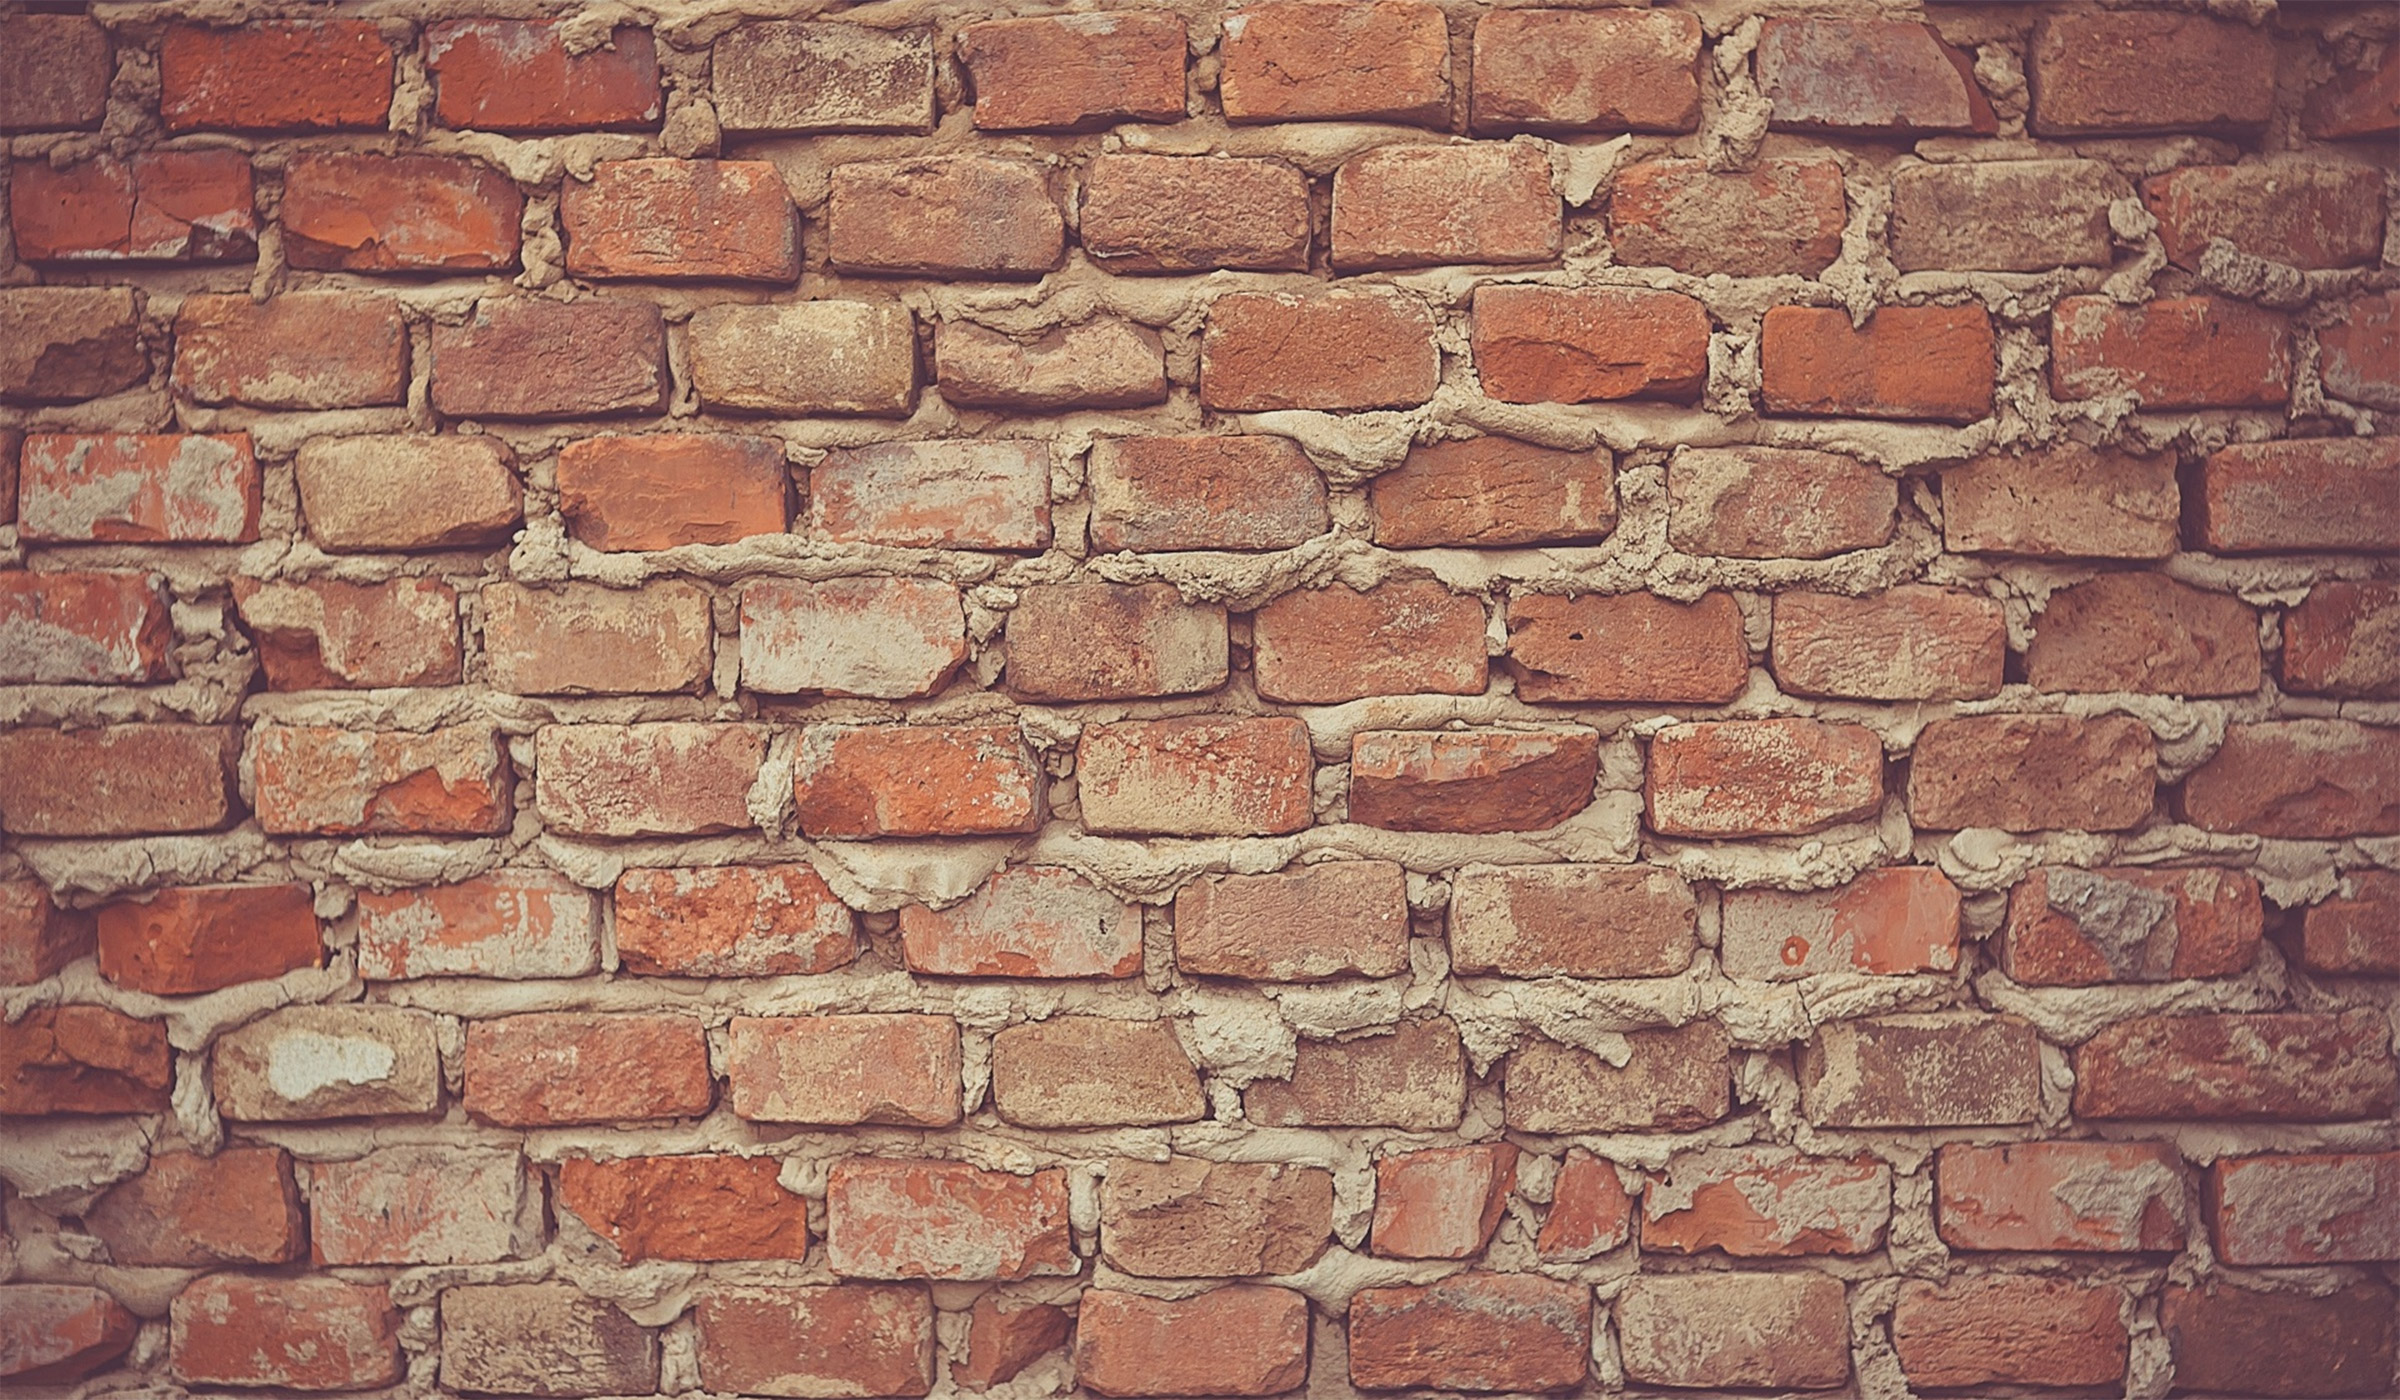
Chances are, if you live in a 10+ year old home in Central Indiana, then you probably have damage to your mortar structure, whether you know it or not.
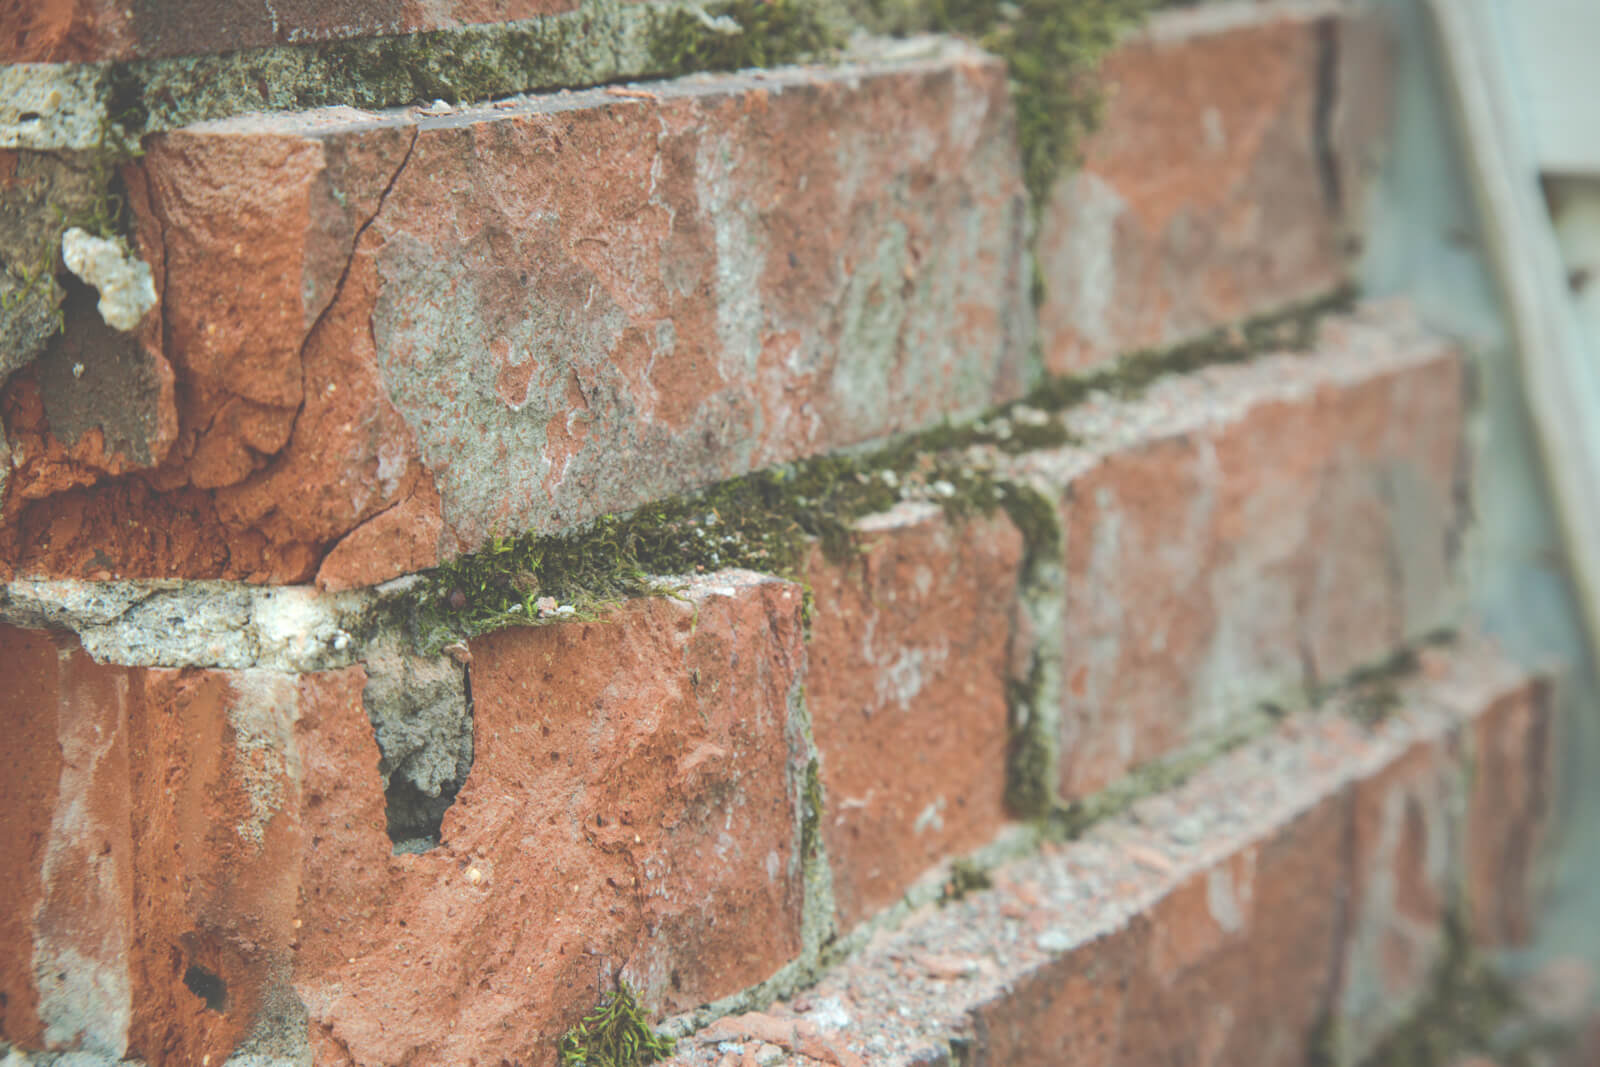
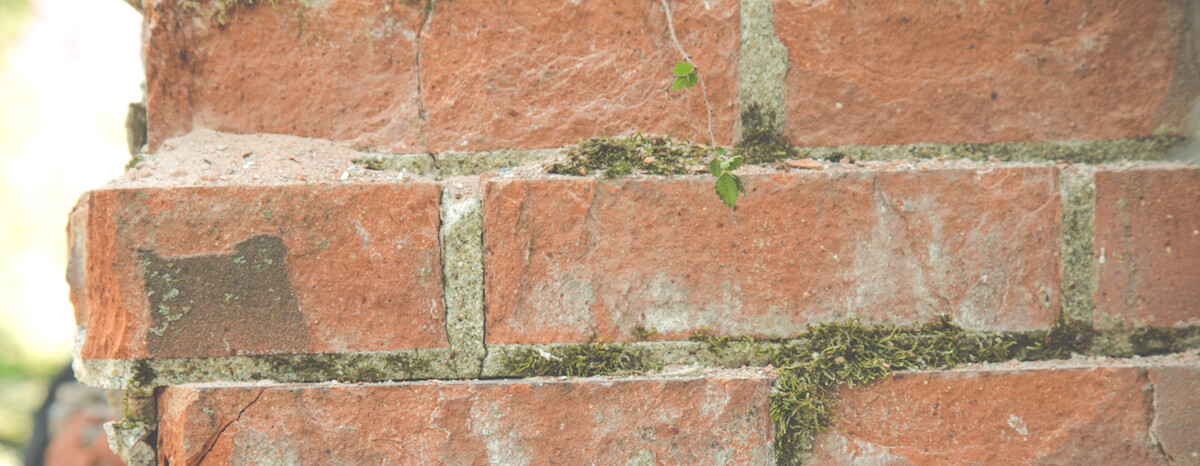
Cracks, voids, and crumbling mortar are all common because of prolonged exposure to the elements. If compromised mortar is not dealt with, it can cause more deterioration to your home, which can prove to be costly.
So, what are you to do when your patio, foundation, chimney, brick wall, or masonry structure has been damaged? Perhaps the best—and most cost-effective—solution is tuck pointing. Because most people are not familiar with this term, let’s first take a look at what tuck pointing is.
What is tuck pointing?
Tuck pointing is the process of removing damaged mortar between brick or stone and reapplying it so that it matches the existing structure. Here at B+E, we want to maintain a seamless transition visually between the old and new work, so we work hard to create a natural look.
What should be considered in cost?
Tuck pointing requires attention to detail, and it can be time-consuming work, so it’s best to hire an experienced professional. Several criteria go into the cost of tuck pointing. The condition of existing joints, accessibility, and quantity can all play a role in the final price tag.
Some masonry companies will charge you by the square foot for your tuck pointing. Here at B+E, we know that every project we work on is different, so all angles should be considered. When we come out to give you an assessment, we’ll give you an itemized quote that includes installation.
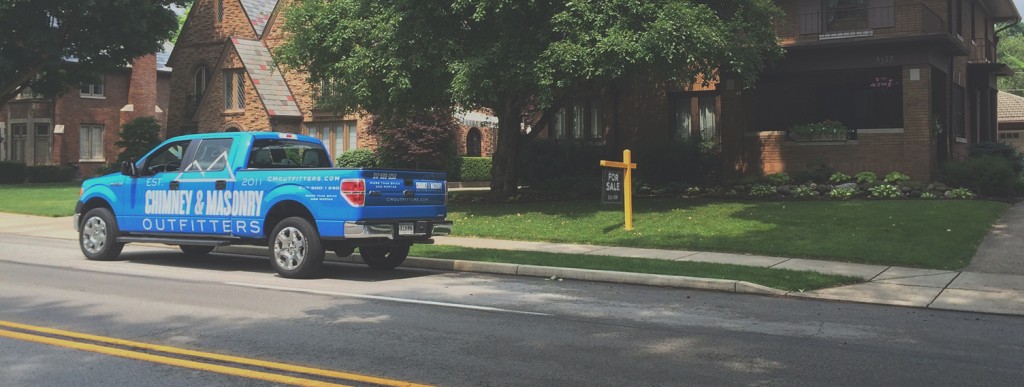
If you need repairs—tuck pointing or otherwise—to your masonry structure, give Brick + Ember Outfitters a call. Our Outfitters can handle any job, big or small.
Front Porch Brick Repair: What You Need to Know
Your front porch is the entryway into your home, so naturally you want it to be inviting. But if you have structural damage to your front porch, it’s going to be an eyesore. If you live in the Midwest, then most likely you battle have cracks, mortar crumbling, or missing bricks due to Mother Nature’s freezing and thawing.
Don’t you think it’s time to fix the damage? Here’s what you need to know when it comes to repairing the bricks on your front porch.
Removing brick
If you want to try to repair your front porch on your own, you need to start by removing the loose brick. Depending on the condition, you may not need any more than a pry bar.
Structural compromise
Oftentimes, the damage that you see is just the tip of the iceberg. So it’s important to check and see if your underlying issue may extend to the structure, like a support wall or cement block. If so, we recommend you bring in the masonry experts. (Even if you don’t have structural damage, we’re still happy to help.)
If your front porch damage hasn’t compromised your structure, continue removing the loose bricks. As you go, we recommend cleaning off the old mortar and stacking the bricks off to one side for later use.
Preventative work
One thing you need to keep in mind as you work on your front porch is that repaired brickwork can suck up moisture from the ground. To combat this, we suggest digging a 2-foot deep trench and filling it with crushed stone.
You also want to make sure that you have a solid connection to your support wall. Every few feet, nail a metal brick tie to the wall.
At this point, you’re ready to reinstall your old brick. Start at the ledge in the support wall. When you get to a tie, just bend up the end and rest the brick on the top. Cover it with mortar, and you’re good to go.
If you have any questions or need help with your front porch brick repair, call B+E. We’ll be happy to come out and assess your damage with a free quote.
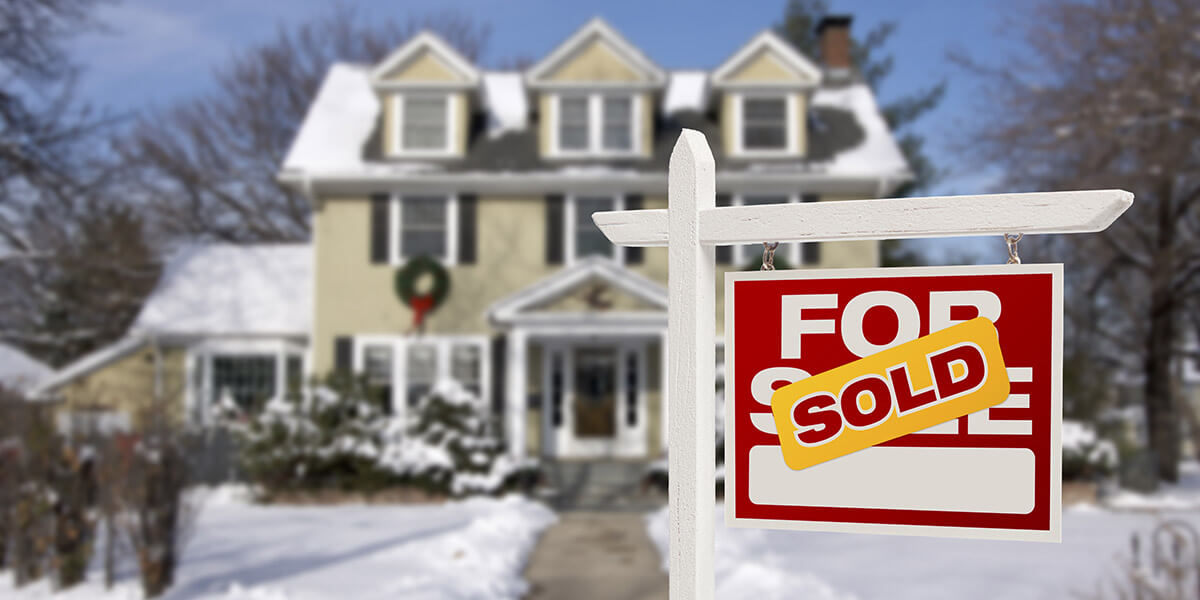
How Chimney Inspections Can Save Realtors Time and Money
The Indianapolis housing market is hot right now. Realtors all over the city—from Brownsburg to Geist to Zionsville—are in full swing showing homes to prospective buyers while simultaneously putting new homes on the market.
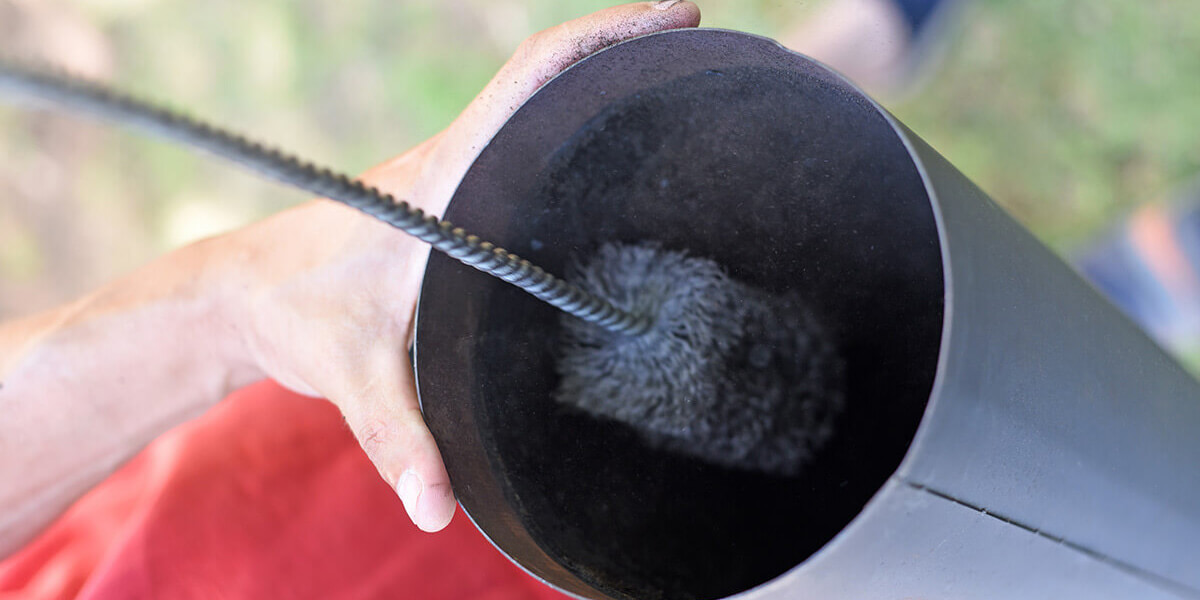
Brick + Ember Outfitters understands that you, as realtors, are busy, which is why we want to help make your life easier. One way we do that is by performing chimney inspections on houses before you put them on the market. Our inspections are all-encompassing—not only can we do a chimney sweep, we’ll check for functionality on all masonry structures of your home, including brick deterioration on your patio and sides of houses. In the end, this small act can save you time and money.Read more
How to Repair Brick Foundations
If you are a homeowner in Fishers—or a business owner in Indianapolis—with a brick foundation, then at some point or another, you’re probably going to need a repair. Cracks are common in this area, largely due to the freezing and thawing of our winters. Not only are cracks ugly to look at, they devalue your home and could potentially cause damage. Allowing water to get behind bricks can cause major issues.
You might be wondering why your brick foundation has damage. Most likely, the culprit of that is cracked mortar. Over time, mortar is prone to deteriorate. Assuming the damage is minor, you could potentially tackle it on your own as a Do-It-Yourself project.
In order to prevent your cracked mortar from causing more damage, you can tuck-point the brick. This means that you remove and replace the existing mortar. If there is extensive damage, we recommend that you leave it to the professionals.
But if you think the damage is minor enough to tackle on your own, here’s how you can take care of it.
- Chisel away the damaged mortar with a hammer. Brush away all of the excess dust and chips when you’re finished.
- Get your mortar ready (mix your own or purchase premixed) and allow it to sit approximately 5 minutes. Add enough water that it makes a paste similar to the consistency of oatmeal. Remember: drier is better than wetter when it comes to application.
- Put water on the joints. This will help remove any remnants, and it keeps the existing mortar from sucking all of the moisture from the new. If you don’t add water, mortar can be difficult to apply and is more likely to crack.
- Use a pointing trowel to apply the mortar in the joints. Remove excess with a brick jointer, which can help make a smooth finish. We recommend starting with the vertical joints first, then moving on to the horizontal ones.
- A few weeks after you have applied the mortar, add some silicone masonry sealer or high-quality acrylic. Doing so will seal the surface, which will prevent further water damage.
If you have any questions or difficulty fixing your brick foundation, give Brick + Ember Outfitters a call. We would be happy to come out and give you a free estimate. Doing so could prevent more damage and save you thousands of dollars!
Bricks 101
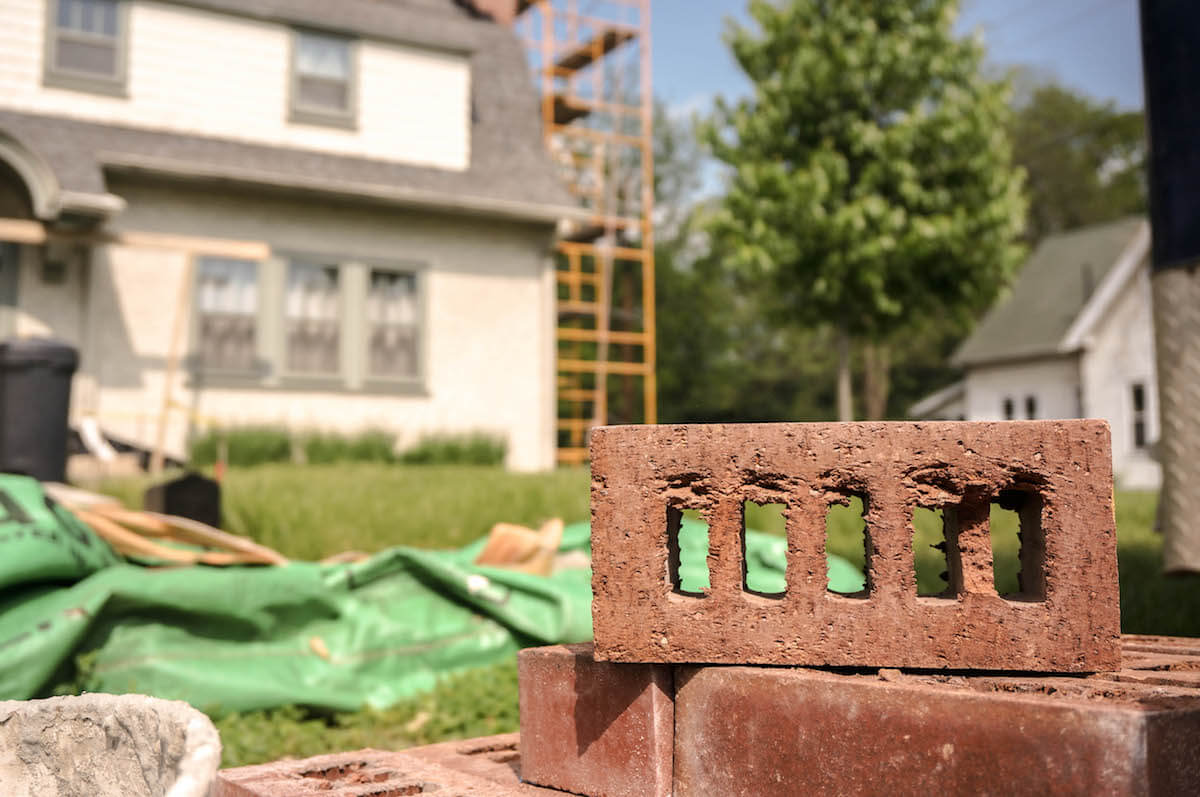
Bricks have been around for ages. Over the years, they have been used for a variety of things. Years ago, brick was once used to pave roads. Nowadays, it’s used more for decoration. These man-made stones are used for everything from creating paths in backyards to forming a fireplace in a family room to being beautiful to look at on the exterior of a home.
Because of their uniformity, bricks are ideal to lay flat and bond together with cement, which increases its strength. Most bricks are made to be 8 inches by 4 inches. Despite their common size, there are many different types of bricks to choose from when it comes to masonry.
If you are in the market for some bricks for your home improvement project, it’s important that you know the difference between them.
Common Burnt Clay Bricks
This type of brick is made by being pressed into molds and fired in a kiln. They are used more for function than aesthetics. When used, they require rendering or plastering.
Sand Lime Bricks
Sand Lime Bricks are created with a mixture of sand, fly ash, and lime (hence the name). They are formed with a chemical process called wet mixing. Then it is pressed together with pressure, forming the traditional brick shape. These type of bricks are usually grey as opposed to red. They also have a smoother finish that doesn’t need plastering, and they are incredibly strong, allowing them to be a load-bearing member.
Engineering Bricks
This brick is created using very high temperatures. The result is a dense, strong brick that is able to withstand water absorption. Engineering bricks are great to use for load bearing because of their strength, moisture-resistance, and ability to withstand chemicals.
Concrete Bricks
These bricks are made of solid concrete. They create a great aesthetic appearance, so they are commonly used in fences and facades. Concrete bricks can be made in a variety of colors, as pigments are used during production.
Fly Ash Clay Bricks
Fly Ash and clay are the ingredients for this type of brick. They are made at 1,000 degrees celsius. When they are exposed to water and moisture, they tend to expand, which is something that needs to be taken into consideration before use.
Whatever type of brick you choose, you will enjoy its high compressive strength, porosity, sound insulation, and fire protection. Not sure which type of brick you should pick for your next project? Give us a shout. We’ll be happy to give you our expert opinions.
Brick and Stone: How Do They Differ?
If you are in the market for a new home in Westfield—of if you’re interested in giving your home a facelift in Broad Ripple—you might be trying to decide if you would like to use stone or brick. Similarly, if you are wanting to redo your fireplace in Lawrence or wanting to add a retaining wall in Plainfield, you are probably looking into all of your stone options.
For many, the choice between brick and natural stone comes down to budget. In general, natural stones will be more expensive than brick, largely because their weight is taken into consideration when they’re sold (as opposed to brick, which is sold per unit). You also might be taking into account if you are wanting to install them yourself—or if you plan to hire someone to do it for you.
Natural Stone
Part of the beauty of natural stone is its variation in shape and color. Whereas bricks are uniform, natural stones are more reflective of the variety found in nature, which ranges from dark shades of gray to tan to silver and white. Living close to a quarry is advantageous if you’re choosing to work with natural stone because you can handpick what you want—and you avoid the cost of shipping.
Largely, installing natural stone is going to be a more laborsome process than brick because each stone has its own unique shape and size. With such a large variety, it takes more time to match stones and install them. Installation can also be tricky in that you need to ensure that you have a solid foundation of bricks that can support the rocks above and/or that you can keep them in place until cement dries. Despite the more difficult installation process, natural stone is beautiful and worth the effort.
Bricks
Bricks, on the other hand, are similar in shape, color, and size. That being said, you have lots of choices of color—from deep reds to pale oranges to neutral browns. Because of their uniformity, bricks are easier to install than natural stone. Similarly, it’s easier to calculate just how many you will need to cover on your home’s exterior or on your fireplace.
Like natural stone, bricks are installed using cement, which can require some experience to work with. Because brick is not natural (i.e. it’s man made), it’s much more common than natural stone. So if you are wanting a unique look, that’s something you’ll want to consider.
Regardless of whether you choose natural stone or brick, you’ll want to make sure you have someone install it who has experience. If you are in the market for a new chimney, fireplace, patio or wall outside your home, give B+E a call. We love working with clients on this stuff!
Building a Home? What Foundation Should You Use?
Whether you’re building in Meridian Kessler, Geist, or Noblesville, you’ll have to make important decisions about your home, including which type of foundation you want. When building a home, there are several types of foundations to choose from. So how do you choose?
Largely, the decision may be made by two factors: the soil and climate of the construction site. Those with poor soil conditions may need a deeper foundation to be structurally sound. That being said, most homesites are built with shallow foundations. Similarly, some foundations would not be wise with cold temperatures or flooding.
We recommend discussing your home foundation options with a contractor or structural engineer before making a final decision. But here are several different types for you to consider.
Poured Concrete Foundations
This is the most common type of house foundation. A slab is poured with a few inches of concrete with thicker edges for support. Typically, concrete slabs sit on a bed of crushed gravel, which helps with drainage. Poured concrete foundations are best for use in areas where the ground does not freeze in winter.
Frost-Protected Foundations
In extreme temperatures, one might pour a frost-protected foundation in order to shield concrete from damage. The most common type for cold areas is a T-shaped foundation, which offers extra support for the concrete slab. It does so with concrete footings that extend beyond the frost line.
Permanent Wood Foundations
These foundations have been around since the 1960s and are comprised of very lightweight wood that is decay resistant. Because they do not require concrete or casting, they are fairly convenient to install. These foundations are moisture resistant and easy to insulate.
Raised Foundations
This type of foundation is used primarily in coastal areas that have large amounts of rain. Because of flooding, these raised foundations are used to support the home and give protection against moisture. Pier-and-beam and stem wall are two different types of raised foundations, both of which help raise the home above flood lines.
Regardless of the type of foundation you choose for your new home, you’ll want to make sure that it’s one both you and your contractor feel comfortable with. Have questions about your home foundation? Give us a call!
4 Ways Brick + Ember Outfitters Makes a Realtor’s Life Easier
If you’re a realtor in Central Indiana, then you have a lot on your plate. From staging homes to attending closings, we understand that you have a lot of balls in the air. Regardless of the location of the homes you’re trying to sell (Carmel, Lawrence, Plainfield, or Meridian-Kessler), Brick + Ember Outfitters can help make your job easier.
If you’re selling a home with a chimney, most likely it could use a good sweep, at the very least. The more proactive you are about taking care of chimney issues, the smoother your home selling process will be.
We love partnering with realtors to prepare homes for market and to fulfill mandates that come out of inspection reports. Why? Because we make their lives easier. Here’s how:
Working on your timeframe
When Brick + Ember Outfitters gets a call from a realtor, we commit to being on-site within 48 hours. We know that you’re on tight deadlines, so we do everything we can to accommodate your timeframe. Working with Brick + Ember Outfitters ensures that you have the information you need for inspection reports when you need it.
Being pre-emptive about issues
If you’re getting a house with chimney ready to sell, bring Brick + Ember Outfitters out before it ever goes on the market. Not only will we sweep the chimney, we will offer a full report of the chimney’s functionality. Oftentimes, we’re brought out because an inspector report demanded it. Why not avoid the hassle by bringing out Brick + Ember Outfitters before a house goes on the market? The more pre-emptive you can be, the easier your job is in the end.
Saving money
There are things Brick + Ember Outfitters can do to ultimately save the seller money. If we are brought out for a preliminary inspection, we may suggest that you invest $1,000 in work in chimney upkeep. But it can alleviate you from spending $5,000 if an inspector points out a gamut of issues. Let us save your client money—and the headache of getting dinged on an inspector’s report.
Mediating between buyer and seller
In order to get a chimney functioning, a homeowner may have to spend money. We can advise you how to spend money in a way that makes sense. What do the buyer and seller want? We coach sellers about what needs to be done vs what really doesn’t. We understand the dynamics on both sides and strive to be an asset that helps make the deal work.
Brick + Ember Outfitters works hard to make your job as painless as possible. We love coming alongside realtors to supplement what you already do really well. Call Brick + Ember Outfitters today so we can come alongside you and ultimately make your job easier.
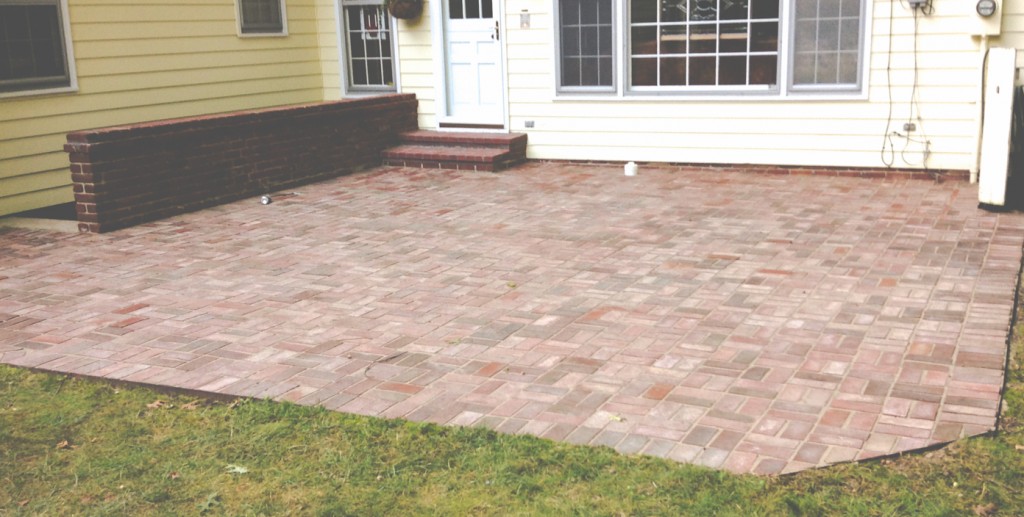
How Adding a Patio Can Increase the Value of Your Home
If you have some extra cash lying around, a worthwhile investment (especially this time of year in Indiana) would be a nice patio for your home. It’s the perfect spot to wine and dine your friends and family, and – even better – it can also make your home more appealing for buyers if/when you decide to sell.
In 2007, a survey by the National Association of Realtors ranked patios as one of the most desirable features that home buyers want. In fact, over 50% of people polled said they would pay top dollar for a house with a nice patio area. If you are in the Indianapolis market, now is the time to consider installing a patio – or putting your house on the market – since spring has finally sprung.
Why patios are in high demand
Outdoor living areas are attractive to home buyers because they consider it a “bonus living area.” With a patio, you are able to extend your living space outside the walls of your home. In good weather (spring, summer and fall in Indiana), you have a place to sit and soak in the sun.
By investing in some patio furniture and a grill, you can eat meals outside. Toss some steaks on the grill and take in the pleasantness of your yard! Invite some friends over and enjoy some entertainment. (Connecting your iPod to a speaker can easily help set the mood.)
Not only does patio space not have to be heated or cooled, it’s also not taxed heavily and is easy to manage all year long. Patio areas have the potential to create a relaxing sanctuary, all within a few feet of your back door. (Who doesn’t want that?)
Investing in your outdoor space
If we’ve convinced you to invest in a patio, how do you decide what to do?
We recommend building a patio that matches the tone of the rest of your space. For example: A large patio with a tiny hard doesn’t leave much green space, which can lessen property value. Similarly, a big yard with a small patio also won’t look proportional.
Patios aren’t meant to be standalone structures, so choose a door as the entry point. Ideally, it will be approximately 15-30 steps from the kitchen so food can easily be transported. We also suggest building patios behind your home in order to help with privacy.
If adding a patio makes your home more attractive to buyers AND you get to enjoy it now, why wait? We think it’s a no brainer. Give us a call today to schedule a free consultation.
4 Easy ways to Make a House Sell Faster
If you’re a realtor in Central Indiana, then you know how frustrating it can be to have a house on the market that just isn’t selling. Whether the home you’re trying to sell is in Carmel, Lawrence, or Meridian-Kessler, these easy fixes can help your home get offers in no time. (In the event that you need help performing any of these updates, we’d be delighted to help you with any of these projects.)