
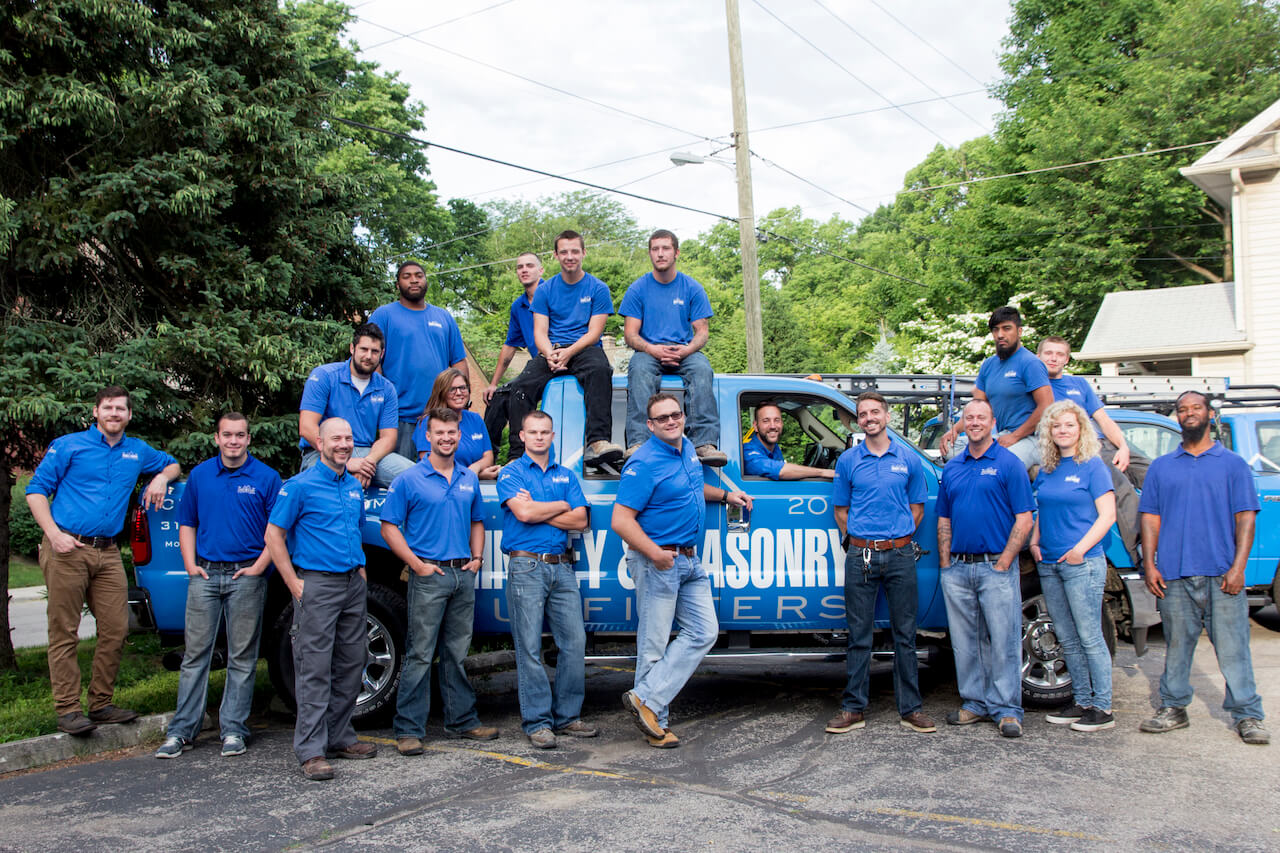
Meet Miles!
Meet Miles: B+E's Outfitter of the Month for May
 Miles is the Director of Operations here at Brick + Ember Outfitters. He has played a crucial role in the growth and organization of our company. He is thorough and goes above and beyond month after month. Miles went to Wabash College and currently lives in Indianapolis.

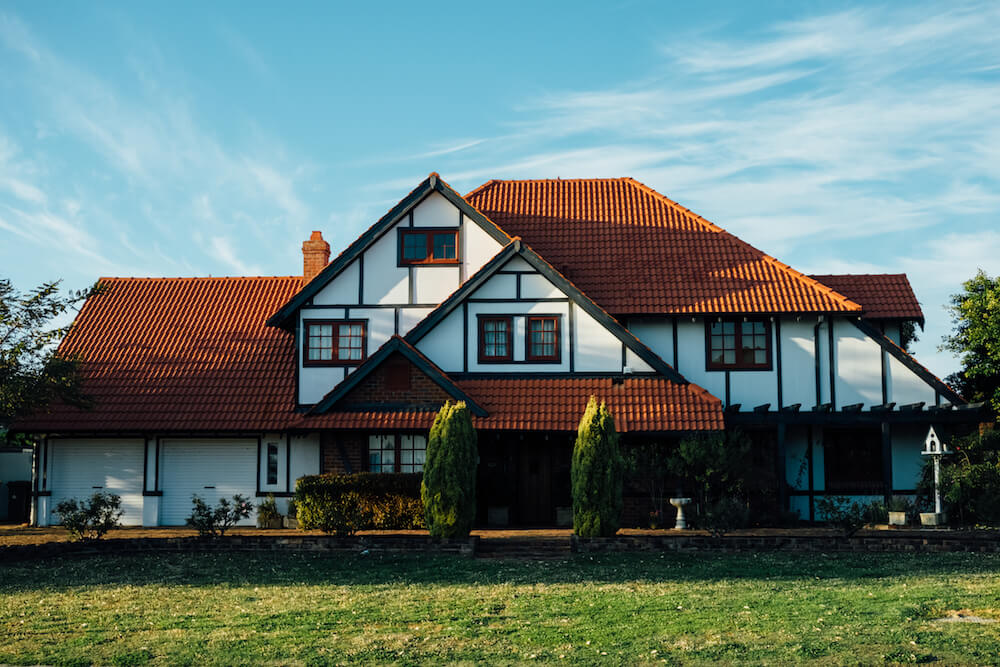
Is Spring Really the Best Time to Sell a House?
General wisdom tells us that spring is the best time to sell a house. Logic seems to support this idea, particularly if you live in a climate with hot summers and cold winters (like Indiana). The warmer weather and longer days draw people out, increasing traffic to open houses. In addition, many people with children hope to buy a home and make that transition over the summer, so that the school year is not disrupted by the move.
That said, some real estate agents argue that the fall/winter off-season can be a good time to sell as well. Although you are typically dealing with less industry and fewer buyers, the buyers who are looking tend to be serious. While you get much more foot traffic in the spring, many of those visitors tend to be mere window-shoppers or looky-loos. So what’s the answer? Is spring really the best time to sell a house? Let’s find out.
Selling in the On-Season (Spring/Summer)
Advantages:
- Higher Sale Price: In most other markets, higher inventory means lower prices. Counterintuitively, it is the opposite in the housing market: when inventory is high, prices go up. Because there are so many more buyers in the on-season, the supply of houses relative to the demand is actually lower than in the off-season. This drives sale prices up, which is good news for the seller.
- Better Valuation: When a house is being valued, an appraiser will reference comparable houses in the neighborhood. However, if the most recent data shows that comparable houses sold more cheaply in the off-season, the house will be valued at a lower price. To receive a better valuation, it’s best to wait until a few houses have sold nearby during the on-season for a more favorable comparison.
- Better Curb Appeal: Spring is the season of daffodils and tulips. Potential buyers out enjoying the weather will be drawn to a house’s inviting landscaping and curb appeal.
- Bidding Wars: When inventory is high and buyers are plentiful, there is a greater chance that a home will receive multiple offers. A bidding war attracts potential cash buyers and deters buyers from making repair requests or demands. Ultimately, the seller wins out.
Disadvantages:
- Pickier Buyers: With higher inventory, buyers can afford to be picky. In the on-season, buyers may be less willing to compromise on their wish lists. A house will likely be competing with many other beautiful houses, and, if work is needed, buyers may simply pass.
Selling in the Off-Season
Advantages:
- Motivated Buyers: There are arguably far fewer looky-loos in the off-season. Most buyers shopping for homes in the fall and winter (particularly close to the holidays) are doing so out of some kind of necessity. Facing any number of pressures, these buyers will be serious about making an offer.
- Less Competition: Although low inventory generally drives prices down, in certain circumstances it can work to a seller’s advantage. If there happen to be enough buyers competing over a small number of houses, bidding wars can occur.
Disadvantages:
- Less Curb Appeal: Once winter rolls around, houses just won’t be looking their best. Bare trees and dead lawns don’t have the same attraction as colorful flowerbeds.
- Lower Sale Price: As stated previously, lower inventory, lower prices. Though this can be circumstantially avoided, it generally holds true.
- Thrift Shoppers: Many buyers are aware that sale prices go down in the fall and winter and that off-season sellers can be quite motivated. These thrift shoppers are out looking for a deal, and sellers will likely have to field some low-ball offers.
Many people say that spring is the best time to sell a house, and, as it turns out, there is some truth behind that belief. The on-season housing market is advantageous to sellers. Of course every local market has its particular idiosyncrasies. It’s worth considering all the circumstances when selling. Who knows? December 24th could be the right time to sell for someone.
Wood Storage Tips
As warmer weather approaches, you may find yourself using your beautiful fireplace a little less frequently than you did during the chilly winter months. Although you will probably find yourself gathering around the hearth during brisk nights all year round (Indiana weather, am I right?), this is the time to start thinking about storing your firewood. It’s important to optimize your wood storage system so that you can correctly preserve your wood and have a reserve ready when fall rolls around again. The following are a few helpful tips for storing your firewood safely and efficiently.
Outdoor Storage:
Find an Ideal Location: For convenience, it can be helpful to store your firewood near your home. Firewood can be heavy and difficult to carry, especially during the colder months. If possible, make it easier on yourself by shortening the trip and keeping your firewood close to your home. If there are no appropriate places to store wood near your home, consider investing in a wheelbarrow to help with transporting the wood.
When storing your wood outside, it is also important to choose a location off the soil. Firewood stored directly on the ground will rot quicker because of exposure to bacteria and moisture. Choose surfaces like concrete, asphalt or gravel instead. Outdoor storage sheds and garages, if available, can be ideal choices for firewood storage as well.
Protect Your Wood: There are several measures you can take to protect your firewood from moisture and bacteria. If you don’t have any available space that is off the soil, you can elevate your wood using sticks, a tarp or even 2 by 4 boards if necessary.
It’s important to protect your wood from above as well as below. The best way to do this is to lay a tarp over your firewood and secure it with ties or bricks. Make sure you leave the sides of your stack open to airflow to prevent the wood from drying out too much. Do not cover your wood with tarp before it is dry (unless you are protecting it from coming rain). You want your wood to dry out before you cover it.
Stack Your Wood Appropriately: Never just throw your firewood into a pile. Stacking your wood effectively will promote air circulation and help prevent the wood from rotting more quickly. Stack the wood neatly in rows. Avoid stacking your wood up against any walls when storing outdoors. Make sure that there are a few inches of space between your wood and your wall to protect your wood from moisture and bacteria.
Indoor Storage:
If you have the space, it can be very convenient and efficient to store your firewood in your home. Firewood lasts much longer when kept away from the bacteria and moisture of the outdoors. However, if you store your firewood indoors it should be fully dry. If you chopped or collected the wood yourself, store it outside until it dries out completely (this takes about six months). There are several optimal places to store wood inside a home; many fireplaces have compartments for wood storage built in. Otherwise, using an old trunk for storage can be a good option.
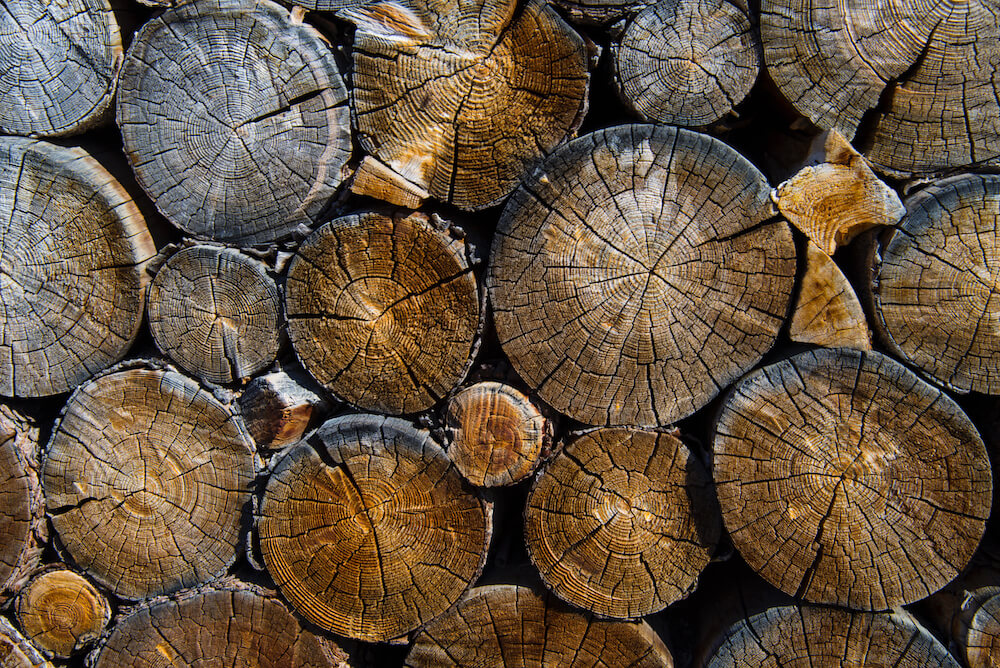
Check Your Wood: Even after you’ve followed these storage tips to a T, you should always check your wood before you use it. You don’t want to throw wet, rotting firewood onto the blaze. Dry firewood will be lighter than wet wood, and it will look gray with cracks along the edges.
Follow Regulations: Your state, city or neighborhood may have specific guidelines regarding the storage of firewood. You should look over local regulations to ensure that your wood storage is legal.
If you have any concerns regarding local regulations — or any other aspect of wood storage — your friendly Brick + Ember Outfitters would be more than happy to field your questions. Please don’t hesitate to give us a call so that we can help you store your firewood safely, efficiently and legally.
Tips to Help You Ignite Your Pilot Light
Knowing how to ignite a pilot light is a skill you should have at the ready in your “Homeowner’s Tool Kit.” This is particularly true if you own a gas fireplace. Luckily, the steps for igniting your fireplace pilot light are simple and straightforward, and we have a few helpful troubleshooting tips for when it doesn’t seem to be cooperating with you.
Here, are the basic steps:
- Locate Your Fireplace Controls: The controls are typically located behind a metal grate or plate on the floor of the fireplace or the front of the fireplace. Remove the plate to gain access. There may be some written instructions in your control panel. If not, you may find it helpful to keep a copy of these instructions there.
- Locate the Control Knob and the Ignition Button: The control knob will have the words “ON,” “OFF” and “PILOT” written on it, and the ignition button will typically be a red or black button.
- Ensure that the Control Knob is Set to “OFF”: If the control knob was not already set to “OFF,” turn it to “OFF.” Once you have set it to “OFF,” you should wait several minutes before continuing with the process. This allows the gas to dissipate.
- Light the Pilot Light: Once you’ve allowed the gas to dissipate, turn the control knob to “PILOT.” Then, while pushing down the control knob, repeatedly press the ignition button until the pilot lights. Keep pushing down the control knob for 30 seconds after the pilot lights and then gradually release it.
- Turn the Control Knob to “ON”: Once you have a sustained pilot light, turn your control knob to “ON.” And you should be ready to go!
If you have followed these steps but your pilot light is not igniting, there are a few troubleshooting measures you can take. First, when your control knob is on “OFF,” test the ignition button a few time to be sure that it is creating a spark. Next, ensure that the gas shut off valve leading to the fireplace is open. And finally, wait five minutes and retry the process. If the pilot has been off for an extended period of time, it may take a few minutes for the gas to reach the fireplace.
Seek Professional Help
If after troubleshooting, your pilot light still won’t light, there may be a more serious issue at the bottom of it. For your fireplace and your safety, it’s important to contact professionals who can identify and resolve the problem.
Brick + Ember Outfitters is committed to the safety and functionality of your pilot light and fireplace. We can set up an appointment for you to speak with one of our Outfitters who will schedule an on-site consultation and address any of your concerns.
Heating Your Flue Before Lighting Your Fire
Top tip: You can’t have a fire with a cold flue. Or rather, you can, but that fire will probably be quite smoky and difficult to sustain — and no one wants that. In our previous blog on “How to Get a Good Fire Going”, we touched on the importance of prepping your flue before starting your fire. Prepping your flue is crucial to establishing a good draft in your chimney system. We want to talk more in-depth about this preparation process to help ensure that you have a safe and pleasant fireplace fire experience.
Why Do I Need to Preheat My Flue?
Preheating your flue every time you light a fire is crucial to ensuring that air is cycling properly in your chimney system. When you are not operating your fireplace, the chimney is full of cold air (especially during the cold and damp winter months). This cold air is very heavy and essentially acts as a plug in your chimney. If you were to just light your fire without preheating the flue, the initial heat and smoke of the fire would be too weak to push the cold air out. The smoke will just take the path of least resistance and escape into your home. Instead, you want to warm up the flue first to push the heavy cold air out and start a draft cycle that will pull the smoke up and out of the chimney. Because, science.
So How Do I Do It?
The first step is to make sure that your damper is all the way open. Once you are certain of this, get set up to start your fire. Before you do so though, take a piece of newspaper (preferably paper without color or gloss) and roll it up. This newspaper will serve as a sort of “torch” that you will use to warm the flue. Once you have made a couple of these “torches,” light them and hold them high up in the flue area. The heat from the newspapers will be strong enough to push out the heavy cold air and establish a draft. If this method doesn’t work well for you, you can leave the damper open for about a half hour and allow the warm air in the room to push the cold air out. However, this method is less energy efficient than using the newspaper. No matter which method you use, you want to be sure that you feel the flow of air reversing and the warm air being sucked up into the chimney. Then, you are ready to build and enjoy your fire.
If you are preheating your flue but still experiencing smoky fires, there may be some obstructions or other issues in your chimney. It critical to have your chimney swept and inspected by professionals to avoid problems like these and other serious hazards, such as flue-fires or carbon monoxide leaks. Please don’t hesitate to give your certified Chimney Outfitters a call. We want you to enjoy a functional and safe fireplace.
How to Get a Good Fire Going
Although we’ve had some lovely glimpses of spring recently in Indianapolis, those warm sunny days are still being followed up by some bitter cold stretches. One moment it will be 70º degrees and sunny, and then suddenly it will drop down to a frigid 30º chill. Just when you think spring has finally sprung, winter rears its head again.
The perfect remedy for these lingering chilly nights is gathering around a good, roaring fire. Here are four essential steps for starting a strong fireplace fire to keep you nice and warm.
Step 1: Prep Your Fireplace
First, you want to ensure that your fireplace and chimney are clean. It’s important to keep up with your regular fireplace maintenance and have your chimney swept and checked at least once a year. Soot and creosote build-up in your chimney’s flue system could block airflow and create a smokier fire. Worse, obstructions potentially lead to chimney/flue fires or carbon monoxide hazards. For more information on the importance of chimney sweeping read our previous blogpost: The 3 Why's.
Then, you want to make sure that your damper is completely open (check for blockages) and prime the flue by warming up the air in your chimney. You need to ease the cold air out before lighting your fire, either by lighting the end of some rolled up newspaper and holding it up towards the damper or leaving the damper open for about half an hour to allow the warm air in the room to do the trick. Once you feel the flow of air reversing, you’re ready.
Step 2: Gather the Necessary Materials
Make sure you have everything necessary before you get started, namely: a screen, well-seasoned wood, kindling, paper and matches. It’s extremely important that all of your fuel is as dry as it can possibly be. It also might be helpful to arrange your wood and kindling by size so that you can build your fire more easily.
Step 3: Build and Light Your Fire
Recently we talked about the benefits of a top-down burn. A top-down burn helps create a more efficient fire while reducing the amount of smoke generated in the process, and we highly recommend trying out this method. Whichever method you use though, you should stack the logs and kindling so that there is space for air to get through the layers and fuel the flames.
Step 4: Nurse Your Fire
Building a strong fire requires care and attentiveness, especially at the beginning. You need to add more kindling and paper before that layer dies down until you are sure that the logs have caught fire. Even then, once you have a strong fire going, it’s important to add new logs when the others begin to sputter out and to poke the wood to keep air flowing. If you just pile on a lot of logs at once, there will be no room for airflow, and the fire will be stifled. Nurse your fire overtime so that you can enjoy a lasting blaze.
Start with these steps to make a strong fire that will warm you through this lingering winter. If you have any issues or questions, give us a call. Brick + Ember Outfitters is committed to the safety and functionality of your chimney and fireplace. We can set up an appointment for you to speak with one of our Outfitters who will address any of your concerns.
Buyers Will Pay More for These 10 Home Features
“Location, location, location” as the familiar real-estate adage goes. Well, as it turns out, the adage may need to be rephrased as “amenities, amenities, amenities.” According to a recent survey conducted by the National Association of Realtors (NAR), potential homebuyers are willing to pay more for (and possibly sacrifice some aspects of location for) certain home features.
Now, there are two important caveats to this. First, most homeowners who are most willing to pay more for these amenities fall within the 35-55 year age-range. While younger, first-time buyers are just looking to break into the market and build equity, these buyers are more likely to be invested their quality of life in and connection with the home. Second, although buyers say they are willing to pay more for these features, often they are not willing to pay enough to cover the actual costs — their eyes are bigger than their wallets.
Still, it’s a good idea to keep the following 10 amenities in mind when selling. One or more of them may be enough to convince a buyer to up their budget and make an offer.
1. Central Air Conditioning: 69% of homebuyers willing to pay an extra $2,520
A majority of people in all age groups emphasized the importance of central air conditioning and said that they were willing to pay more for it than any other feature except new kitchen appliances.
2. New Kitchen Appliances: 69% of homebuyers willing to pay an extra $1,840
New kitchen appliances are particularly important to those looking to buy a new home rather than a previously owned home.
3. Walk-in Closet in Master Bedroom: 60% of homebuyers willing to pay an extra $1,350
Buyers are looking for walk-in closets both as additions of space and as status symbols to be shown off on house tours.
4. Granite Countertops: 55% of homebuyers willing to pay an extra $1,620
Granite countertops are more of an aesthetic concern for buyers. Beautiful kitchens are incredibly desirable features for those looking to cook and gather in this central space.
5. Hardwood Floors: 54% of homebuyers willing to pay an extra $2,080
While many older homebuyers prefer carpet for its energy-saving and heat-insulating qualities, younger buyers are looking for hardwood, as it’s easier to clean and considered more aesthetically pleasing.
6. Ensuite Master Bath: 49% of homebuyers willing to pay an extra $2,030
This one goes along with the walk-in closets. Buyers are looking for master suites that feel like “getaways” or “sanctuaries.”
7. Kitchen Island: 48% of homebuyers willing to pay an extra $1,370
Kitchen islands have become more important to buyers as kitchens are increasingly used as casual, all-purpose gathering spaces for families and entertainment spaces for guests.
8. Stainless Steel Appliances: 41% of homebuyers willing to pay an extra $1,850
Again, stainless steel is more of an aesthetic concern for buyers who are focusing more on beautifully designed kitchens.
9. Eat-In Kitchen: 40% of homebuyers willing to pay an extra $1,770
Buyers with families are most concerned with having eat-in kitchens, while younger buyers are less concerned about this feature.
10. One or More Fireplaces: 40% of homebuyers willing to pay an extra $1,400
The survey speculates that, while fireplaces have always been popular, they may become more desirable as people spend less time watching TV. Buyers may find the fireplace a cozy place for gathering and using more mobile devices.
Unsurprisingly, buyers consider kitchens, bathrooms and closets extremely important features. However, there are some other structural amenities that are worth spending some time on. Capitalizing on a cozy fireplace as a selling point can help convince buyers make an offer — and perhaps spend a few extra dollars. And, as your Brick + Ember Outfitters, we advise getting a sweep inspection prior to selling so that you can market the safety and functionality (in addition to the coziness) of the fireplace.
Fireplace not Drafting?
Like anything that stops working, or doesn't seem to be working well - there is a myriad of reasons to consider.
For the sake of time, and space, we are going to consider a few for reasons your fireplace may not be drawing or drafting, well or properly.
We can start with a few less despairing considerations, because it may be a very simple issue to resolve:
Is the Damper 'Open' - all of the way?
Is the damper open at all? Frankly this is a far more commonly forgotten step than the folks in your home may be giving you grief about, and we have all certainly been there. Make sure the Damper is open all of the way prior to lighting the fire. Your damper could be jammed due to soot or creosote that has built-up behind the damper.
Is the House too air-tight?
A fireplace needs a bit of a draft to pull up and out of the chimney in order to get the fire enough oxygen to burn efficiently. With updated windows and doors, a house may be quite air-tight, which until the fireplace is utilized, is a very ideal situation. However, cracking a window or two when utilizing the fireplace will allow the fire to burn more efficiently and less smokey.
The chimney's flue is dirty?
If your chimney has not been cleaned, and you are new to the fireplace-sphere, utilization of the chimney guarantees creosote to be a by-product that builds up in the chimney's flue system. The chimney sweeping industry recommends an annual cleaning, if not more, depending on the amount of burning that occurs in the fireplace. If there is build up in the chimney, there will be more resistance for the air-flow and thus, like mentioned above, your fire will not burn efficiently and you could experience a smokier fire - not ideal.
The chimney's design?
This list can get quite extensive because the design issues of a chimney can have a huge effect on the efficiency, and quality of the burn. Flue not tall enough? Flue not large enough or small enough for the the size of the firebox (the space in which the fire takes place)? Is the chimney straight up, and are the flues properly aligned inside of the chimney? And the list goes on.
Start with the first few tips listed for why the chimney may not be drafting or drawing properly, but do not just despair about it - Brick + Ember Outfitters is committed to the safety and functionality of your chimney. Give us a call and let us know what you are hoping to get out of your chimney's function, and we will get you an appointment to speak with one of our Outfitters about how to best address any issues or concerns.
Meet Michael!
Meet Michael: B+E's Outfitter of the Month for February
 Michael has been a part of Brick + Ember Outfitters for 6 months now. He is our reception and customer service rep. He holds up very well under pressure and is extremely professional. Michael and his family currently reside in Indianapolis and they make some pretty dang good beef jerky.
Welcome to 2017!
Trends are trends and always will be, but we wanted to give you a quick look into what we have seen coming up for 2017!
CBS Money Watch gave us some tips that aligned with a couple of other sources on what to expect in 2017 Real Estate Trend.
Here's the skinny:
Millennials Will Be Your Buyers:
As far as the housing market is concerned, we are looking at the millennials headed in for their first-home purchases. But they aren't looking for the temporary home, this is a bougie (desiring up-scale) group of young adults, who are typically waiting a little longer to get married/ have children, so this first home has a lot of stipulations attached to its purchase.
Housing Values will Increase - Slower:
While the housing market has been in recovery for quite some time, the value of homes is still on the rise, but it is predicted to slow a bit. According to CBS Money Watch, last year's growth was a 4.8% value increase while 2017 is showing an expected 3.6% value increase. Please also note that our government will likely undergo changes in light of the recent election and the market absolutely has the potential to reflect those factors - we may not see much this year, but it is never bad to be mindful!
Suburbs are Affordable:
While the cities are extremely desirable places to live, it has become more expensive to live in the city than to look out in the suburbs - it is just more affordable. We also read recently that suburbs are taking on a bit of a new phase as they are reflecting these mildly self-sufficient nucleus which often include other desirable amenities - we immediately thought of West Clay in Carmel, Indiana. This place has a town hall, numerous pools and club-houses, not to mention there are shops, a dentistry, and a handful other conveniences within the sphere of this extensive housing development.
Building A New Home will Be More Expensive:
Due to the construction industry's labor shortage the cost of building a new home is going to be a bit more expensive - competitive costs of labor, will mean that the weight of those costs will be bore by the consumer. This is where the decisions of the new President Elect will have an effect on our markets going forward - here we go!
Midwest Cities & Millennials:
Apparently there may be an influx of millennials moving to the following Midwest cities, according to Realtor.com; Madison Wisconsin; Columbus, OH; Omaha, Nebraska; Des Moines, Iowa; and Minneapolis, Minnesota. These cities are located near major higher education institutions and offer easy transition into well-paying jobs and housing.
The West-Coast is not Getting Cheaper:
However, as stated by CBS Money Watch's article, "population growth will follow job growth." This trend doesn't need much clarity - it's expensive to move out there, but job growth will still draw folks out to the West Coast.
City Infrastructure Development (Smaller Homes):
Affordable housing in cities is always a point of contention - but consider how it is being addressed in many markets: smaller housing = more affordable housing. We are seeing smaller housing going up to confront the issue and provide options for those who live in the cities.
Affordable Rent Options:
This one is a bit two fold. While experts predict that rental rates will rise only 1.5%, more multi-family rentals are being built and in addition to this, renters are settling in with roommates to alleviate the cost-of-living.
Mortgage Rates will Rise Again:
As our economy has continued to pick back up through the years, the housing market has followed suit - however, according to CBS Money Watch, we will see the mortgage rates begin to increase as the Federal Reserve indicates increases in its benchmark rates.
Now, we know this doesn't necessarily have a direct correlation to chimney or masonry work, per se, but we have sought to bring you the foreseeable trends for the upcoming year, regarding the Real Estate industry, so that you are best prepared to know who to go to for what, when. Prior to selling or buying a Sweep & Camera Inspection is never a bad idea, and could prevent you from looking quite un-ideal as the agent, in whom your client's trust is found.
Seeing these trends will hopefully get you in a position to ensure your ducks are in a row, making you more agile for the changing market.